Difference between revisions of "The Beast of Bishopshill"
(Pushed from realm.) |
(Pushed from realm.) |
||
| (4 intermediate revisions by the same user not shown) | |||
| Line 12: | Line 12: | ||
|data7 = [[List of Adventures Taken|The Bishopshill Campaign]] | |data7 = [[List of Adventures Taken|The Bishopshill Campaign]] | ||
|label8 = Adventure # | |label8 = Adventure # | ||
| − | |data8 = [[List of Adventures Taken| | + | |data8 = [[List of Adventures Taken|158]] |
}} | }} | ||
[[File:bishopshill_map.jpg|right|270px]] | [[File:bishopshill_map.jpg|right|270px]] | ||
| Line 106: | Line 106: | ||
<tr><td> | <tr><td> | ||
{| class="wikitable" | {| class="wikitable" | ||
| + | ! style="width:100px; background-color:white"| | ||
| + | ! style="width:200px; background-color:white"| | ||
| + | ! style="width:100px; background-color:white"| | ||
| + | ! style="width:200px; background-color:white"| | ||
| + | |- | ||
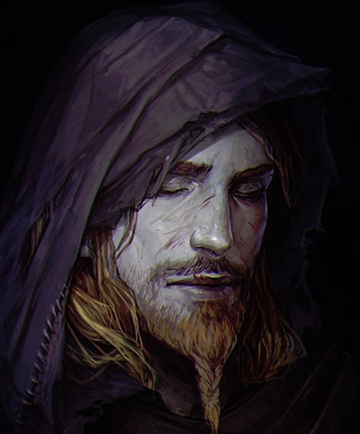
|[[File:Romanitza Albu2.jpg|100px]] | |[[File:Romanitza Albu2.jpg|100px]] | ||
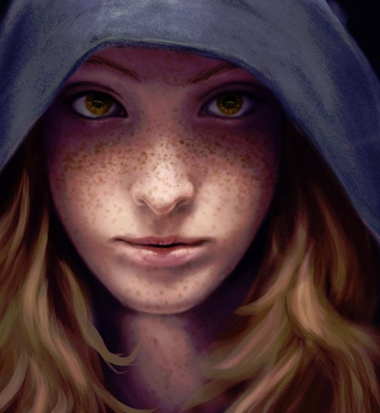
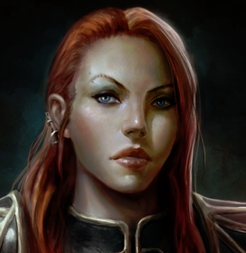
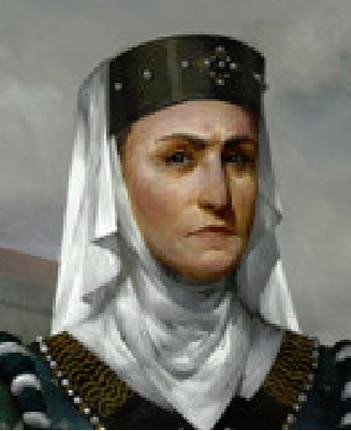
|'''Romanitza Albu''' - A real mystic who can do tarot readings of the dead. Just came to town and is a source of information about the Heroes. | |'''Romanitza Albu''' - A real mystic who can do tarot readings of the dead. Just came to town and is a source of information about the Heroes. | ||
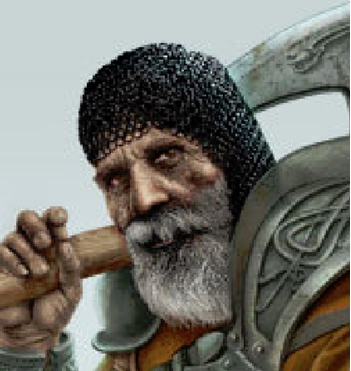
|[[File:Bayle2.jpg|100px]] | |[[File:Bayle2.jpg|100px]] | ||
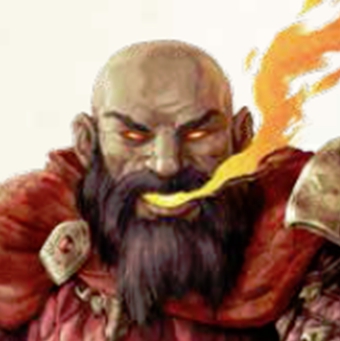
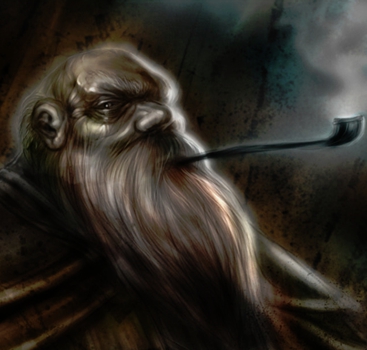
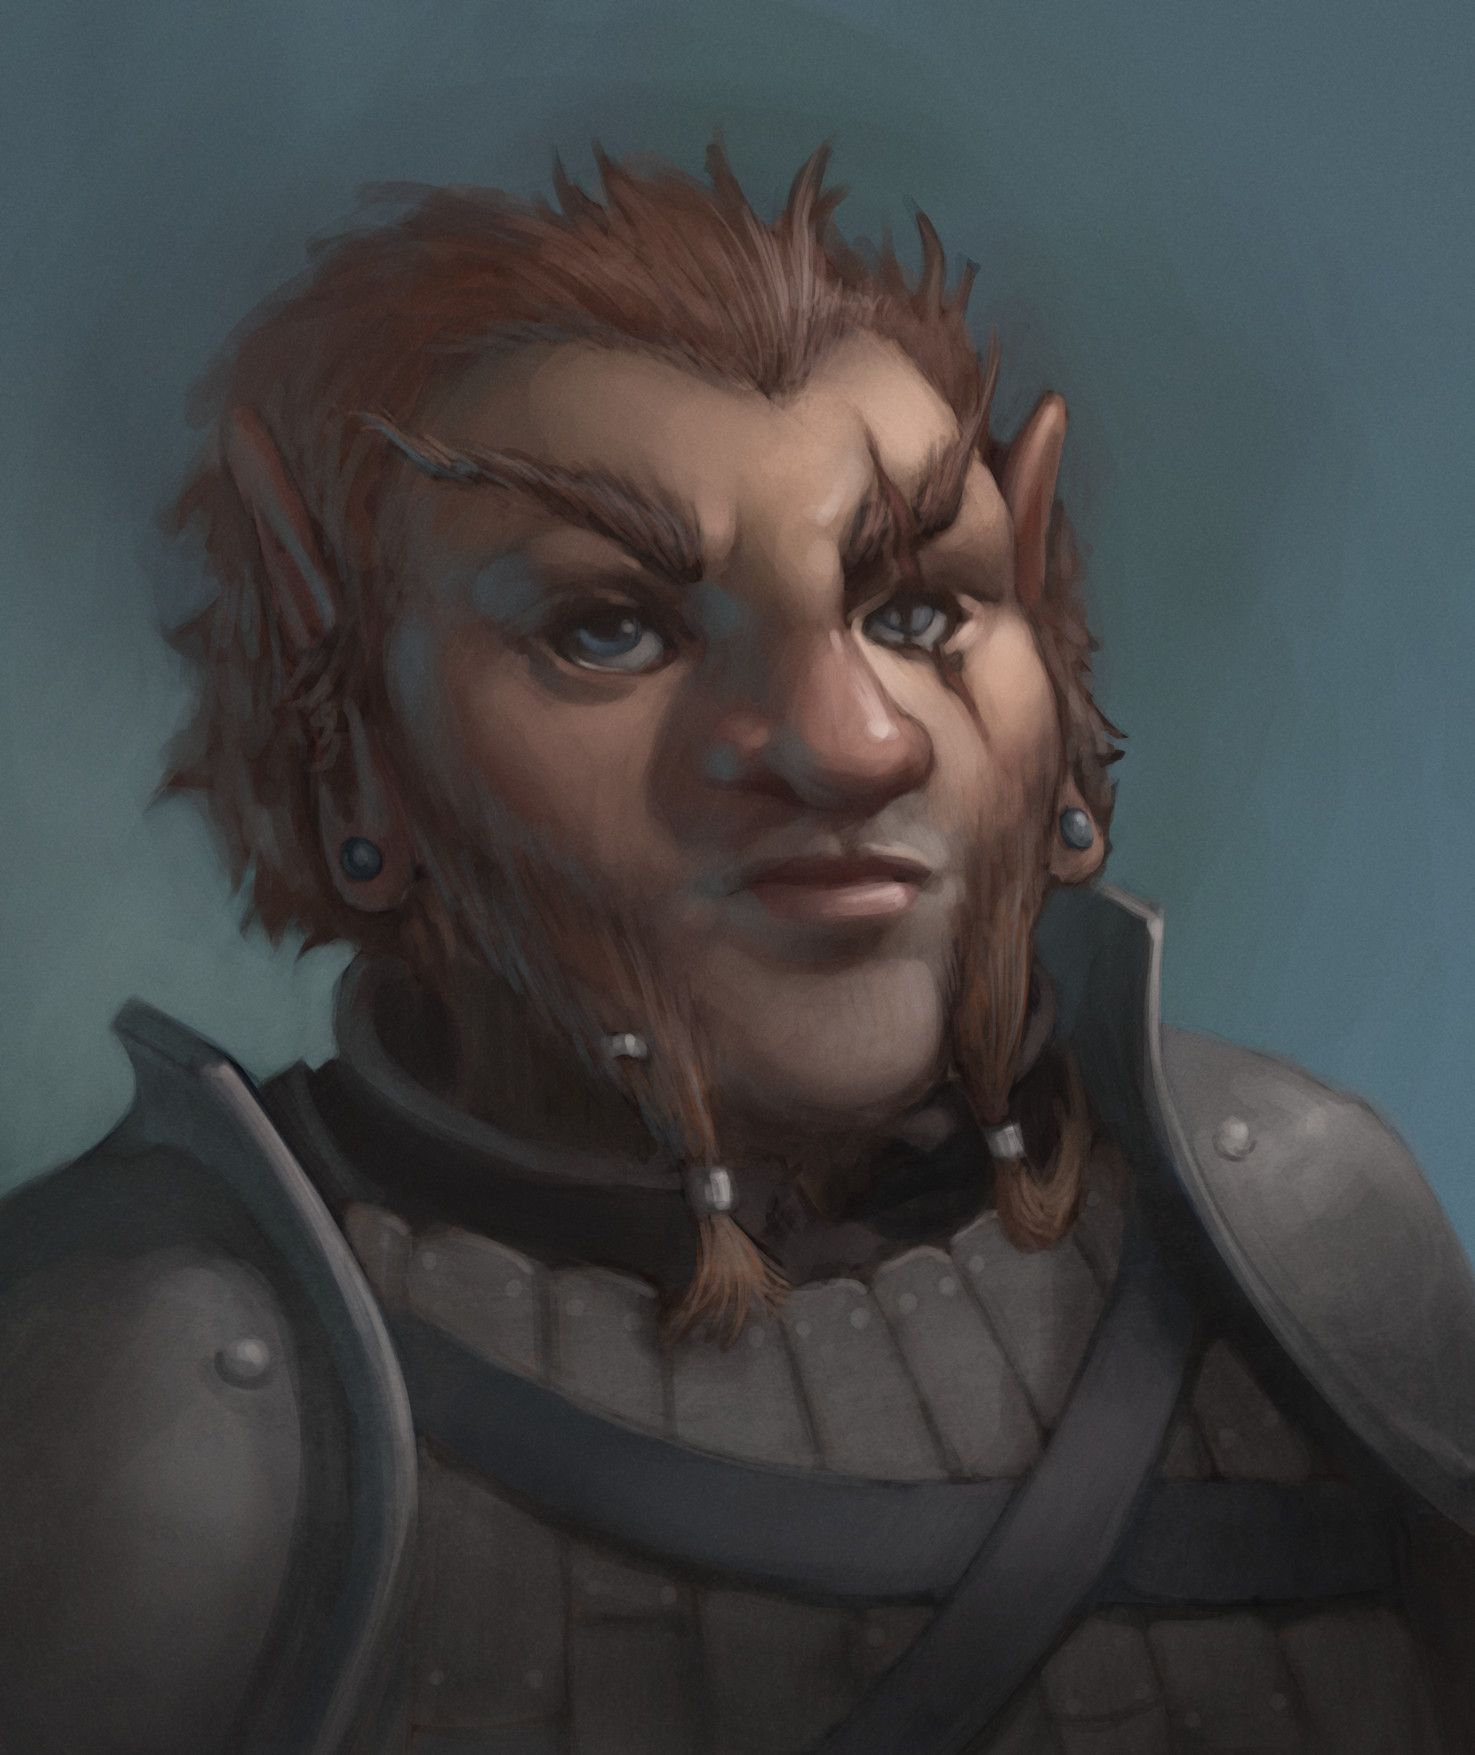
|'''Bayle''' - Dwarven arsonist who was hired by King Tobias Doyle to burn down the Garrison. He has the ability to summon Fire Elementals. | |'''Bayle''' - Dwarven arsonist who was hired by King Tobias Doyle to burn down the Garrison. He has the ability to summon Fire Elementals. | ||
| + | |- | ||
|[[File:Blackburn2.jpg|100px]] | |[[File:Blackburn2.jpg|100px]] | ||
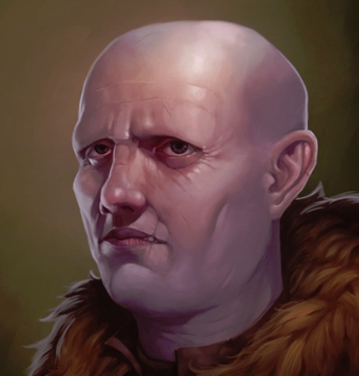
|'''Maximillian Blackburn''' - Head of the Merchant's Guild and member of the Order of Merchant Keymasters. Controls the magic, gold and gems trade. Ruthless but fair in his dealings. | |'''Maximillian Blackburn''' - Head of the Merchant's Guild and member of the Order of Merchant Keymasters. Controls the magic, gold and gems trade. Ruthless but fair in his dealings. | ||
| − | |||
|[[File:Didi2.jpg|100px]] | |[[File:Didi2.jpg|100px]] | ||
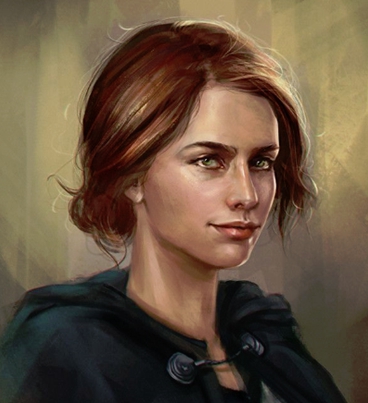
|'''Didi Blake''' - A member of the Heroes. She is the constant companion of Fawkes and is a fighter in the party. Didi is known to be prone to accidents. DEAD | |'''Didi Blake''' - A member of the Heroes. She is the constant companion of Fawkes and is a fighter in the party. Didi is known to be prone to accidents. DEAD | ||
| + | |- | ||
|[[File:Bramblefall2.jpg|100px]] | |[[File:Bramblefall2.jpg|100px]] | ||
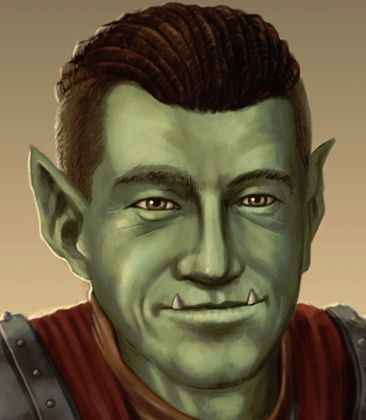
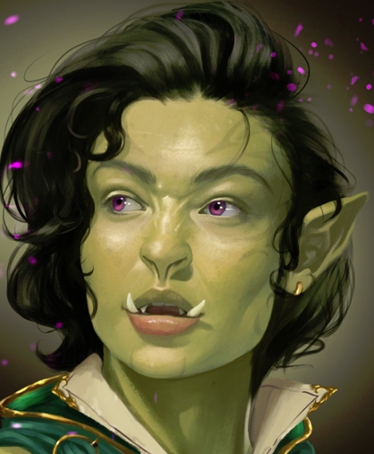
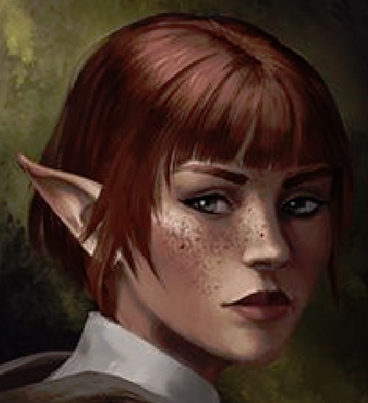
|'''Bramblefall''' - Rogue of the Cult of the Shooting Star. Half-orc with a high affinity for picking locks and setting traps. | |'''Bramblefall''' - Rogue of the Cult of the Shooting Star. Half-orc with a high affinity for picking locks and setting traps. | ||
| Line 124: | Line 130: | ||
|[[File:Otto Cole2.jpg|100px]] | |[[File:Otto Cole2.jpg|100px]] | ||
|'''Lt. Otto Cole''' - Dwarven Constable. Fought the stained glass knight. | |'''Lt. Otto Cole''' - Dwarven Constable. Fought the stained glass knight. | ||
| + | |- | ||
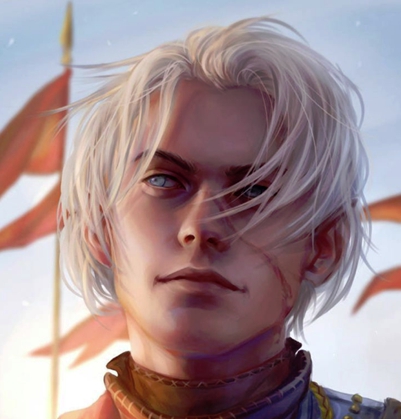
|[[File:Vivienne2.jpg|100px]] | |[[File:Vivienne2.jpg|100px]] | ||
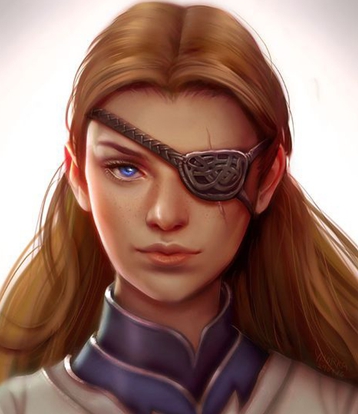
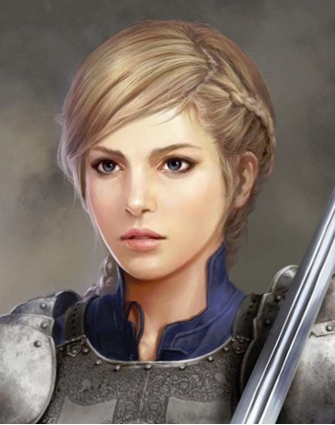
|'''Vivian Dinkley''' - A member of the Heroes. She is the smart bookworm. A wizard in her own right. DEAD | |'''Vivian Dinkley''' - A member of the Heroes. She is the smart bookworm. A wizard in her own right. DEAD | ||
| − | |||
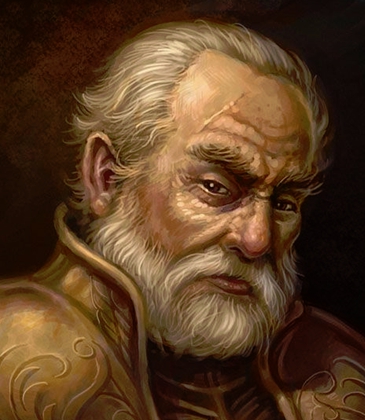
|[[File:Tobias Doyle2.jpg|100px]] | |[[File:Tobias Doyle2.jpg|100px]] | ||
|'''King Tobias Doyle''' - King of the Western Reaches. | |'''King Tobias Doyle''' - King of the Western Reaches. | ||
| + | |- | ||
|[[File:William Dunhurst2.jpg|100px]] | |[[File:William Dunhurst2.jpg|100px]] | ||
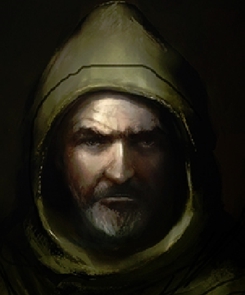
|'''Father William Dunhurst''' - Priest of the Chapel of the Hearth. | |'''Father William Dunhurst''' - Priest of the Chapel of the Hearth. | ||
| Line 138: | Line 145: | ||
|[[File:Hartwell2.jpg|100px]] | |[[File:Hartwell2.jpg|100px]] | ||
|'''Norah Hartwell''' - Constable. | |'''Norah Hartwell''' - Constable. | ||
| + | |- | ||
|[[File:Hazelwood2.jpg|100px]] | |[[File:Hazelwood2.jpg|100px]] | ||
|'''Winnifred Hazelwood''' - Inspector. | |'''Winnifred Hazelwood''' - Inspector. | ||
| − | |||
|[[File:Krib2.jpg|100px]] | |[[File:Krib2.jpg|100px]] | ||
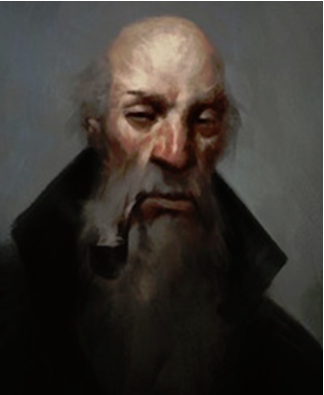
|'''Krib''' - The dead dwarven prospector that is currently in The Trap. | |'''Krib''' - The dead dwarven prospector that is currently in The Trap. | ||
| + | |- | ||
|[[File:Fletcher Lowe2.jpg|100px]] | |[[File:Fletcher Lowe2.jpg|100px]] | ||
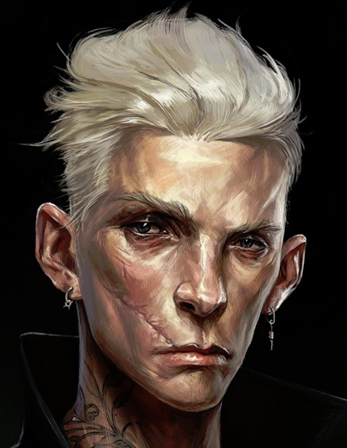
|'''Fletcher Lowe''' - Thug of the Cult of the Shooting Star. Loves to sing but is terribly flat. Loves to dance. Thinks he is a woman's dream. | |'''Fletcher Lowe''' - Thug of the Cult of the Shooting Star. Loves to sing but is terribly flat. Loves to dance. Thinks he is a woman's dream. | ||
| Line 152: | Line 160: | ||
|[[File:Ella Nightingale2.jpg|100px]] | |[[File:Ella Nightingale2.jpg|100px]] | ||
|'''Ella Nightingale''' - Singer at the Broken Crown. Loves Rumplesong, the half-orc faceman for the Cult of the Shooting Star. Will report to Rumplesong on events at the pub. | |'''Ella Nightingale''' - Singer at the Broken Crown. Loves Rumplesong, the half-orc faceman for the Cult of the Shooting Star. Will report to Rumplesong on events at the pub. | ||
| + | |- | ||
|[[File:Nobbin2.jpg|100px]] | |[[File:Nobbin2.jpg|100px]] | ||
|'''Nobbin''' - Not a member of the Heroes, but he acts as their businessman - running the Heroes Guild and taking care of day to day business. | |'''Nobbin''' - Not a member of the Heroes, but he acts as their businessman - running the Heroes Guild and taking care of day to day business. | ||
| − | |||
|[[File:Ella Rose2.jpg|100px]] | |[[File:Ella Rose2.jpg|100px]] | ||
|'''Ella Rose Overby''' - This is actually King Tobias Doyle in disguise. Ella keeps a very watchful eye on the happenings at the pub. | |'''Ella Rose Overby''' - This is actually King Tobias Doyle in disguise. Ella keeps a very watchful eye on the happenings at the pub. | ||
| + | |- | ||
|[[File:Victor Overby2.jpg|100px]] | |[[File:Victor Overby2.jpg|100px]] | ||
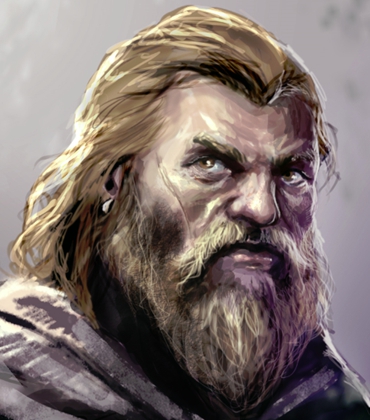
|'''Victor Overby''' - Owner and pub master of the Broken Crown. A gentle giant who can stop a fight with a word or a fist. | |'''Victor Overby''' - Owner and pub master of the Broken Crown. A gentle giant who can stop a fight with a word or a fist. | ||
| Line 166: | Line 175: | ||
|[[File:Sonny2.jpg|100px]] | |[[File:Sonny2.jpg|100px]] | ||
|'''Sonny Rogers''' - A member of the Heroes. He is somewhat a goofball, but he is a very capable thief and acrobat. A constant companion of Storm. DEAD | |'''Sonny Rogers''' - A member of the Heroes. He is somewhat a goofball, but he is a very capable thief and acrobat. A constant companion of Storm. DEAD | ||
| + | |- | ||
|[[File:Rumplesong2.jpg|100px]] | |[[File:Rumplesong2.jpg|100px]] | ||
|'''Rumplesong''' - Faceman of the Cult of the Shooting Star. Half-orc with an honest face and a very sympathetic demeanor. He is in love with Ella Nightingale and makes every excuse to visit the pub often. | |'''Rumplesong''' - Faceman of the Cult of the Shooting Star. Half-orc with an honest face and a very sympathetic demeanor. He is in love with Ella Nightingale and makes every excuse to visit the pub often. | ||
| − | |||
|[[File:Russell2.jpg|100px]] | |[[File:Russell2.jpg|100px]] | ||
|'''Russell''' - Town Engineer who understands how the Tanks and water system works. | |'''Russell''' - Town Engineer who understands how the Tanks and water system works. | ||
| + | |- | ||
|[[File:Xavier Stoneform2.jpg|100px]] | |[[File:Xavier Stoneform2.jpg|100px]] | ||
|'''Xavier Stoneform''' - A half-elf wizard who is somewhat mad. He is obsessed with xorns and is currently working with Baron Walworth on tumbling the Knoll. | |'''Xavier Stoneform''' - A half-elf wizard who is somewhat mad. He is obsessed with xorns and is currently working with Baron Walworth on tumbling the Knoll. | ||
| Line 180: | Line 190: | ||
|[[File:Trixie2.jpg|100px]] | |[[File:Trixie2.jpg|100px]] | ||
|'''Trixie''' - Oracle of the Cult of the Shooting Star. She is having dreams that are progressively getting worse of the Demon Under The Spire. | |'''Trixie''' - Oracle of the Cult of the Shooting Star. She is having dreams that are progressively getting worse of the Demon Under The Spire. | ||
| + | |- | ||
|[[File:Klagg Twistedsoul2.jpg|100px]] | |[[File:Klagg Twistedsoul2.jpg|100px]] | ||
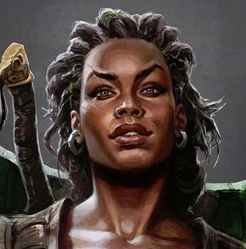
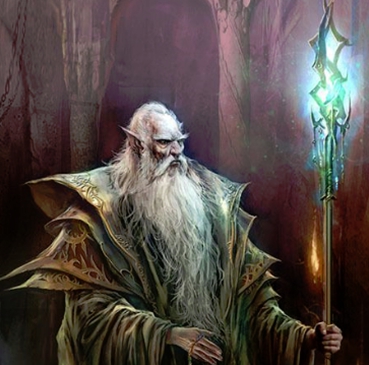
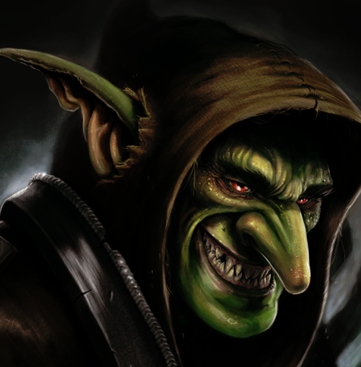
|'''Klagg Twistedsoul''' - Goblin shaman and leader of the Dragon's Camp. Klagg is a remarkable spellcaster and is currently on a mission to find the Bishop's Staff of Immortality to bring Jon Walworth back to life. | |'''Klagg Twistedsoul''' - Goblin shaman and leader of the Dragon's Camp. Klagg is a remarkable spellcaster and is currently on a mission to find the Bishop's Staff of Immortality to bring Jon Walworth back to life. | ||
| + | |[[File:Ayla Waesfiel2.jpg|100px]] | ||
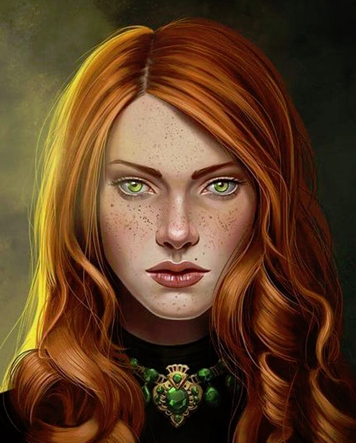
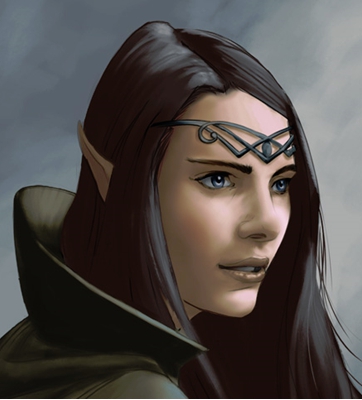
| + | |'''Ayla Waesfiel''' - Elven owner of the Bell Freehouse. | ||
|- | |- | ||
| − | + | |[[File:James Walworth2.jpg|100px]] | |
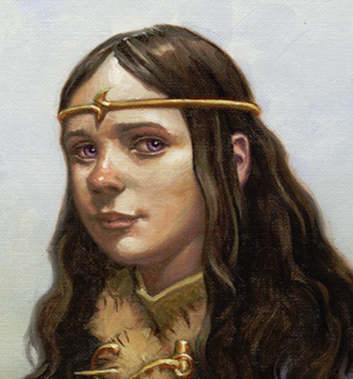
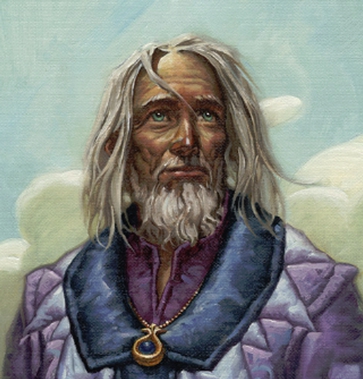
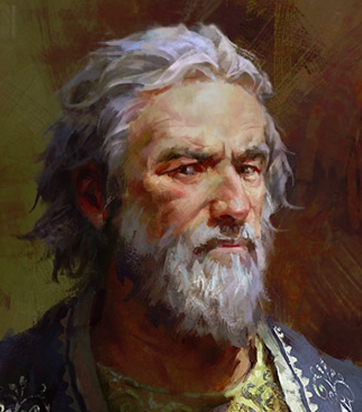
| − | + | |'''James Walworth''' - Baron of Walworth and the man tasked with taking care of the Bandit Kingdom. Driven mad by his son's death, he is in league with the goblins. He has preternaturally turned grey. | |
| − | |||
| − | |||
| − | |||
| − | |||
|- | |- | ||
|} | |} | ||
| Line 356: | Line 365: | ||
<li>The only patron left in the bar is Thigrear Forgebeard, the drunkard who built the step. Clue to landing 42. | <li>The only patron left in the bar is Thigrear Forgebeard, the drunkard who built the step. Clue to landing 42. | ||
<li>The Baron needs to bring sacks of copper coins in through the Grotto to feed the xorns. Can't store them here or the xorn will eat them. | <li>The Baron needs to bring sacks of copper coins in through the Grotto to feed the xorns. Can't store them here or the xorn will eat them. | ||
| − | <li>Cult of the Shooting Star | + | <li>Cult of the Shooting Star has a growing crowd of followers. Dark Cloak is coming we will welcome him at the Bishop's Chapel. This will become their permanent camp. |
| − | |||
</ul> | </ul> | ||
| Line 420: | Line 428: | ||
</ul> | </ul> | ||
| − | By this time, the party should have assumed the mantle of the Heroes. And, thus they are now bound to the city and its people. | + | By this time, the party should have assumed the mantle of the Heroes. And, thus they are now bound to the city and its people. This is also the adventure where (most likely) the resurrection of the Baron's son takes place, if Klagg gains the Staff of Immortality. This is also where The Bishop can be summoned - who will come as a disembodied spirit to protect the city during the final battle. They will, of course, need to have taken the staff from Klagg and stopped the resurrection of Jon Walworth. As a final twist, Dark Cloak may assume the body of James or Jon Walworth - thus becoming immortal and leading to the current storyline behind Walworth Castle. |
| − | |||
| − | As a final twist, Dark Cloak may assume the body of James or Jon Walworth - thus becoming immortal and leading to the current storyline behind Walworth Castle. | ||
'''Immortality (just before dawn 21 March 652 TA)''' | '''Immortality (just before dawn 21 March 652 TA)''' | ||
| − | |||
| − | |||
| − | |||
| − | |||
| − | |||
| − | |||
<div style="text-align: left; border: 1px solid gray; padding:5px; margin:5px; overflow:hidden;"> | <div style="text-align: left; border: 1px solid gray; padding:5px; margin:5px; overflow:hidden;"> | ||
The storm overhead rages with howling winds and dark, ominous clouds. The rains have not yet come, but the skies are filled with lightning. As you approach the chapel, you sense that the storm is centered on the plain, stone building. The air around the chapel glows with a faint eldritch light that seems to come down from the clouds above, bathing the area in an unnatural light. | The storm overhead rages with howling winds and dark, ominous clouds. The rains have not yet come, but the skies are filled with lightning. As you approach the chapel, you sense that the storm is centered on the plain, stone building. The air around the chapel glows with a faint eldritch light that seems to come down from the clouds above, bathing the area in an unnatural light. | ||
| Line 448: | Line 448: | ||
The only other figure in the room is an older man, also dressed in plate mail with the owl coat-of-arms on his chest. He has drawn a sword and is moving towards you, his intent clear. | The only other figure in the room is an older man, also dressed in plate mail with the owl coat-of-arms on his chest. He has drawn a sword and is moving towards you, his intent clear. | ||
</div> | </div> | ||
| − | This is the resurrection ceremony for Jon Walworth. His father, the Baron, is here and will attack anyone who enters the chapel. As long as the goblin lives, lightning elementals will be summoned each round to aid in the protection. This is a Dramatic Task | + | This is the resurrection ceremony for Jon Walworth. His father, the Baron, is here and will attack anyone who enters the chapel. As long as the goblin lives, lightning elementals will be summoned each round to aid in the protection. This is a Dramatic Task. |
<ul> | <ul> | ||
<li>Klagg must collect eight Task Tokens in five rounds. | <li>Klagg must collect eight Task Tokens in five rounds. | ||
| Line 491: | Line 491: | ||
'''A Son Reborn''' | '''A Son Reborn''' | ||
| + | |||
The fate of Jon Walworth is an important link to the ongoing story. If Jon is resurrected, then he becomes the immortal terror that will haunt Walworth Castle in the aftermath of the big battle. | The fate of Jon Walworth is an important link to the ongoing story. If Jon is resurrected, then he becomes the immortal terror that will haunt Walworth Castle in the aftermath of the big battle. | ||
<div style="text-align: left; border: 1px solid gray; padding:5px; margin:5px; overflow:hidden;"> | <div style="text-align: left; border: 1px solid gray; padding:5px; margin:5px; overflow:hidden;"> | ||
Revision as of 01:15, 27 October 2021
| Type | Dungeon |
|---|---|
| Status | Explored March 652 TA |
| Location | Bishopshill |
| Hex | 6515 |
| Campaign | The Bishopshill Campaign |
| Adventure # | 158 |
Prolog
It is 652 TA. Even the spring rains which have come early to this part of the Reaches cannot dampen the enthusiasm of the townsfolk of Bishopshill. Times are lucrative for the rebels of the Bandit Kingdoms, and the town has rallied around the fight for continued independence from the Crown. The raids from Walworth, the newest barony established some 100 miles to the southwest, have intensified - mostly because of pressure from Tobias Doyle, the Third Paladin King. Bishopshill has withstood the knights, paladins and archers of Baron James Walworth just as it has weathered attacks from the dark creatures that have come over the years from the Shadowyarn Mountains to the east.
From inside the ramshackle pub, you hear a muffled voice - very drunk - "Curse the Mask and all his fuckin' knights". The Mask, a nickname for King Doyle, is so given because of his penchant for disguise and first-hand intelligence gathering. A roar goes up from the patrons of the Broken Crown. You smile, smelling the pungent smoke of the peat fire. You button up after relieving yourself of a slightly watered ale and are just about to return to the pub for another round when you see the bright tail of a meteorite as it drops through the low-lying clouds, striking somewhere deep in the looming mountains, no doubt.
As you pick your way through the crowded pub back to your usual table, the talk is still about the old dwarven prospector who came through town just a week ago. Not a Steelhand or Blackrock dwarf like most in the area. Called himself Krib and claimed no clan. He carried a satchel of great weight filled with an object the size of the largest summer melon. He never let the leather bag out of his sight, but Krib did giggle about "becoming a lord" once he took his prize to Teufeldorf. Whispers and rumors run the gauntlet from the largest sapphire ever found to a dragon's egg. Nobody knows. Krib left as suddenly as he arrived two nights ago.
As you round the corner, almost bumping into Ella Nightingale, preparing to sing a lonely ballad of forest life, you notice that the Heroes' Table is empty. A twang of unrequited love for Nightingale and a touch of jealousy for the Heroes - probably off on some great adventure. The Heroes Table, raised a foot from the common pub floor, is the ultimate pedestal of Bishopshill rebels. Long held by others, you gaze at its ancient polished surface, five silver mugs sit awaiting the return of the Heroes.
As you turn towards your own, humble table, the voices of your friends come into focus. "They're missing. Gone. As I've heard tell, the Heroes are lost in the mountains seeking the source of Krib's treasure." You smile, an adventure might just be afoot.
Plots
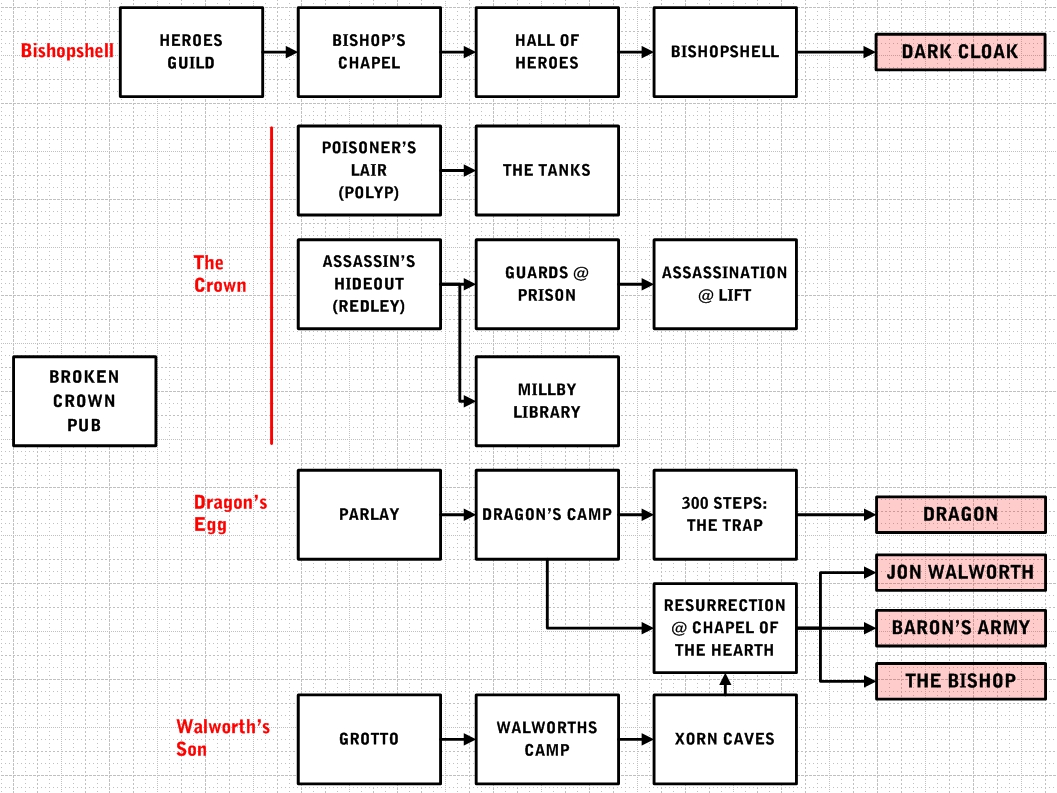
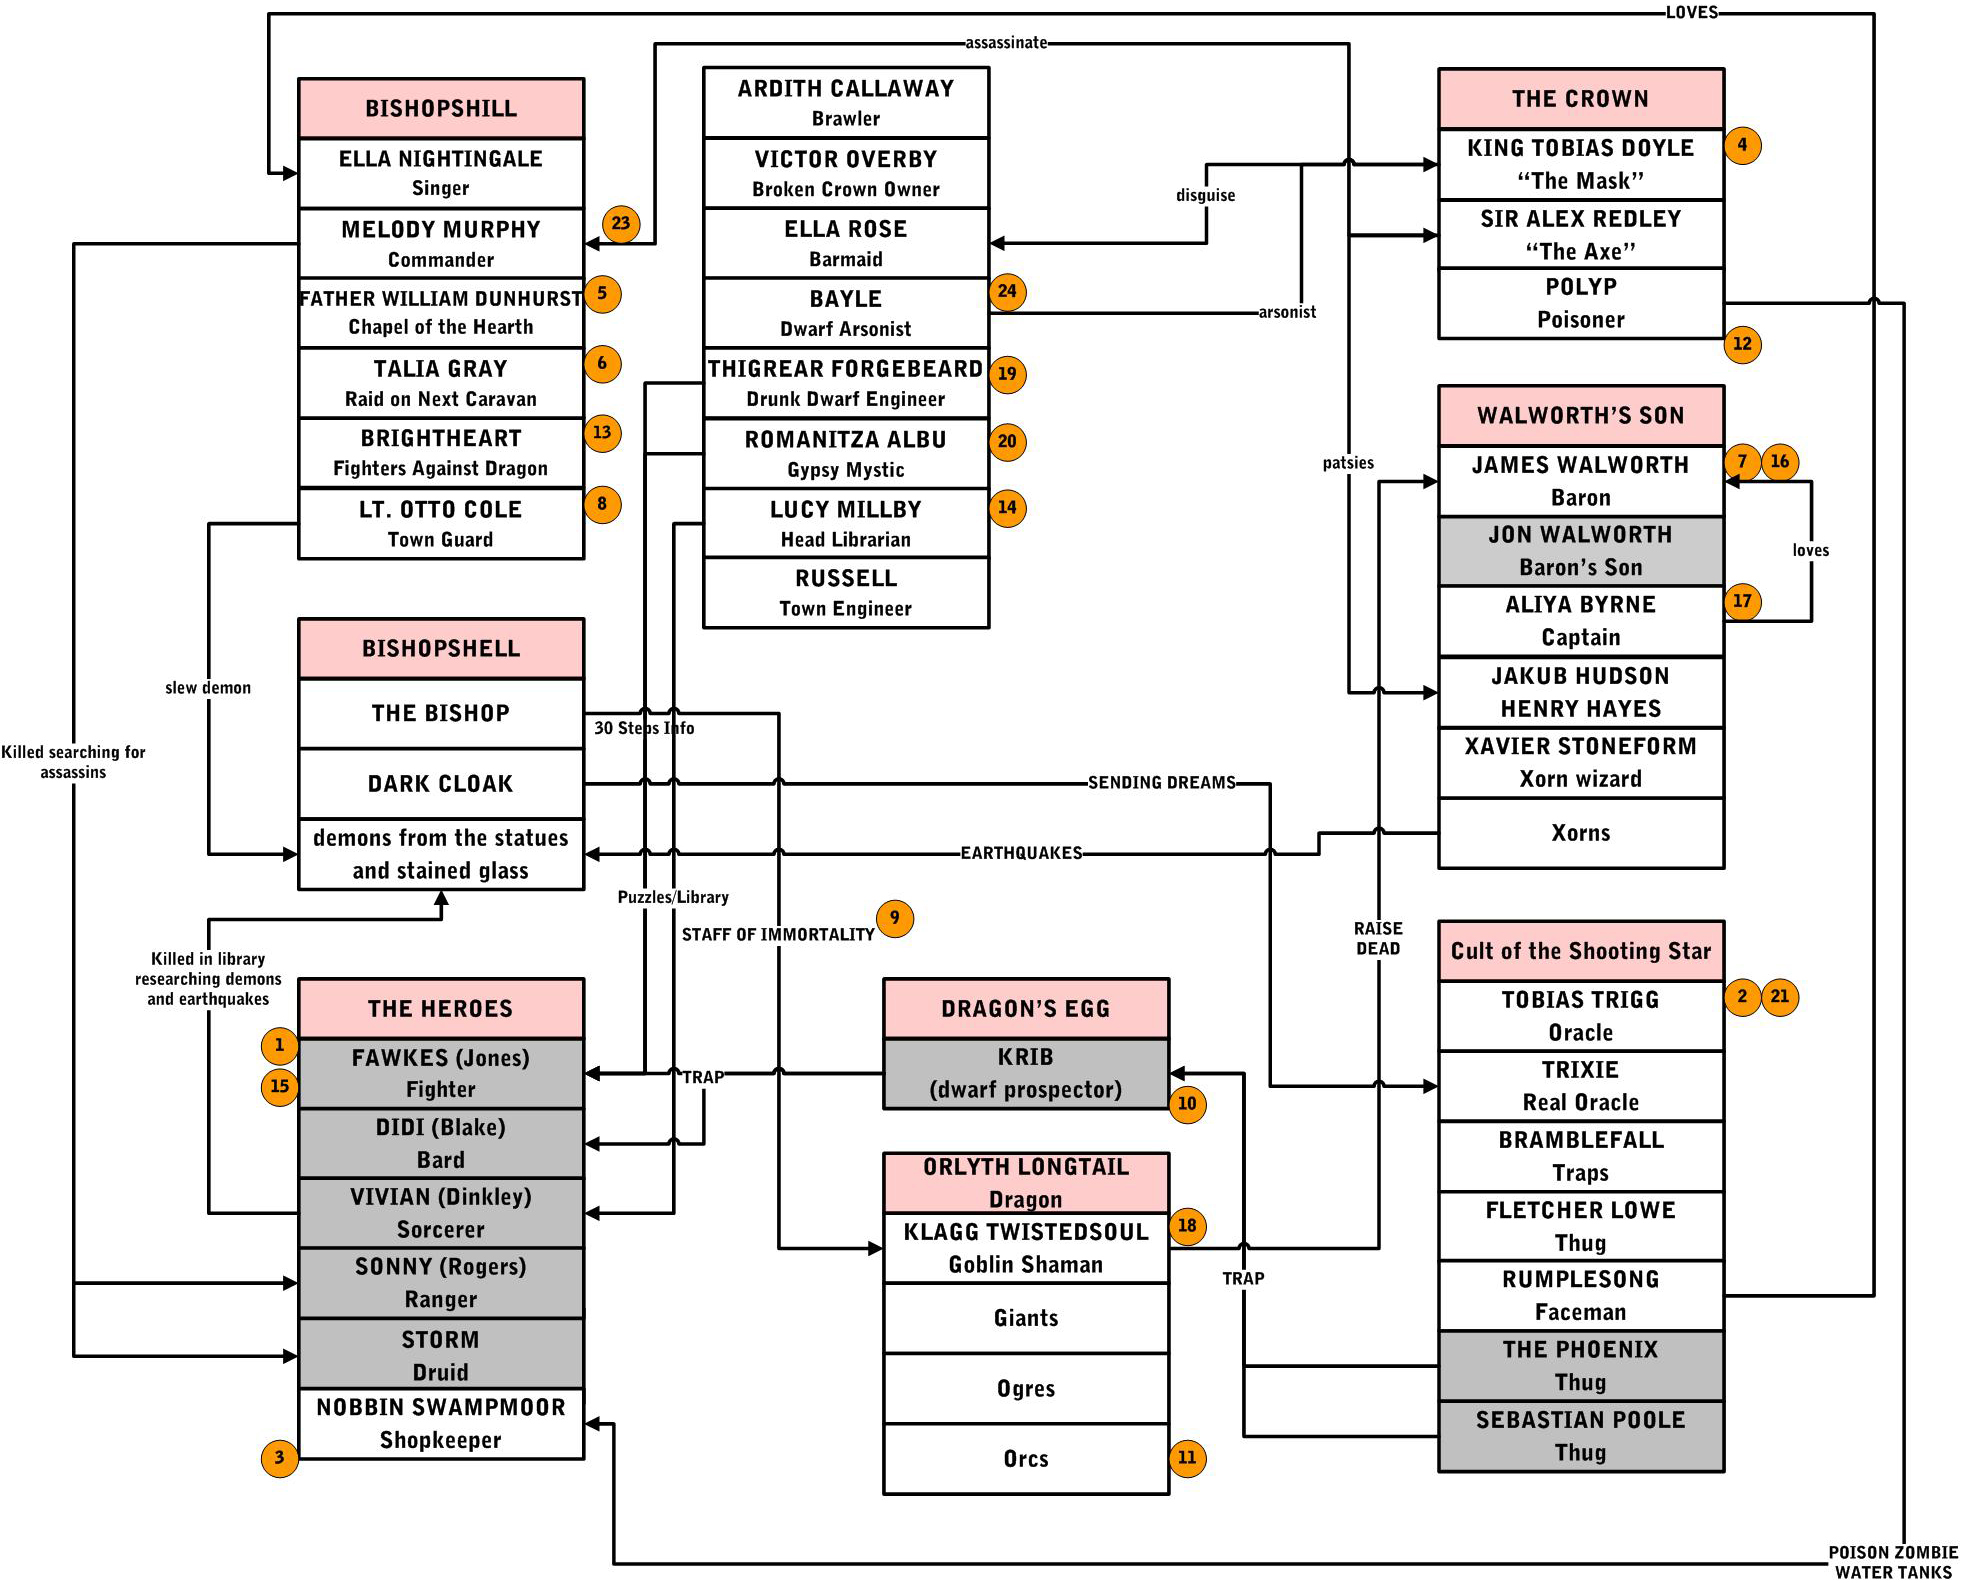
There are six intertwined plots for this campaign plus a number of small side adventures, should the party decide to go off script. The main plots are:
- Bishopshell - in which Dark Cloak is released along with The Bishop to determine the control/destruction of Bishopshill.
- The Crown - in which the King of the Western Reaches, Tobias Doyle, seeks to bring chaos upon Bishopshill while investigating the sanity of Baron Walworth.
- The Cult of the Shooting Star - in which a cult foresees the arrival of Dark Cloak and tries to get the town to listen while accidently causing the dragon's egg to go missing. Mainly a source of information.
- The Dragon's Egg - an unfortunate coincidence in which a blue dragon egg is stolen and brought to Bishopshill only to be lost. The mother dragon wants it back.
- The Heroes - which is mainly a source of clues since the heroes are dead before the action starts.
- Walworth's Son - in which Baron Walworth attempts to deliver the Bishop's Staff of Immortality to the goblin shaman Klagg Twistedsoul in order to bring his son back - even if it means destroying Bishopshill with a crazed Xorn wizard.
Bishopshell
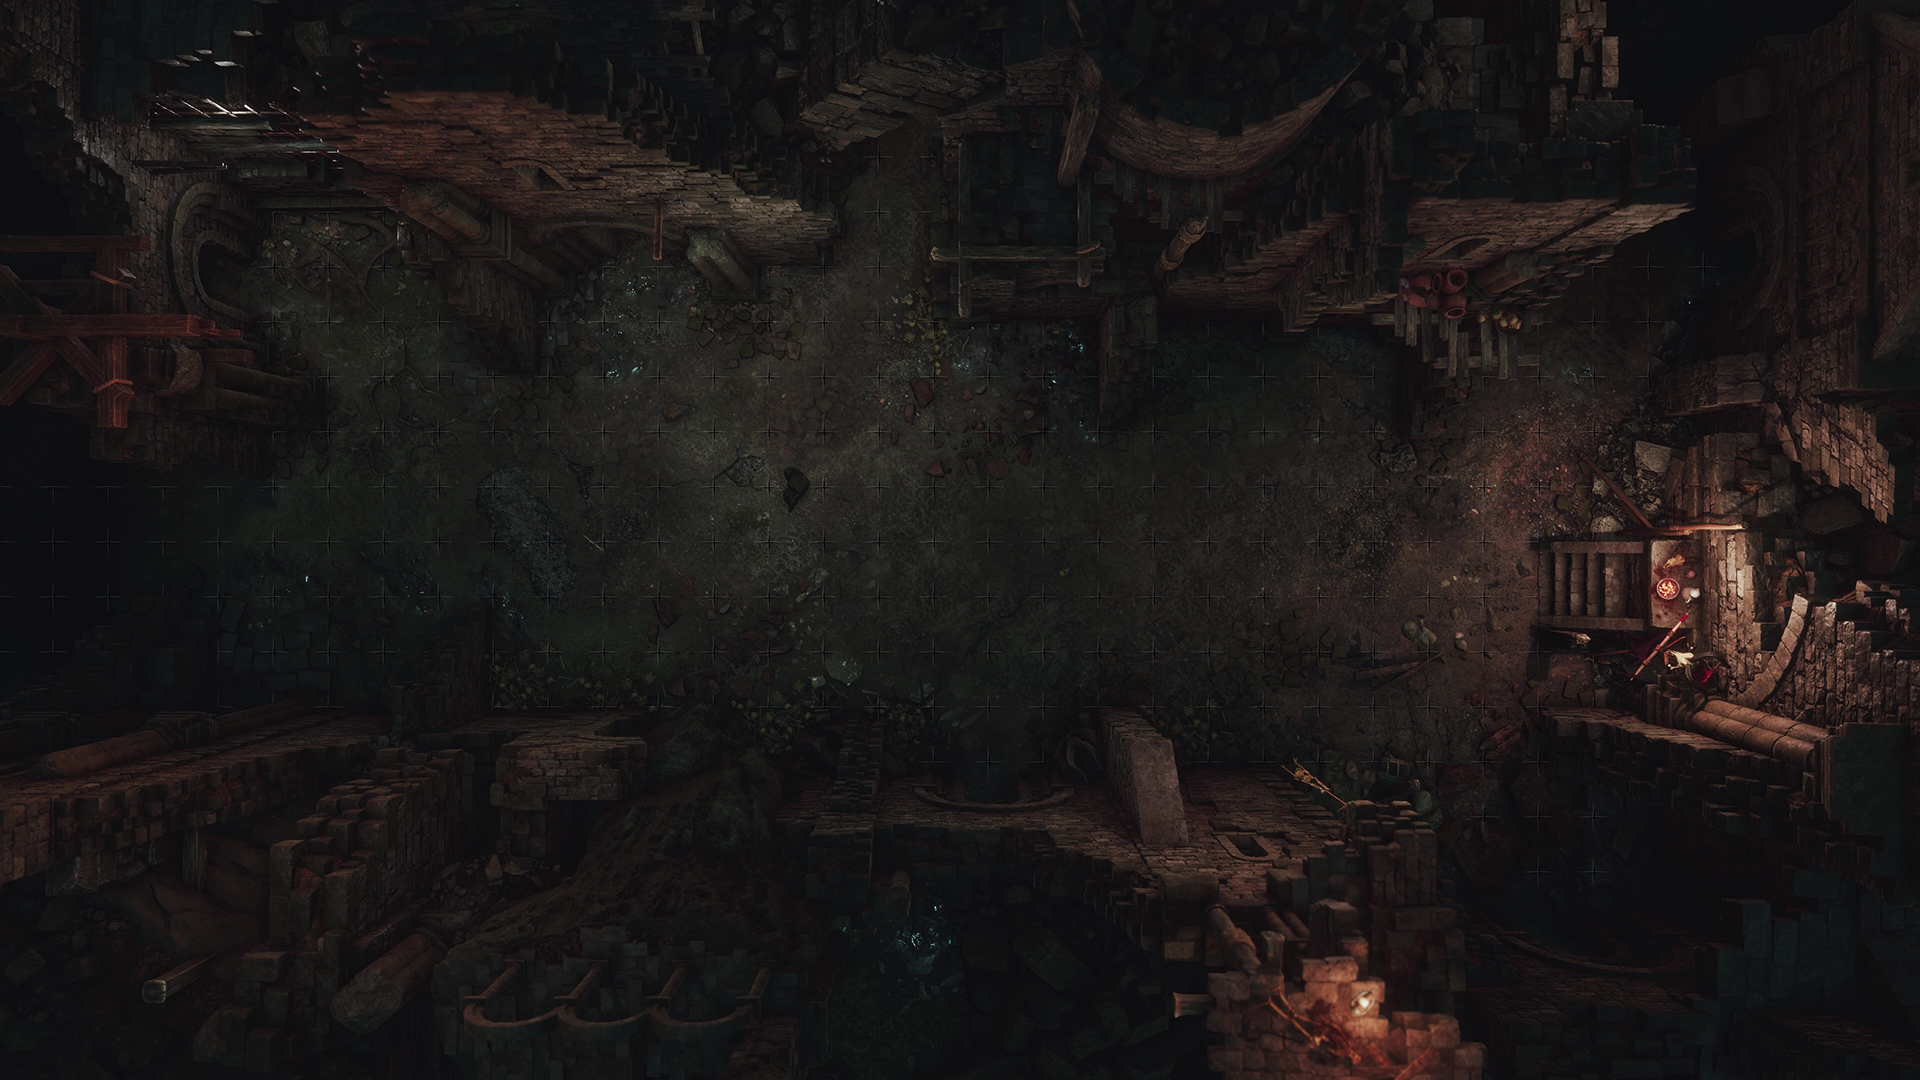
A primary place this adventure will take place is in the Bishop's Chapel and the dungeon below. There, the party will run into the Hall of Heroes which will give them the ability to Release the Bishop and the Dark Cloak on their own terms (otherwise, the xorn will eventually cause enough earthquakes to make it happen on its own). Finally, there is a secret chamber off the 300 Steps called The Trap which connects to the holding area of Dark Cloak underneath the Hall of Heroes. It is possible for the party to go straight to the chapel and maybe the Hall of Heroes on the first adventure. Bishopshell will probably come into play around the fourth adventure.
- In the Second Age, a monk (now called The Bishop) established an order on Bishopshill. What he did not know was that the site was built on a First Age temple to a demon - the Beast of Bishopshell (now called Dark Cloak) - who was eventually trapped in an underground prison (in the First Age).
- When the Bishop discovered the Hall of Heroes, he took it as a sign that his Order should "test" to become heroes. In testing, Dark Cloak was released - killing the townsfolk and menacing the countryside. Completing the hero's quest, the Bishop challenged Dark Cloak to a duel to control the surrounding lands. A bargain struck, a fight ensued with neither side able to kill the other. Driving the creature below the Hall of Heroes, the Bishop took a position above the room - guarding it against Dark Cloak's release.
- Recently, the xorn activity under the hill has caused some earthquakes - small cracks that have allowed a few creatures - resembling stained glass knights and stone carvings, namely gargoyles and ripon demons, to escape and cause havoc - driving adventurers towards the Hall.
- The party can find The Trap through either a séance with Romanitza Albu, a gypsy, who can call on the spirits of Fawkes and Didi. Or, they can find the lone dwarven builder, Thigrear Forgebeard, who has been so drunk as to just stay at Dirty Dick's Pub day and night. He does have the gold. His nickname is Forgebeer.
- The Staff of Immortality lies in plain sight - it is held by the statue in the Bishop's Chapel. Klagg Twistedsoul has seen visions of the staff in his dreams for years. In these dreams, the statue crumbles and the staff rolls clear. In his dream, Klagg picks up the staff, empowered to bring the dead to life and grant immortality to himself. Now, Klagg has seen the statue in real life - although he is unable to break the code to release it. Instead, he waits in the Bishop's Chapel (when not on "official" duty for Longtail) to see if the xorns will cause the enough damage to crumble the statue - or if some unwitting party will do the deed for him. Klagg knows that once he has the staff, he will need to sacrifice a cleric of rank to "exchange" lives for the Baron's son and has chosen Father Dunhurst for the deed.
The Crown
King Doyle has taken up residence at the Broken Crown Pub disguised as a barmaid, Ella Rose, the "niece" of Victor Overby, the owner. Victor swears she is really his niece although he vaguely can't remember any details about her. She works hard for little money and the patrons like her, although they really can't remember much about her. The one distinguishing feature is that she wears a very unique perfume - smells like heather, honey and the sea. This is because Doyle has no way to mask his musk.
Doyle has several missions in Bishopshill:
- He is checking on Walworth and his stories of his madness.
- He is coordinating a plot to assassinate Melody (Sir Alex "The Axe" Redley).
- He is coordinating a plot to poison the town's water supply (Polyp).
- He will jump on any plot that will significantly weaken the town.
The Cult of the Shooting Star
The Cult of the Shooting Star has tendrils into the plot in several places, although they don't really have a "real" agenda. They will always be encountered in the street wandering around and trying to drum up gold and followers.
- Town kooks who rename themselves after every event - they were recently the Cult of the White Death (during a nasty snowstorm during the winter that froze all the water in the tanks).
- Living members are Tobias Trigg, Trixie, Bramblefall, Fletcher Lowe, and Rumplesong.
- What do the meteorites signal? The arrival of Dark Cloak a flying beast with tentacles that eats cows and will eventually attack Bishopshill.
- The cult goes on watch every sunrise with banners welcoming Dark Cloak.
- Two of their members - Sebastian Pool and The Phoenix are dead - caught in The Trap that killed Krib, Fawkes, and Didi. The members think they were visited in the night by Dark Cloak.
- If Dark Cloak is released, they will make camp at the top of The Spire with large signs welcoming Dark Cloak.
The Dragon's Egg
There are two primary places this action takes place: the Dragon's Camp and The Trap. The party may go to the Dragon's Camp on the first adventure or anytime thereafter. The Trap requires knowledge not yet known, so it is expected to come into play on the second adventure or later. Key points:
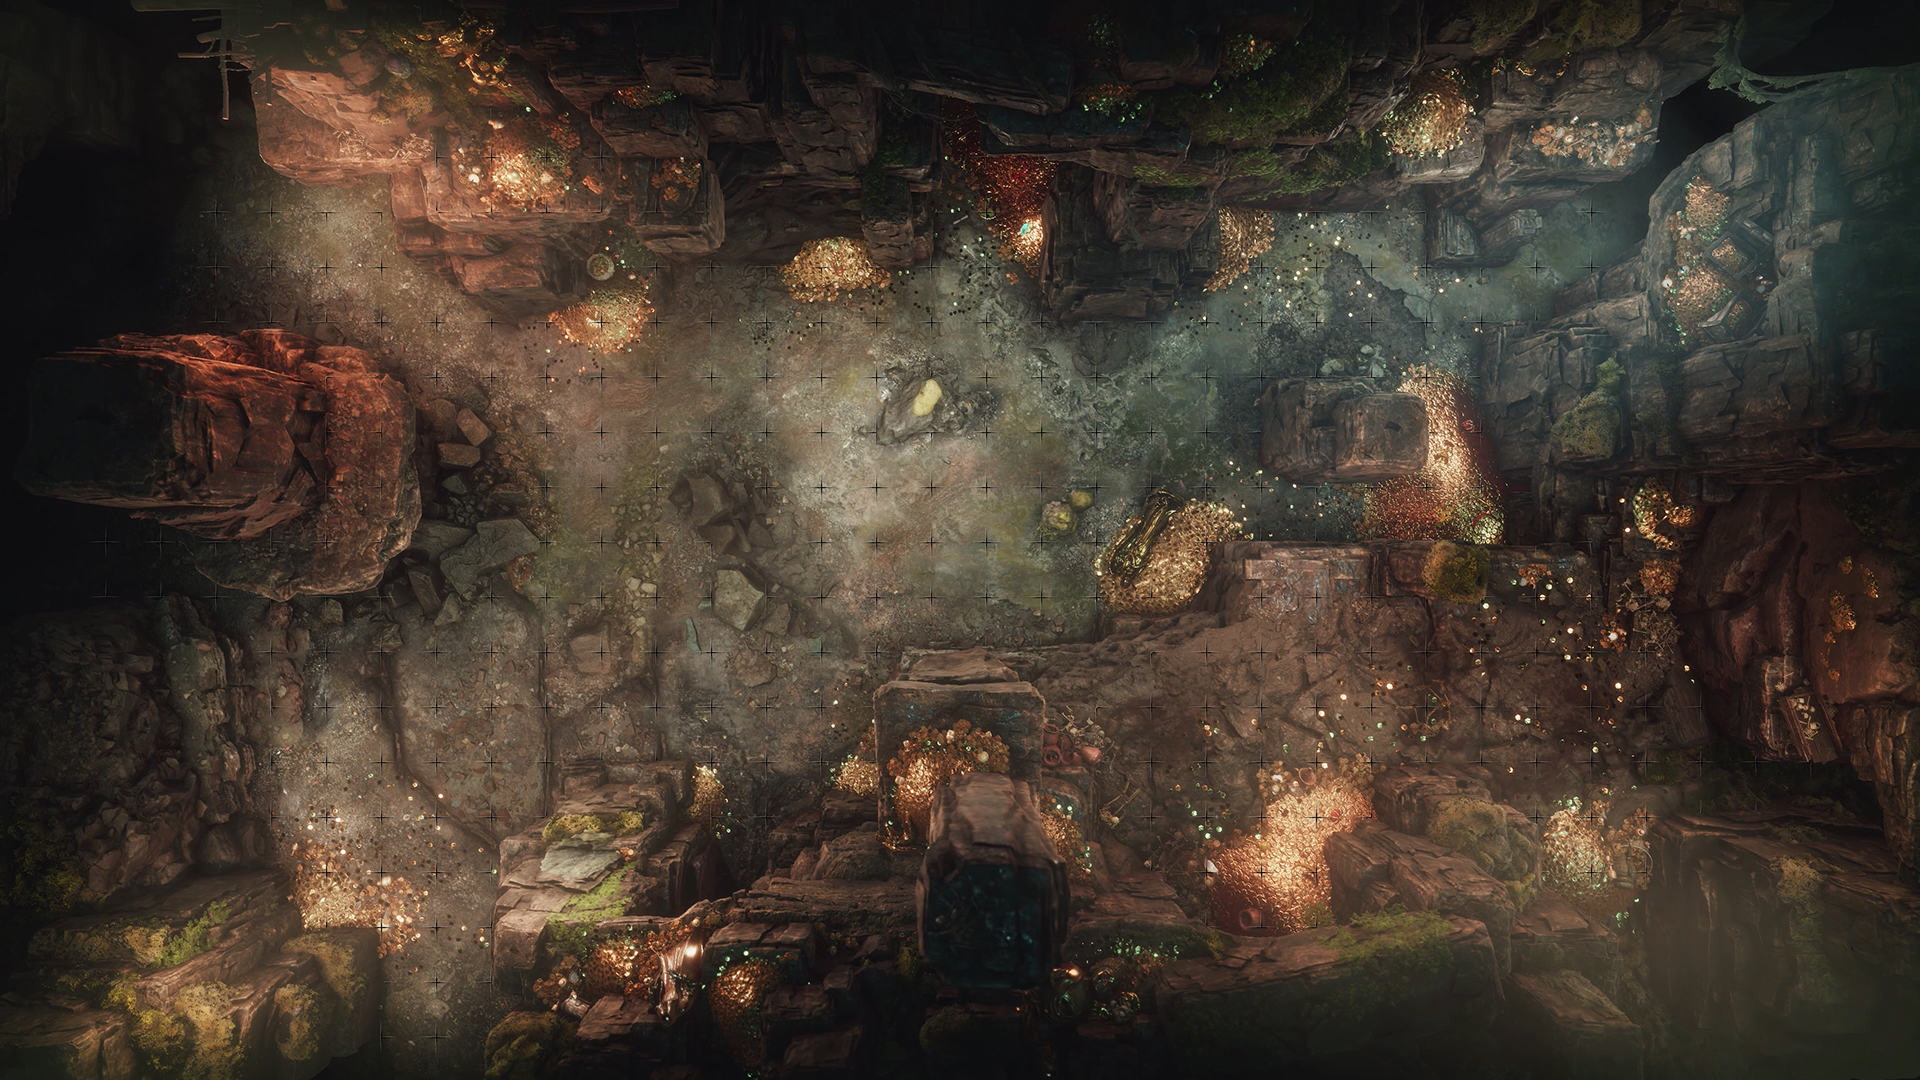
- Although it looks like a massive sapphire, the egg is actually a blue dragon egg, Longtail's Egg. It is believed that its clear color denotes the birth of a great, magic-using dragon.
- Krib is an old dwarven prospector and could hide anywhere - Krib's Cloak of Disappearance. He came out of the hills with a treasure the size of a dragon's egg - spent some odd-looking Second Age gold on drinks, and said that he was heading north to the Lesser Farthing Road to go to the Dwarven capital to sell his treasure and become a lord.
- Krib's activities and bragging about his treasure was his undoing. While trying to leave the city via the 300 Steps, he was followed, ambushed, and drug into a secret room along the stairs and killed and the egg was taken by two thugs from the Cult of the Shooting Star. After taking the egg, the brigands were interrupted just outside the door by Fawkes and Didi who accidentally set off a trap. Everybody was killed, and the egg was covered by the Krib's Cloak - double treasure!
- Meanwhile, the mama blue dragon, Orlyth Longtail, has gone on the warpath. Tracing Krib back to the city. A small group of goblins, orcs, ogres and giants have come to parlay with Melody for the return of the egg. The camp grows with each adventure, scaling to meet the challenge.
- The goblin shaman, Klagg Twistedsoul, is seeking the Staff of Immortality. He knows that the Bishop is tied to immorality and he needs the item to bring back Walworth's son.
- But Melody is about to be assassinated which will throw the city into chaos and leave no clear leader to parlay with the dragon - maybe the heroes?
The Heroes
The Heroes are all dead before the action starts, but they provide some early clues to the plotlines. Their headquarters was the Heroes Guild, and it might be a place the party explores in the early sessions.
- Fawkes and Didi set off the trap that killed Sebastian Poole and The Phoenix.
- Vivian died in the library while researching earthquakes and demons.
- Sonny and Storm were killed searching for assassins.
Walworth's Son
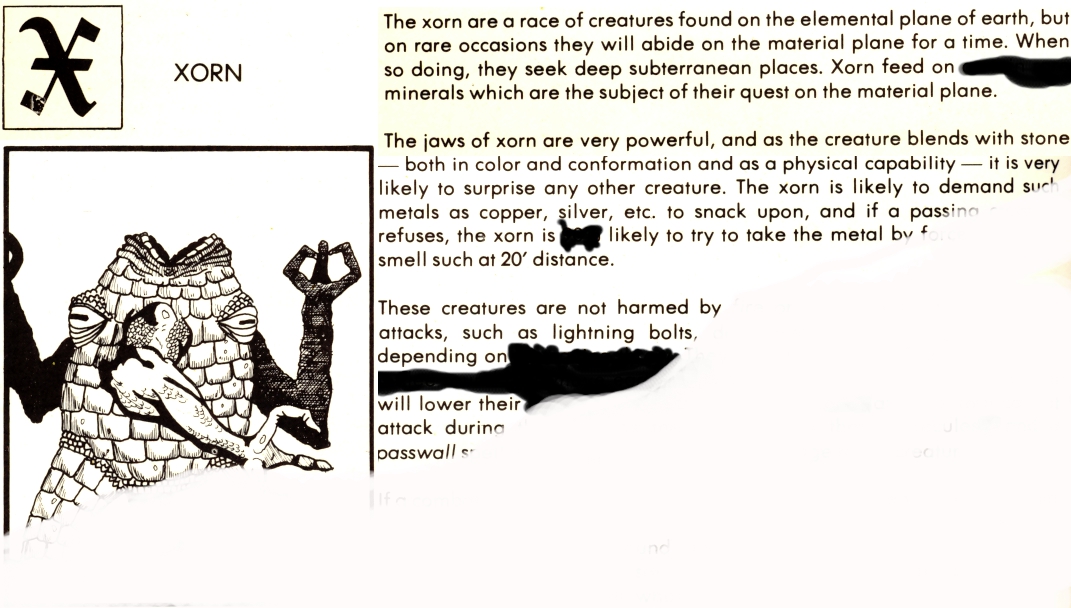
This plot will mostly unfold in Walworth's Camp and Xorn Caves under the Knoll where the xorn are making and collapsing tunnels. This is expected to be a late campaign encounter - maybe session four or five, although there are clues for early adventures. To get to the caves, the party will need Xorn Stones.
Baron James Walworth is in Bishopshill secretly meeting with the goblin Klagg Twistedsoul. In addition, he has brought a wizard, Xavier Stoneform, who carries the Staff of the Xorn (summoning and control). Xavier, a dwarf, has been summoning Xorn to slowly burrow rock from under the butte. Walworth's camp is in a secret cave at the bottom of the Knoll - where he can come and go without entering town. The camp is ably run by Aliya Byrne.
- It is the height of the Bandit Kingdom. Walworth is the newest barony. James Walworth fighting the Bandit Kingdoms. The paladins have not yet been called in to secure the area.
- The death of the baron's son has unhinged the father. Walworth is here trying to get his son resurrected after initial attempts failed. Sealed a pact with a local goblin shaman to do so.
- Rumors hold of ritual sacrifices before battle and inhumane treatment of bandit prisoners.
Notables
Storyboard
Adventure 1: Welcome to Bishopshill (N=0)
This adventure starts in the Broken Crown Pub. Victor Overby, proprietor.
Backstory Interlude: Each player (who wants to) draws a card from the deck. Tell a story from their character's point of view and gain a Benny.
Rumors: Thirteen rumors are available for this session. Success gets one, raise gets two. These will provide some clues to the party as to what is happening in town. A critical failure means that the listener is "discovered" by Ardith "the Hammer" Callaway, a retired soldier and general rabblerouser. He will cock a fist - allowing the offender to respond. Most likely he will swing away. Nonlethal damage.
- The Heroes are lost in the mountains seeking the source of Krib's treasure. F
- The Heroes Guild was closed today, and a sign on the front door says, "We're Adventuring!" T
- The Cult of the Shooting Star are watching for a portent - a creature from the heavens is coming to Bishopshill to save the believers. PT
- Nobbin Swampmoor had a dream last night that the Heroes are dead in Bishopshill somewhere. T
- King Doyle ("the Mask") is in the city scouting for a coming invasion. PT
- Father William Dunhurst of the Chapel of the Hearth has a deep dark secret in his past. T
- Talia Gray is raising a party to raid the next caravan on the Lesser Farthing Road. The caravan leaves in a few days and needs raiders. T
- Baron Walworth has gone mad and is sacrificing children to gain dark powers to summon demons to destroy Bishopshill. MF
- Lt. Otto slew a small demon in the streets near the 300 Steps last night, and it broke into shards of glass when killed. The shards have been swept up and are at the Garrison. T
- The Bishop in the Spire was able to grant immortality to his followers, and his secret lies in the Spire. T
- Krib was spotted leaving town two nights ago via the 300 Steps and the Grotto. He headed north towards the Lesser Farthing Road. F
- Orcs have been seen coming from the dark woods of the Dullstrand to the east. They have a small encampment a few hour's ride from town. T
- A tainted cask of wine at The Bell Freehouse made several patrons sick with stomach ailments. T
Bar Fights: Weapons and spells are not allowed in bar fights - always alerts the Constabulary. Fists are fine. Others joining in will cause Ardith's companions to join in. Chance of riot is 10% per round the fight goes on. The barkeep will try to move the action into the street. The winner gets an item from the loser, a Vicious Long Sword in this case.
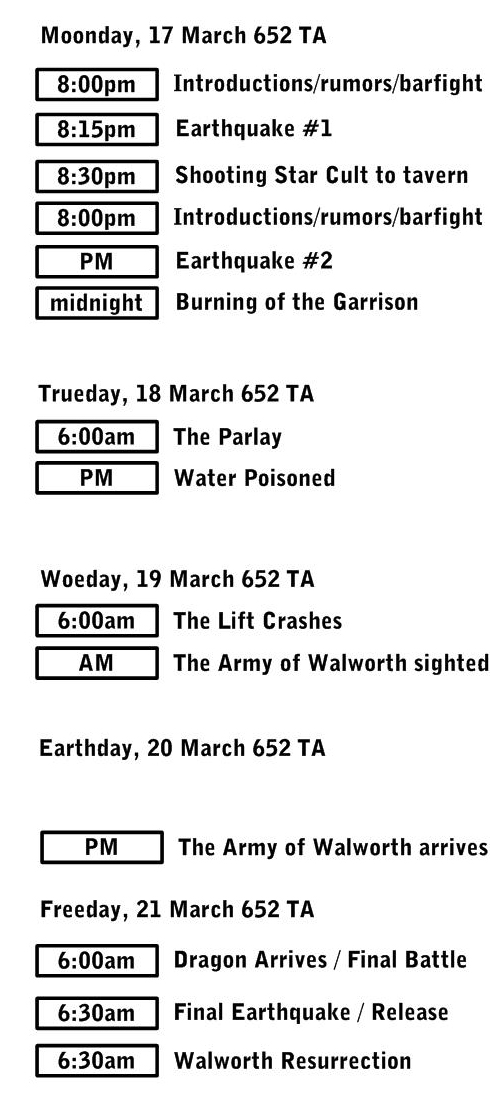
Earthquake #1: As soon as the introductions are over, the ground shakes.
Earthquakes are becoming commonplace with several happening each day. This has been going on for several weeks now.
The Arrival of the Shooting Star Cult
A few minutes after the earthquake, five members of the Cult of the Shooting Star will arrive.
- We are the Cult of the Shooting Star.
- Behold the sixth star has just been seen.
- Join us, brothers and sisters, the Dark Cloak from the heavens will soon ascend upon this forsaken town.
- Join us and watch the glory of the Dark Cloak at sunrise.
As the men begin to sing, the older leader moves between the tables with his long pointed hat out looking for "contributions".
Street Encounter: Poison
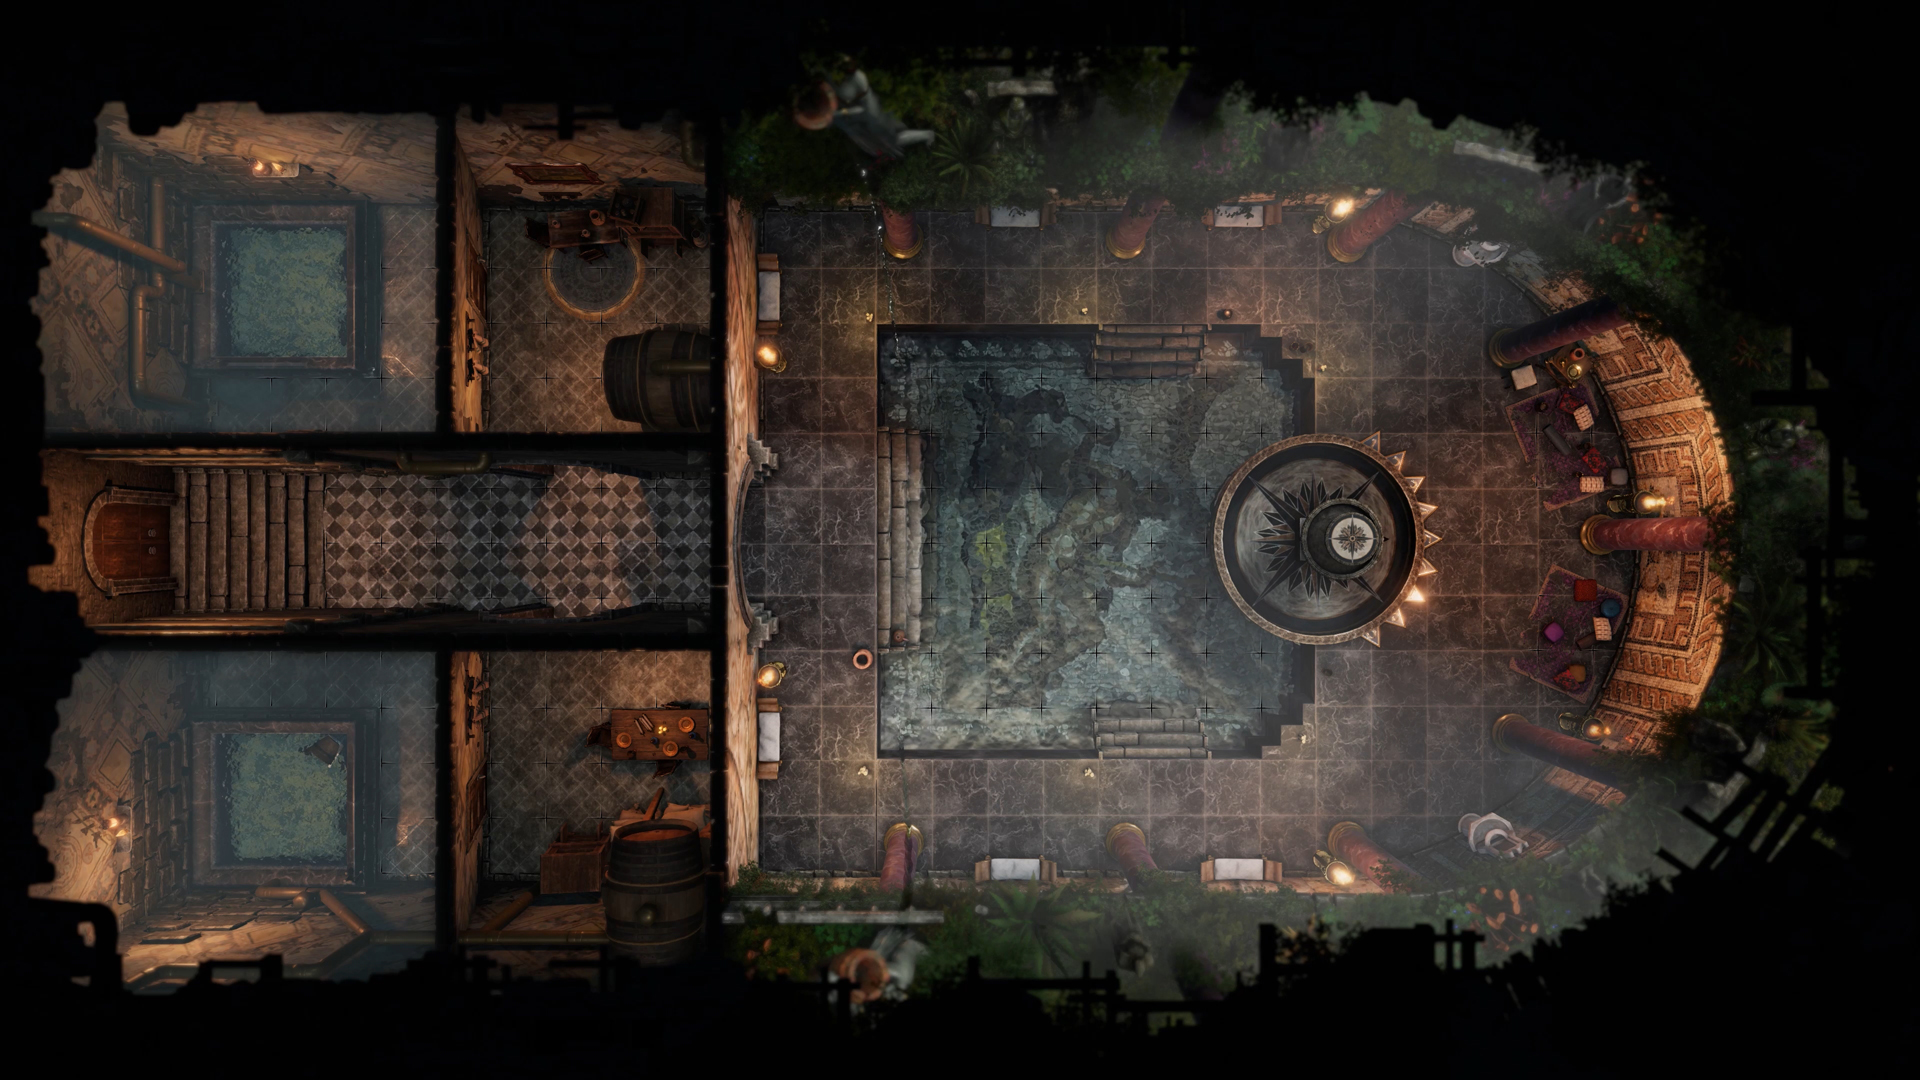
King Doyle has hired the services of Polyp, a poisoner who has arrived in town and is currently experimenting on the townsfolk. Polyp is a Dark Naga who has set up a headquarters in the building closest to the Tanks (#1 - near the Eagle and Child and Bell Freehouse). There, she is creating Poisoned Townsfolk that will eventually be put into the Tanks and poison the town water supply.
There are a network of very small, shallow tunnels that move water from the Tanks to buildings within town. These are small enough to be used by spiders and the like. They will carry the water from the Tanks once poisoned.
A couple of escaped Poisoned Townsfolk pursued by an ettercap to net them and bring them back. They will always be approaching from the north. If they reach the party (before exploding), they will say a single word, "Naga".
Street Encounter: Gargoyle
A hideous stone statue swoops down from above.
- They always come from the direction of the chapel.
- The gargoyle will crumble to rock dust if killed.
- If destroyed the chapel will be short one gargoyle.
- If needed, a stained glass knight can be added. The glass knights will crumble to shards if killed.
N=0 Magic Items: All weapons get a (1) enchantment, Helm of Comprehend Languages, Rhino Hide Armor, Ring of Feather Falling, Ring of Counterspells, Rod of Minor Metamagic, Grey Bag of Tricks, Boots of Elvenkind, Candle of Truth, Dust of Appearance, Harp of Charming, Hat of Disguise, Rope of Climbing.
Adventure 2: Strange Happenings in the City (N=3)
There are a number of paths the adventurer's could take from here. The notable events for the next few days are outlined below.
Rumors: And, there are thirteen new rumors:
- Brightheart is gathering a group of fighters to raid the orc camp to the east of Bishopshill. T
- Lucy Millby, the head librarian at the Millby School is a master of puzzles and codes. T
- The Heroes were last seen in front of the Broken Crown Pub breaking into three groups and heading in different directions. T
- A mysterious figure is bringing large sacks of copper coins into the Grotto each evening. T
- Two unidentified men, thought to be the Baron's men, were caught breaking into the City from the 300 Steps and are being held at the Garrison. PT
- A goblin has come demanding a parlay with Melody over the return of a blue dragon egg. T
- Thigrear Forgebeard, a drunk dwarf at Dirty Dick's Pub, predicts the 300 Stairs are going to collapse from all the earthquakes going on. F
- The mystic Romanitza Albu has returned to the city and is giving seances for those who wish to contact their dead loved ones. T
- Tobias Trigg of the Cult of the Shooting Star claims Dark Cloak has told him that The Phoenix and Sebastian Poole have been taken home. F
- The Bell Freehouse and Broken Crown Pub have escalated a war of tainted wine and beer to make the other's patrons sick. F
- Melody started the garrison fire because she wants to quit as Commander and leave Bishopshill to adventure with her lover. F
- Just before the garrison fire, a dwarf in a robe and staff was seen entering the Garrison on business with Melody. PT
- Ayla Waesfiel, the elven owner of the Bell Freehouse can stop time and move about the bar while the customers are frozen in place. T
The Burning of the Garrison (midnight 17 March 652 TA)
King Doyle, disguised as the barmaid Ella Rose, is currently getting information from both Redley and Polyp. Redley needs the Baron's men - currently held at the Garrison. Polyp needs the townsfolk's home water supply to be depleted so that his poisoning of the Tanks can be complete. Doyle's solution is to burn down the Garrison - which solves both needs. To do this, he hires Bayle, a hedge wizard who has a particular fascination with fire elementals.
Notice TN = 4
- The wall around the building is hampering firefighting efforts. In places, townsfolk are perched on the wall, accepting buckets from outside and passing them down to firefighters on the inside.
- The fire seems its most intense at the southeast corner of the compound near the gate. A small jail that is attached to the main building, the officer's house - where Melody Murphy works and lives, and the southwestern offices are in heavy flames. The northern and eastern barracks which houses the solider of the town guard are, so far, have been spared.
- The main efforts of the Bucket Brigade are coming through the front gate and attacking the blaze from the central courtyard and from inside the southern wall.
- Melody and the garrison staff are fighting the blaze valiantly.
Notice TN = 8
- Two human prisoners - for they are in shackles - are led from the prison yard out into the street. An Inspector leads the prisoners away, although none appear to be eager to stay. NOTE: They will make their way to Dirty Dick's Pub, although they will be hit by four assassins just outside the pub - with all attention turned towards the blaze. The assassins look like children, and they will kill all three, dragging their bodies behind the Pub for now (later to be "staged" at the Lift).
- Several large chests and several large boxes are being hastily carried from the Garrison office. These are being taken to the Church of the Heath for safekeeping. These are mostly official records, but it also contains about 12,000 gold worth of coins and gems and several magic items from the prisoners. Nothing will happen except for their delivery to Father Dunhurst for safekeeping.
- Near the Magistrates building, you see two figures. One is clearly a dwarf dressed in red armor. The other figure is slight of build and cloaked - human or elf, perhaps. You hear the mention of fire elementals, targeting the jail, and maximum damage. "Yes, yes, the reward will be yours once this deed is done."
Without party intervention, the fire will be put out about 4am. The north and east wings will be standing mostly in serviceable condition. The rest of the compound will be in smoking ruins.
N=3 Magic Items: All get an armor or weapon (2) enchantment, Lion Shield, Assassin's Dagger, Sleep Arrows or Bolts (20), Ring of Lightning Resistance, Ring of the Ram, Ring of the Skillful (Spirit), Immovable Rod, Gloves of Storing, Goggles of Night, Dark Blue Ioun Stone, Periapt of Health, Robe of Blending.
Adventure 3: City Under Siege (S=7)
There are still more events that are happening to Bishopshill.
The Parlay (dawn 18 March 652 TA)
Shortly thereafter...
After the meeting, the goblin waives his hands, and the ogre, the tent and all the other items in the parlay will disappear leaving only the ring of the fire pit and some trampled grass behind.
Melody will order the towns guard to double duty to search the city for a blue dragon's egg, supposedly stolen by Krib. Signs will be posted for an unspecified reward for the return of the egg to Melody within 24 hours. Another sign will be posted that thanks the town for their efforts and says the Tanks will be opened shortly to allow the townsfolk to refill their home water supplies. Town engineer is: Russell (no last name)
| By Order of the Commander of Bishopshill.
All citizens are to actively search for a blue dragon's egg, stolen by the dwarf prospector Krib and lost somewhere within the town. It's last known location was the Broken Crown Pub several days ago. If found, do not attempt to touch or move the egg. Report immediately to the nearest Constable or Inspector. A large reward is offered and secured by me personally. Melody Murphy, Commander Also, due to the water used to combat the fire at the Garrison last night, the town engineer will open the Tanks tonight and allow household water supplies to be refilled. We are all grateful for the timely and organized help given to save the Garrison. A large reward for any clues as to the arsonists is offered and secured by me personally. MM |
IF THE PARTY STEALS THE TREASURE
| Finally, a theft of the town books has occurred along with some of the tax monies used to run the town. This robbery occurred during the fire last night somewhere between the Garrison and the Church of the Hearth. A large reward for any clues as to the thieves is offered and secured by me personally.
MM |
Street Encounters
- Various 9 stained glass knights; 5 gargoyles, and 20 rippon demons are wandering about the town causing havoc. These will eventually become Dark Cloak's minions.
- The party meets Romanitza Alba - or a happy customer on the street saying that the gypsy has let them talk to the dead. Ouija board.
- The only patron left in the bar is Thigrear Forgebeard, the drunkard who built the step. Clue to landing 42.
- The Baron needs to bring sacks of copper coins in through the Grotto to feed the xorns. Can't store them here or the xorn will eat them.
- Cult of the Shooting Star has a growing crowd of followers. Dark Cloak is coming we will welcome him at the Bishop's Chapel. This will become their permanent camp.
S=7 Magic Items: All get an armor or weapon (3) enchantment - or give them double the items, Banded Mail of Luck, Minor Belt of Physical Strength, Flame Tongue - payment to Bayle, the dwarf arsonist, Ring of Spell Storing, Rod of Wonder, Rod of the Python - treasure for killing Polyp, Amulet of Minor Natural Armor, Belt of Physical Might, Boots of Speed, Pink Ioun Stone, Novice Pearl of Power, Stone of Good Luck (Luckstone).
Adventure 4: The Crown's Deceit (V=11)
This adventure will mostly likely wrap up the Crown's deceit - namely, the attempted poisoning of the town water by Polyp and the assassination of Melody at the Lift. At this point, the King Doyle has done what he can to cause mayhem.
King Doyle will wait around until the final battle - although Polyp and Redley and their henchmen will have departed. It is possible that he will be found out or somehow involved in the final melee. If it happens, this is where the King may be killed - which is how the "official" history is currently set on the website.
It is during this adventure that the army of the Baron becomes known.
The Poisoning (evening 18 March 652 TA)
Just after sunset, the town engineer, Russell, will go to The Tanks to release the water into the city's pipes. He will be ambushed and killed by Polyp, the Ettercap, and Doyle's guards as soon as the trap door is opened.
Then, the Poisoned Townsfolk from the Bathhouse will be led up to The Tanks - where they will jump in. The valves will be turned, and the poisoned water will flow.
This will not kill all the townsfolk, but it will make them sick - effectively bringing the town to a standstill.
Once this has happened, Doyle will pay Polyp for his service, and the poisoner will leave town.
The Lift Crashes (dawn 19 March 652 TA)
Notice TN =4: You could swear that you saw several bodies fly out into the air when the Lift separated from the cliff face and lurched forward. The bodies were quickly lost in the rubble at the bottom of the accident.
If Detect Magic is being used, the caster will notice that magic failed as the lift separated from the side of the butte.
The Army of Walworth (mid-morning 19 March 652)
V=11 Magic Items: Oathbow, Sword of the Planes, Ring of Evasion, Ring of Invisibility, Rod of Negation, Major Amulet of Natural Armor, Winged Boots, Major Bracers of Armor, Dimensional Shackles, Lantern of Revealing, Periapt of Proof Against Poison, Vibrant Purple Ioun Stone.
Adventure 5: The Dragon's Egg (H=15)
This adventure will, most likely, be the Heroes trying to find the Dragon's Egg and return it to Orlyth Longtail. This might include a foray to the Dragon's Camp. Still unresolved may be the Grotto, Walworth's Camp and the Xorn Caves - to stop the xorn. Finally, there is the question as to whether the party will go into the field to meet the Baron's Army - seems unlikely, but you never know.
The Army of Walworth (evening 19 March 652)
H=15 Magic Items: Helm of Teleportation, Ring of Regeneration, Ring of Telekinesis, Rod of Absorption, Rod of Rulership, Staff of Abjuration or Evocation or Necromancy, Wings of Flying, Veteran Pearl of Power, Manual of Attribute Increase, Cloak of Displacement, Major Bracers of Armor, Major Belt of Physical Might.
Adventure 6: The Beast of Bishopshill (L=20)
This is the final battle which will pit the denizens of Bishopshill against three potential foes:
- The armies of Baron Walworth and the xorn earthquakes.
- Dark Cloak, if the party has either released him or failed to stop the xorn.
- Orlyth Longtail, the blue dragon mother, if the party has failed to return the egg.
By this time, the party should have assumed the mantle of the Heroes. And, thus they are now bound to the city and its people. This is also the adventure where (most likely) the resurrection of the Baron's son takes place, if Klagg gains the Staff of Immortality. This is also where The Bishop can be summoned - who will come as a disembodied spirit to protect the city during the final battle. They will, of course, need to have taken the staff from Klagg and stopped the resurrection of Jon Walworth. As a final twist, Dark Cloak may assume the body of James or Jon Walworth - thus becoming immortal and leading to the current storyline behind Walworth Castle.
Immortality (just before dawn 21 March 652 TA)
The piles of rock are actually stone giants - set there to guard the entrance by Klagg. They will attack any creature that approaches the chapel and can see invisibility through a special gem in their eye socket (one gem per giant). Gems of True Seeing
This is the resurrection ceremony for Jon Walworth. His father, the Baron, is here and will attack anyone who enters the chapel. As long as the goblin lives, lightning elementals will be summoned each round to aid in the protection. This is a Dramatic Task.
- Klagg must collect eight Task Tokens in five rounds.
- Spellcasting skill check for each round (d12 for Klagg).
- Crit Failure: -1 Task Token
- Failure: No Task Token
- Success: +1 Task Token
- Raise: +2 Task Tokens
- If Klagg's action card is a Club, complication - something has gone wrong (-2 to attempting the task).
- If the task is complicated AND fails - the ritual is over, failed. Can opt not to take an attempt with a Club.
If unsuccessful, Jon remains dead. Father Dunhurst dies, Klagg will teleport away (if he can) with the staff.
If successful, Jon animates and moves to help his father - Jon is now immortal. Again, Father Dunhurst will die, and Klagg will teleport away.
Summoning the Bishop
If the party gives the staff to the ghost, the Bishop will be summoned.
During the final battle, the Bishop will hold the attacks at bay allowing the party to determine which order they want to resolve the battles: Dragon, Pit Fiend, Army.
If the staff is not given to the Bishop, the figure will fade away leaving the party in control of the staff but without the Bishop's boon.
A Son Reborn
The fate of Jon Walworth is an important link to the ongoing story. If Jon is resurrected, then he becomes the immortal terror that will haunt Walworth Castle in the aftermath of the big battle.
Jon will fight to protect his father (if still alive). Otherwise, he will fight to escape Bishopshill and return to Walworth Castle - killing any in his wake. Since he does not know where he is, he will have to discover the 300 Steps to get down.
If Jon is not resurrected, then he will become the vessel for the Pit Fiend, the immortal terror that will haunt Walworth Castle in the aftermath of the big battle.
The Pit Fiend will attack any nearby - continuing the fight in above the city. If the cause is lost, the creature will retreat to Walworth Castle.
The Battle (just before dawn 21 March 652 TA)
If Darkcloak is in play,
If Orylth Longtail is in play,
Bishopshill and Environs
Environs
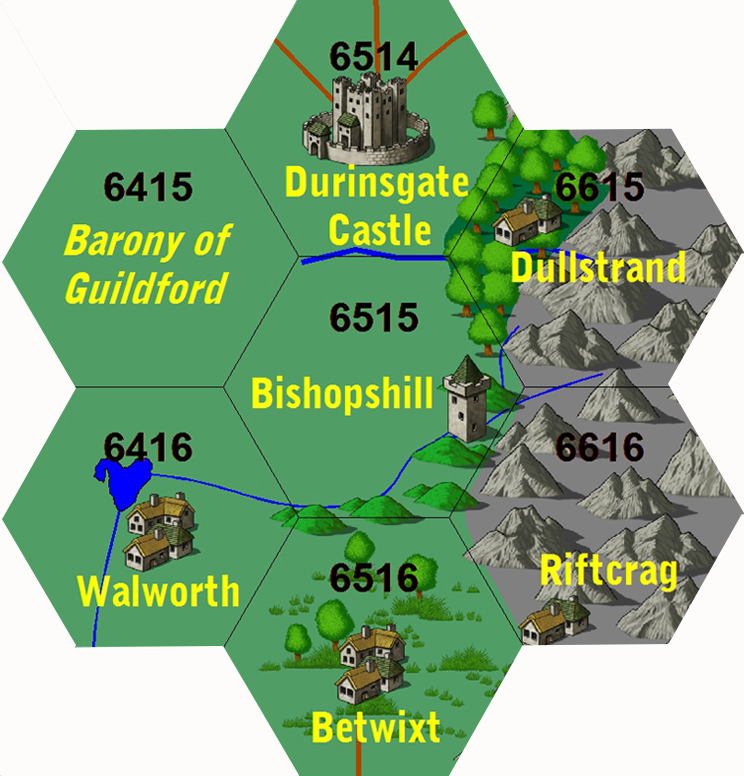
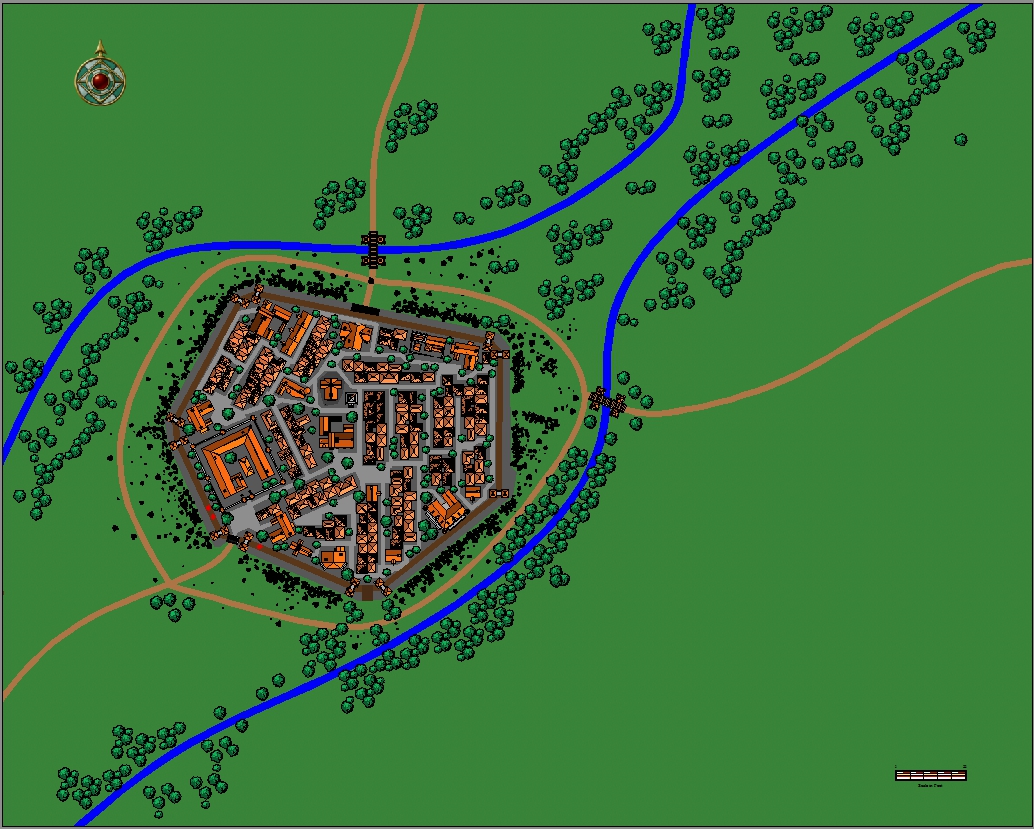
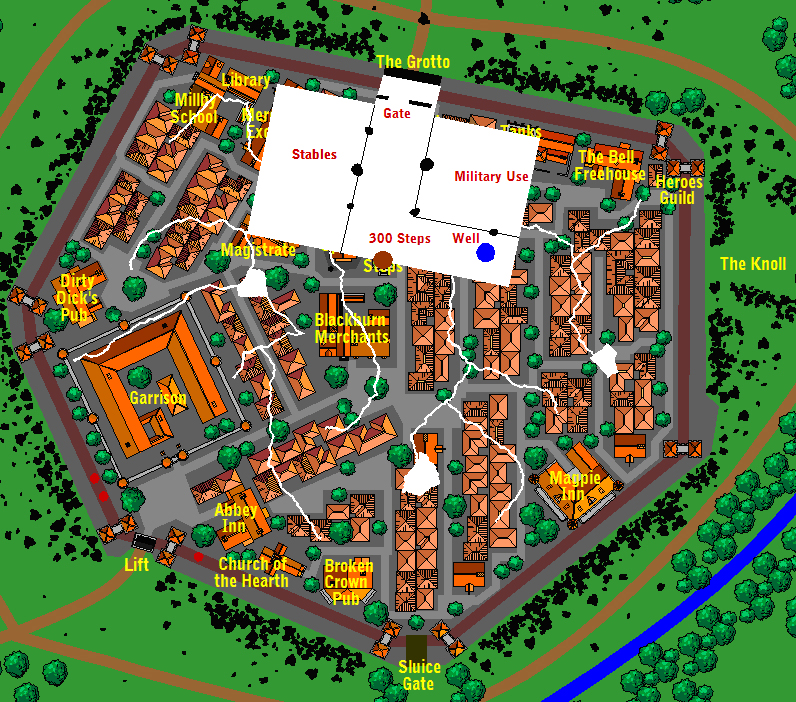
Bishopshill is a butte several hundred feet in height. It rises from the plains in dramatic fashion, creating a defensible location with 360 degree views of the surrounding area. The area around Bishopshill is good grassland, although too rocky for large-scale farming or agriculture. The land is mostly used for grazing cattle.
To the east lie the wild and dark woods of the Dullstrand with the Shadowyarn Mountains peaking through the canopy of trees. To the south, the forest gives way to the Direhaunt Swamp, a morass formed by the streams that run out of the mountains. To the north and west lie the plains of the middle Reaches. To the southwest, some sixty miles distant, is the newly-built Walworth Castle, a stronghold of Crown ambition to tame the Bandit Kingdoms - to date, ineffective at curtailing the activities of the brigands. To the north lies the Lesser Farthing Road, ripe with rich merchant caravans travelling between the Western and Eastern Reaches.
The butte, called the Knoll, has been shaped by human habitation over the Ages. Most notably the town of Bishopshill has been built atop the hexagonal butte in an area approximately 16 acres in size. The town of Bishopshill is entirely contained in that area. Encircling the edge of the town, a wooden palisade has been constructed - not for defense against knights, as it would be impossible for an army to scale the sides of the butte. Rather, the palisade provides an easy way to move troops and the three large wooden catapults along its walls. The catapults can be quickly positioned to repel foes coming from any direction.
At the center of the town, another natural shaft of hexagonal stone extends forty feet in height. Eighty feet in diameter, a small stone chapel has stood balanced on this feature, called the Spire, since the Second Age. The chapel is not used for worship but can be reached by a rope ladder that allows uneasy access.
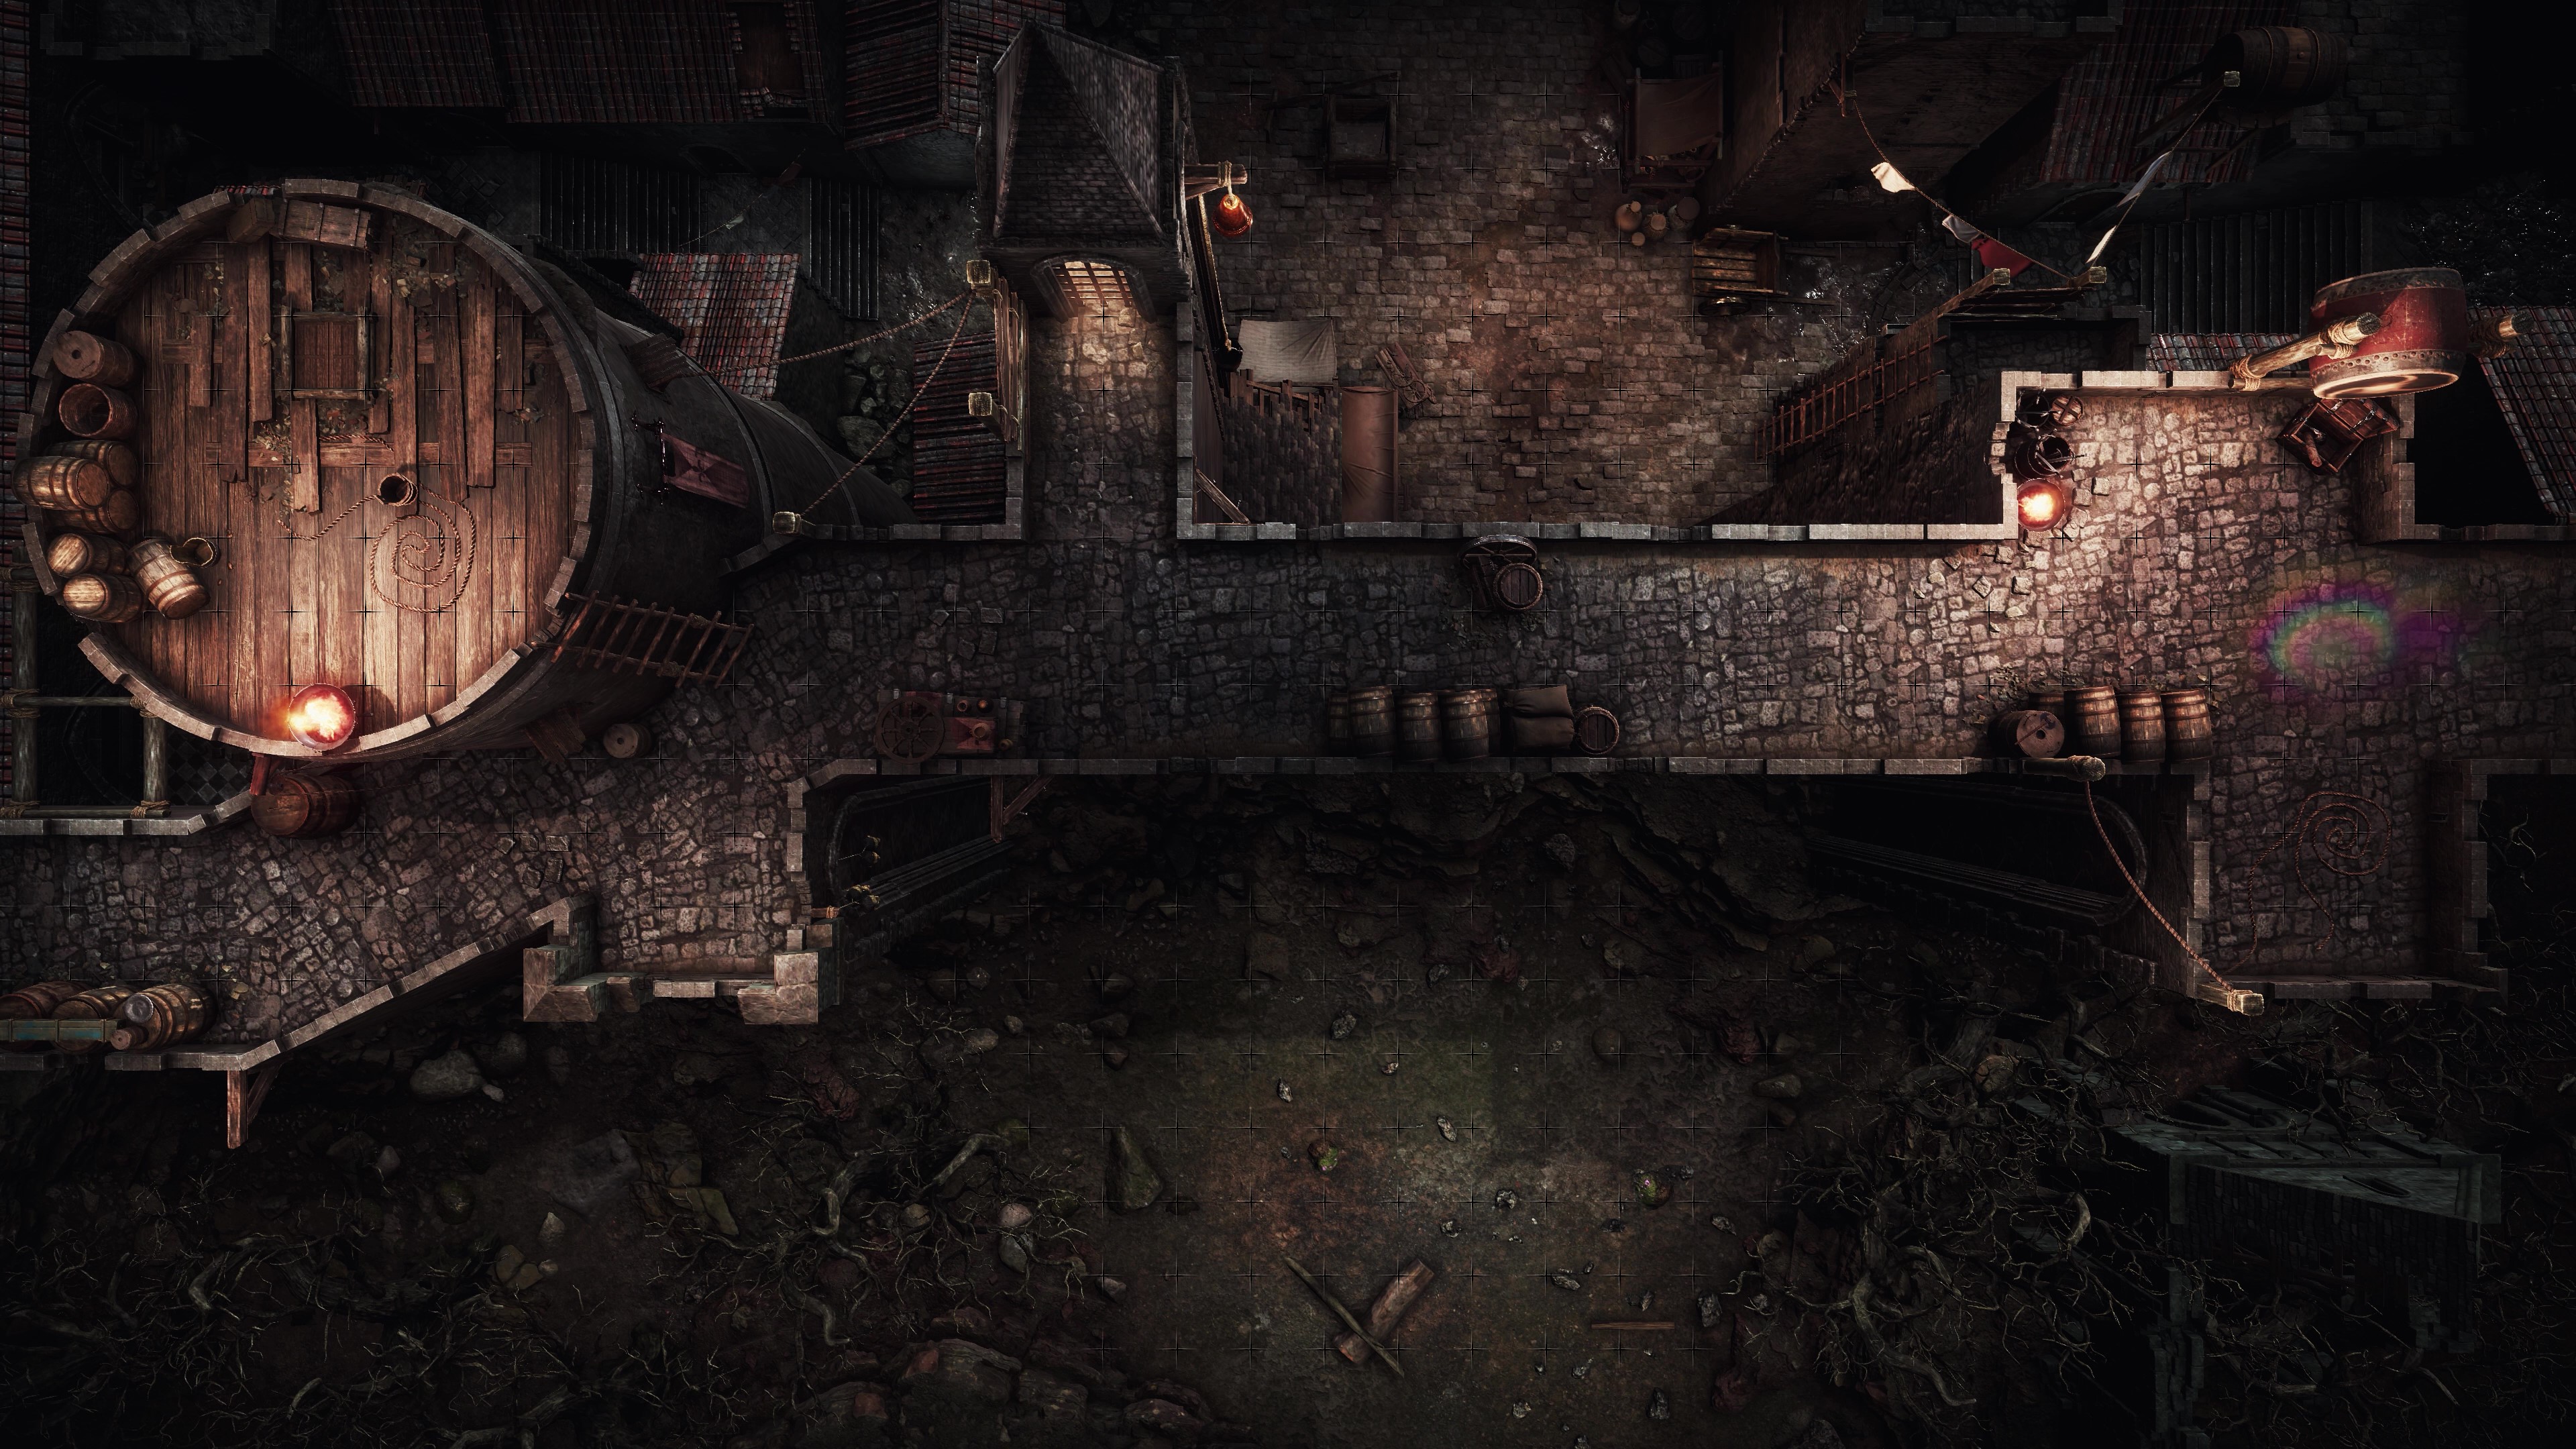
The base of butte is very rough land, filled with scree, rubble and trash thrown down from the town above. Access to the town is via a large wooden elevated platform that is built on the southwest side of the Knoll. It can carry a large wagon and is raised and lowered by a team of horses that pull large ropes through a network of pulleys. In time of war, the platform is locked in place at the top of the butte.
Recently, a cave, affectionately called the Grotto, has been carved into the base of the butte by a team of dwarven engineers. A large iron portcullis allows for the Grotto to be secured when necessary. This cave is used to secure cattle and provisions for emergency use, and a well has recently been dug to supply water when the tanks in the city run dry. A single set of spiral stairs have been carved, at great expense, between the Grotto below and the town above.
The Town of Bishopshill
Bishopshill is a town of five hundred souls. At any one time, there are usually one hundred visitors in town - filling the lodgings provided by six pubs and inns.
The reputation of Bishopshill in the Reaches is one of a decrepit den of sin and thieves, barely held together by lawless brigands. Nothing could be further from the truth.
The town is managed by Melody Murphy, a former brigand and legendary sword fighter, named for her habit of whistling while cutting down enemies. Tough and fair, she was elected by a majority of the five hundred souls that call Bishopshill home.
The town is very compact with almost all buildings being two stories in height and sharing walls with their neighbors. The ground floors tend to be shops, stalls, workshops and the like with residences above them. Every roof is fitted with a rain barrel as carrying water up to the top of the butte is a miserable task. Many roofs also have a small garden planted for use by the household. By Reaches standards, the buildings of Bishopshill are in good repair thanks to a number of artisans, abundant stone, and solid local timber. Because of the hardness of the caprock, there are no cellars or basements in Bishopshill.
On the downside, Bishopshill is known for high winds and frequent lightning strikes which often hit the Spire during storms.
Efficient use of space includes a number small fruit trees which provide the town with delicious apples, peaches, and cherries - some of which is made into spirits, but much of the fruit provides a variety to the staple diet of beef and dairy.
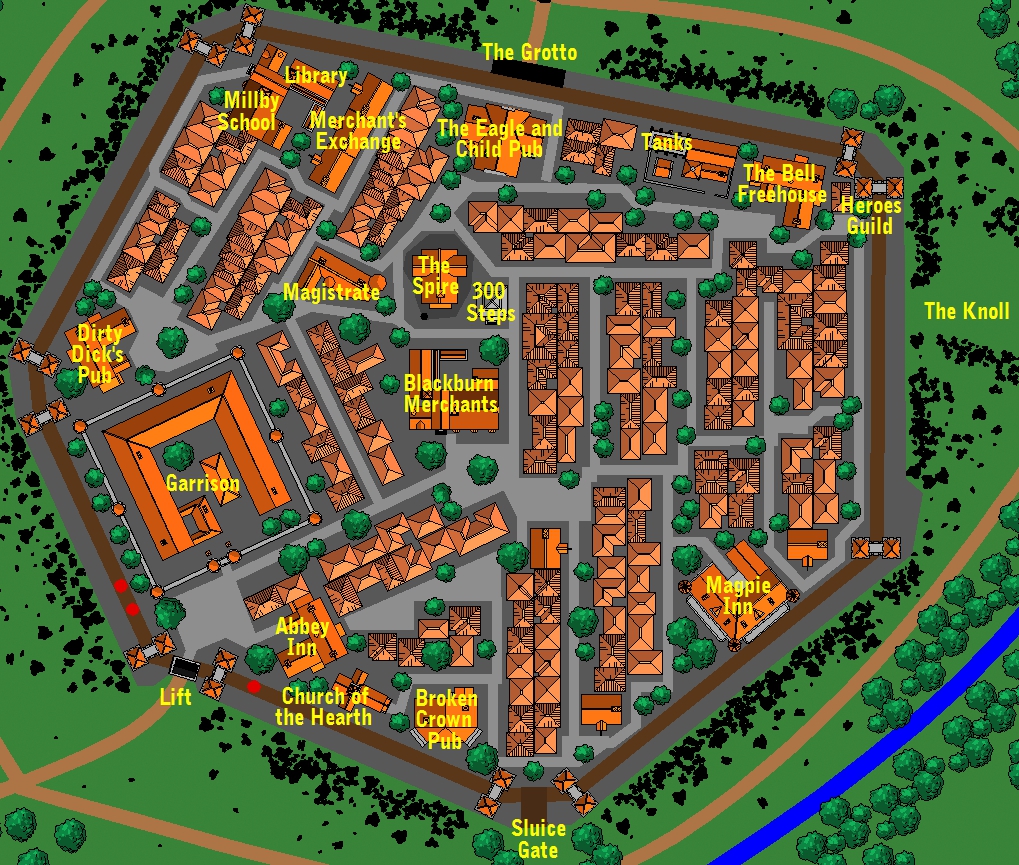
Notable Places
There are approximately twenty large buildings on the Knoll and one hundred sixty seven small homes averaging three inhabitants per home. There are fewer children in Bishopshill than is typical for similar-sized towns, although all the races of the Reaches are all well represented.
300 Steps
The 300 Steps have recently been completed by dwarven engineers who burrowed up from the Grotto below - providing both easy access and an escape route if needed from the Knoll.
If it had been a dwarven stairs, it would have been perfectly straight with all the loose bits filled in. The landings are numbered from Grotto to Town - 1 to 50.
A number of landings have passageways behind them, dutifully filled in by the dwarves, although a few secret doors have been left under special situations.
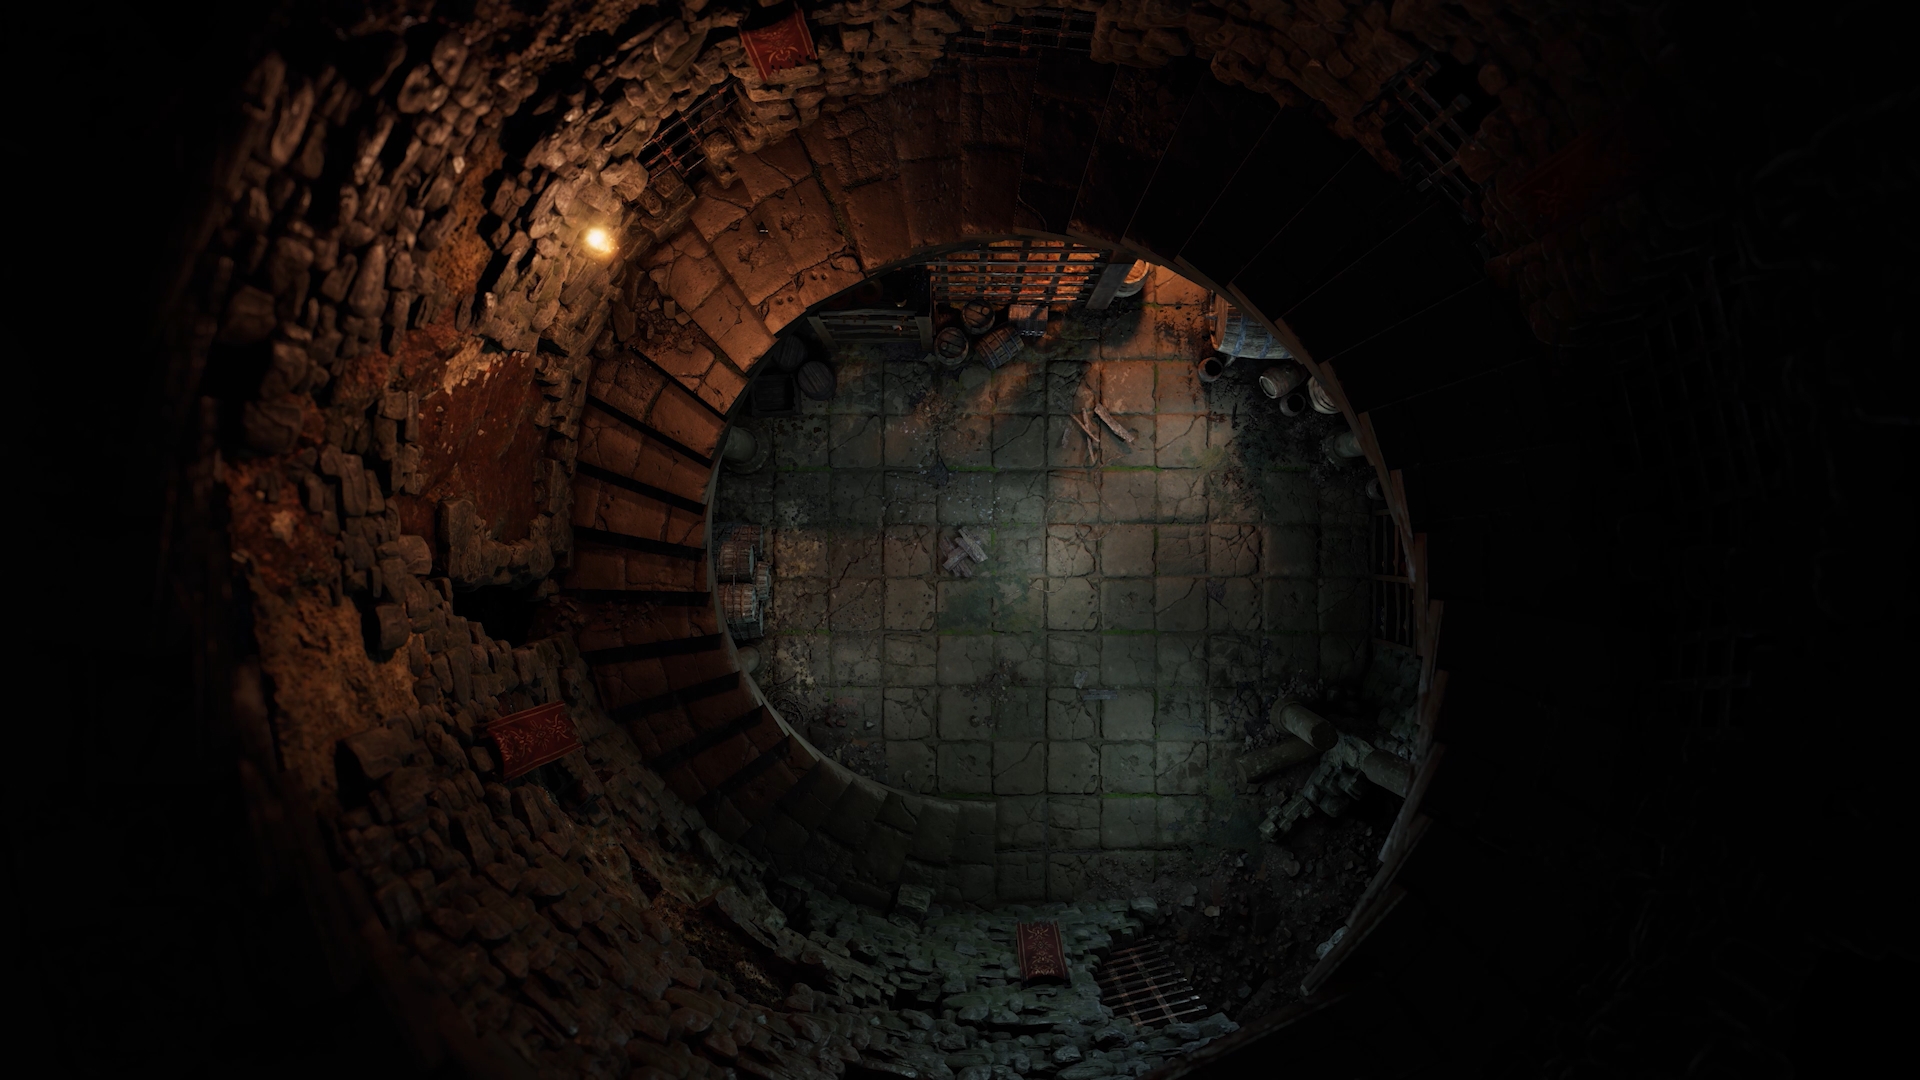
One of these is Landing 42 - which had a strange passageway to a subterranean fan the dwarves determined was from the First Age. They couldn't figure out what it was for, so they walled it off - but left a dwarven secret door for future access. This is The Trap.
The Trap
There is one area of this landing that seems cleaner that the rest. Dust has been swept aside and several pots have clearly been moved recently.
Faintly etched into the stones on Landing 42 are some dwarven numbers.
The rules of the puzzle might be known by a dwarf - or can be bought by Thigrear Forgebeard in Dirty Dick's. Each of the puzzles below is actually 3 puzzles in 1. First black out 2 of the squares so that the remaining equation is true. Then black out 3 different squares to make a correct equation. Then do it with 4 squares. The standard order of operations is used: multiplication and division are done before addition and subtraction. Only whole numbers are used, though the results might be negative.
Solving the puzzle causes a cube of stone about 5 feet in size to move in and up, disappearing into ceiling of a short hallway - about 10 feet in length. Beyond the carved dwarven hallway is an ancient passageway, clearly First Age in construction.
IMPORTANT: This "fan" is an antimagic device that pushes air up through the ceiling tunnel which leads to the statue of Dark Wing - keeping him from using his powers to call out from his prison.
Magic doesn't work here. Magic light sources fail, remember. And the shaft cannot be scryed because, well magic doesn't work.
The floor is exceedingly weak here. Any weight has the possibility of dropping the party.
Beyond the blades, the shaft continues for another 20 feet. Five bodies can be clearly seen below. One is that of a dwarf, a dagger protruding from his back. The other four are humans, three men and a woman. It is difficult to tell their features from here, but it is clear that they were hit by the fan on the way down - their bodies are twisted, slashed and broken at odd angles.
These are: Krib, Fawkes, Didi, Sebastian Poole and The Phoenix met their doom. Sebastian Pool learned of the passageway from Thigrear Forgebeard during a drinking contest. When the knew Krib was leaving with the egg, they ambushed him on Ledge 266. But, they didn't count on the fact that Fawkes and Didi were following them - tipped off about a plot to steal the egg. So, after they stabbed Krib. Fawkes and Didi jumped onto the platform - which promptly collapsed, and since magic didn't work, they all died.
This shaft contains: Longtails' Egg, Krib's Cloak, standard treasure
Bell Freehouse
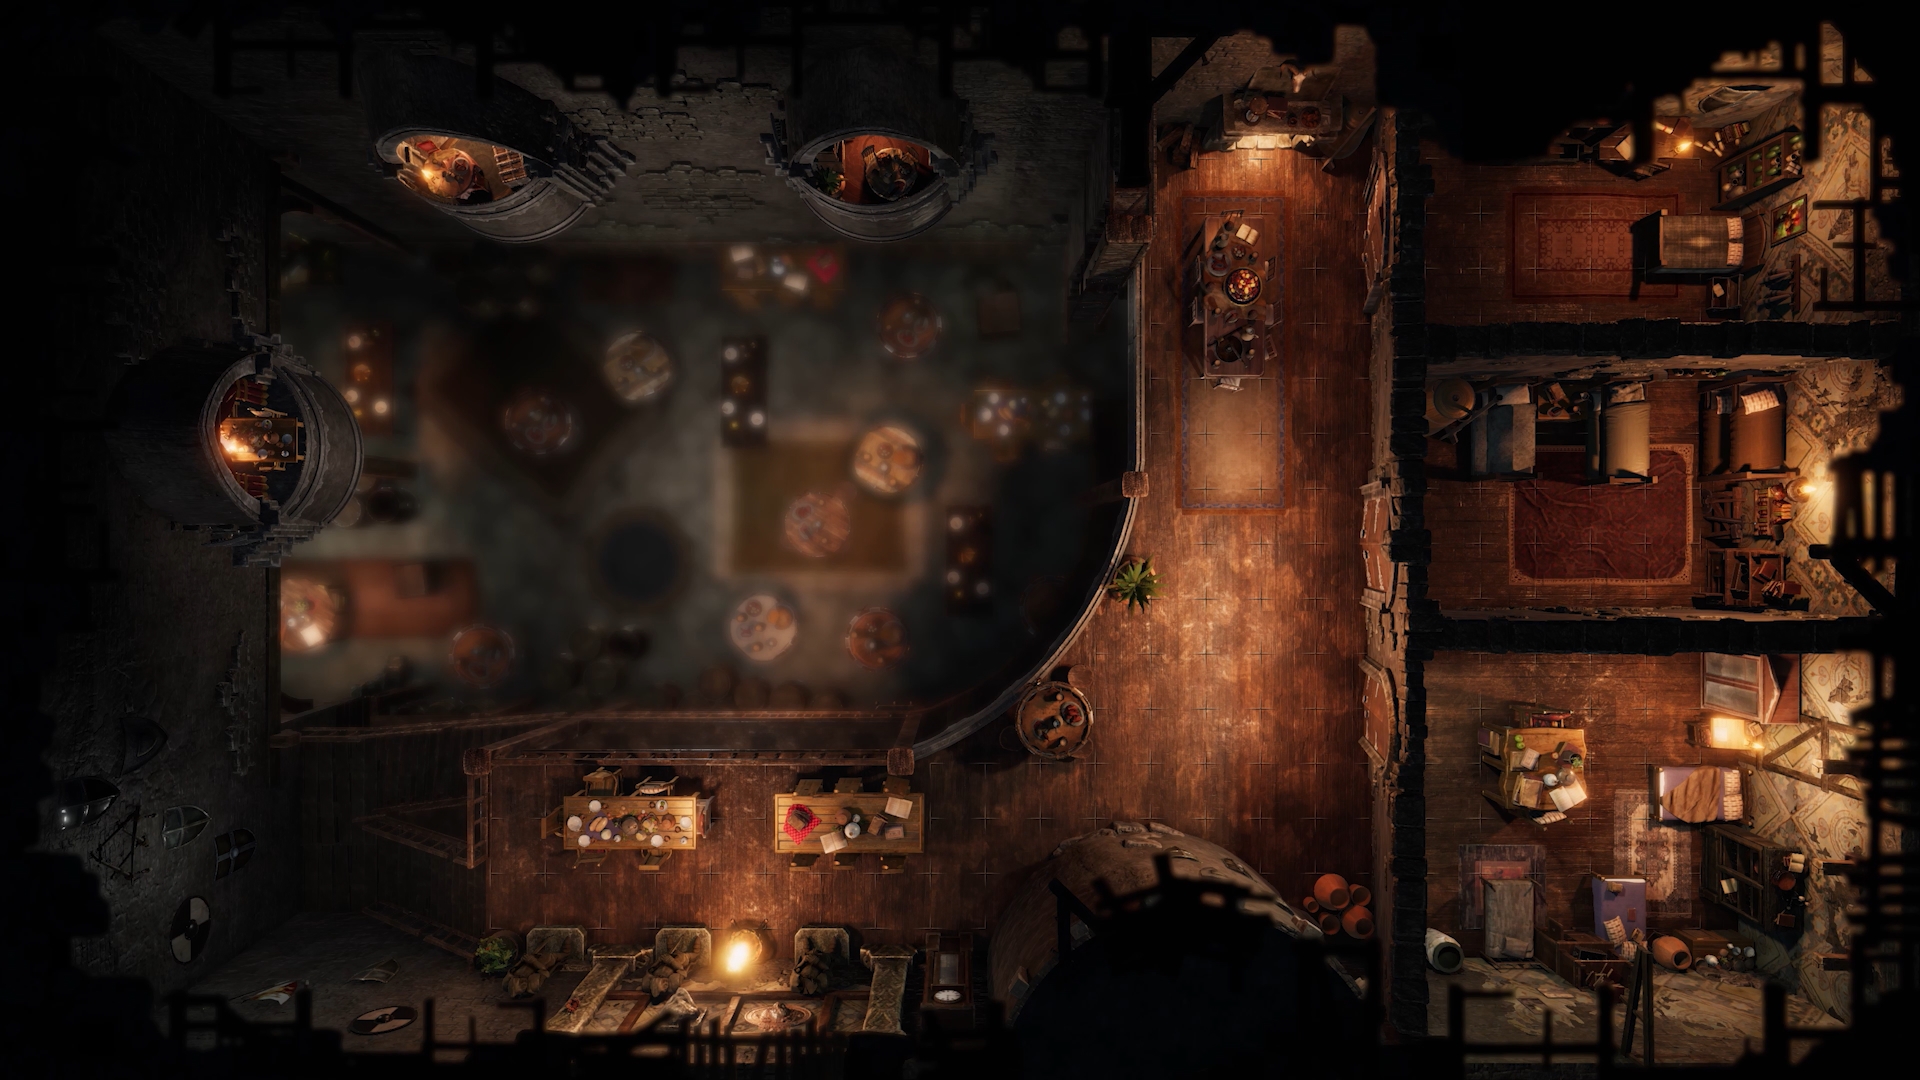
The inside of the pub is comfortable, catering to a diverse crowd but specializing in the merchants and artisans of Bishopshill. It is not uncommon to see wondrous wares on sale at the bar - previews of coming goods and new inventions. To display at the Bell Freehouse is a feather in the cap of merchants and town artisans alike.
The pub is run by an elf woman, Ayla Waesfiel. She is tall with unusual dark hair and piercing green eyes. Some believe Ayla is a half-elf, but almost all believe she is a wizard of some capabilities. She acts as the Pub's innkeeper and shows magical dexterity in mixing drinks flipping bottles and making pours from impossible ranges. There is a rumor she can stop time allowing her to move quickly about the bar when the patrons are frozen. As such, there are very few fights in her establishment.
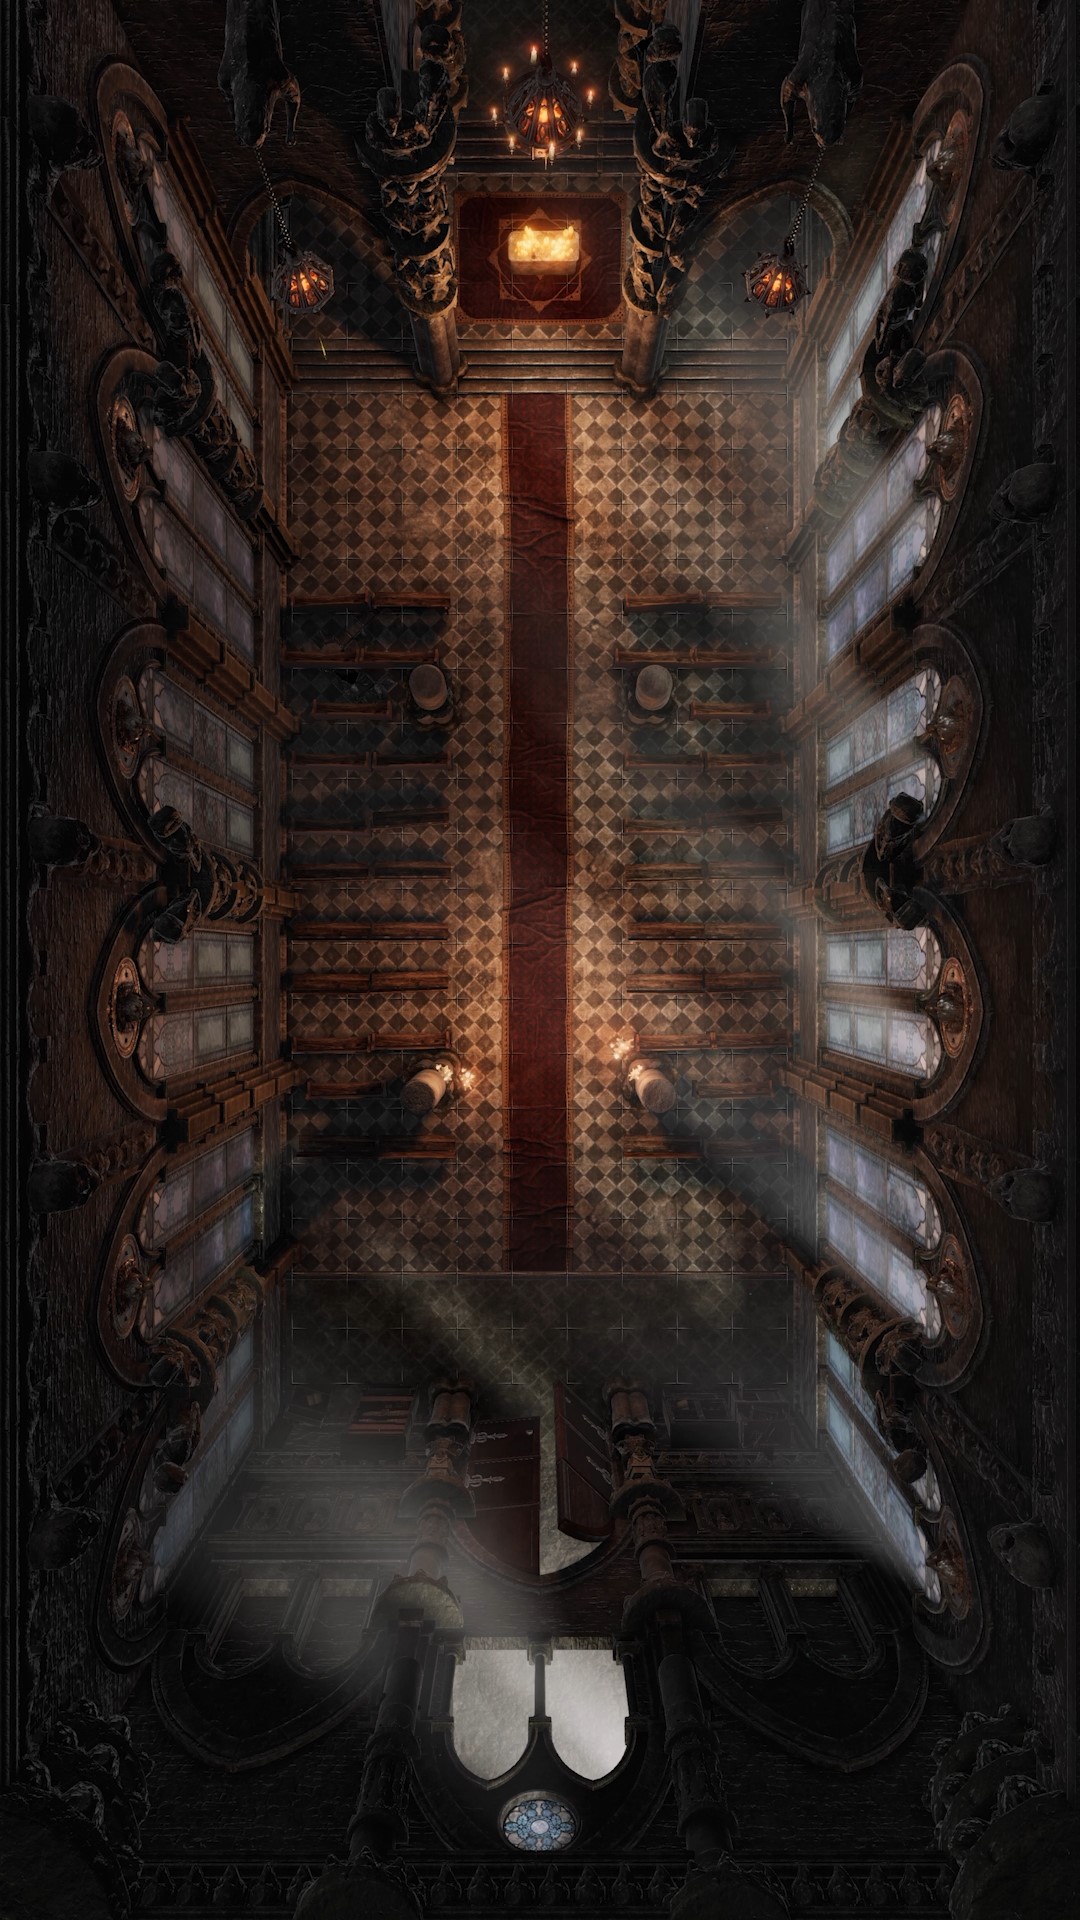
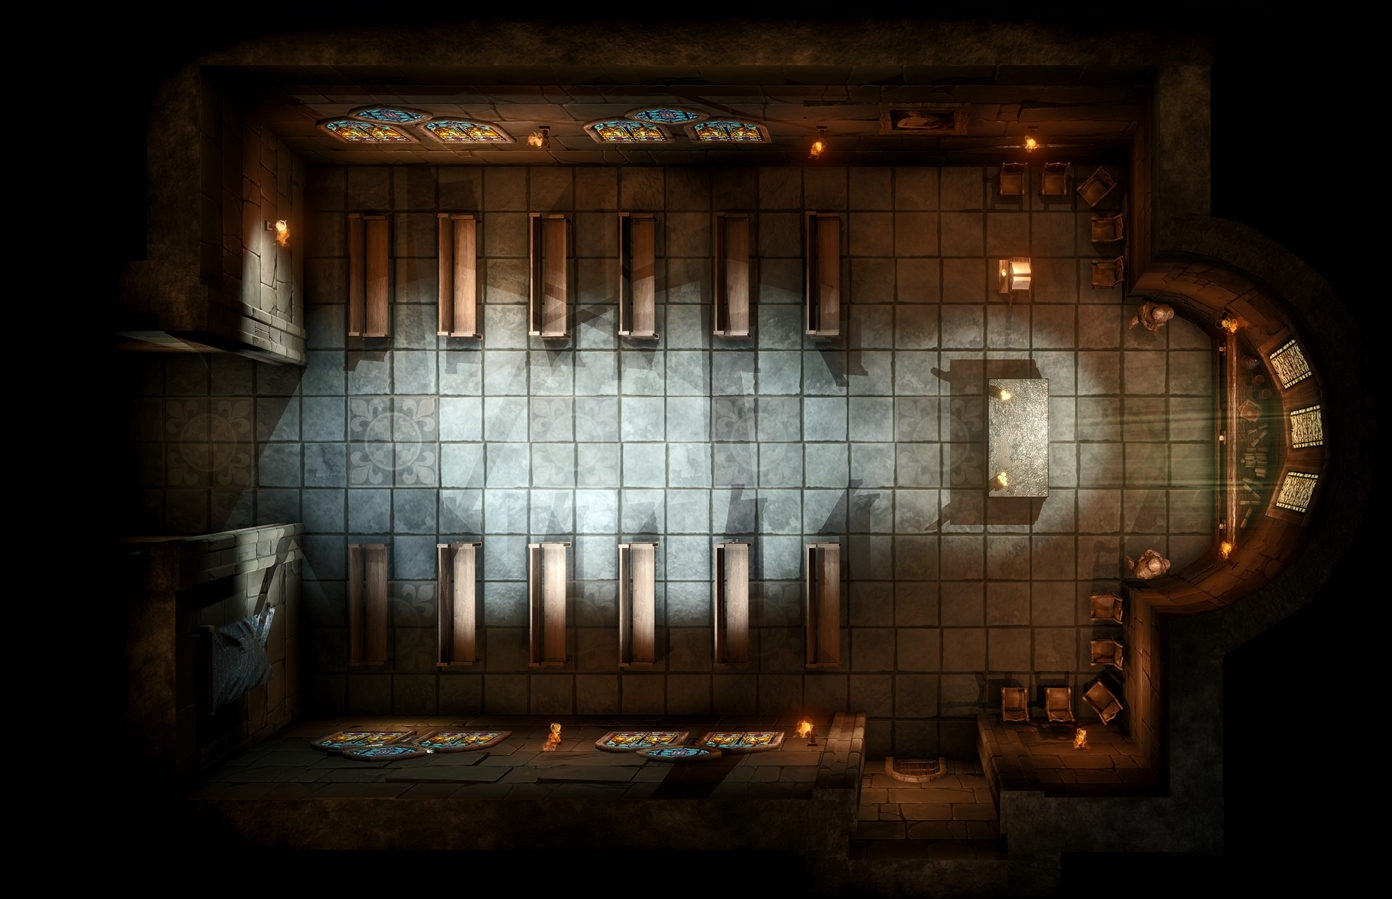
Bishop's Chapel
A simple rope ladder hangs down 40 feet from an overhanging cap rock. Aged, but in good repair, the ladder has been part of the Bishopshill landscape for generations.
Climb TN 4. Unless it is raining or windy.
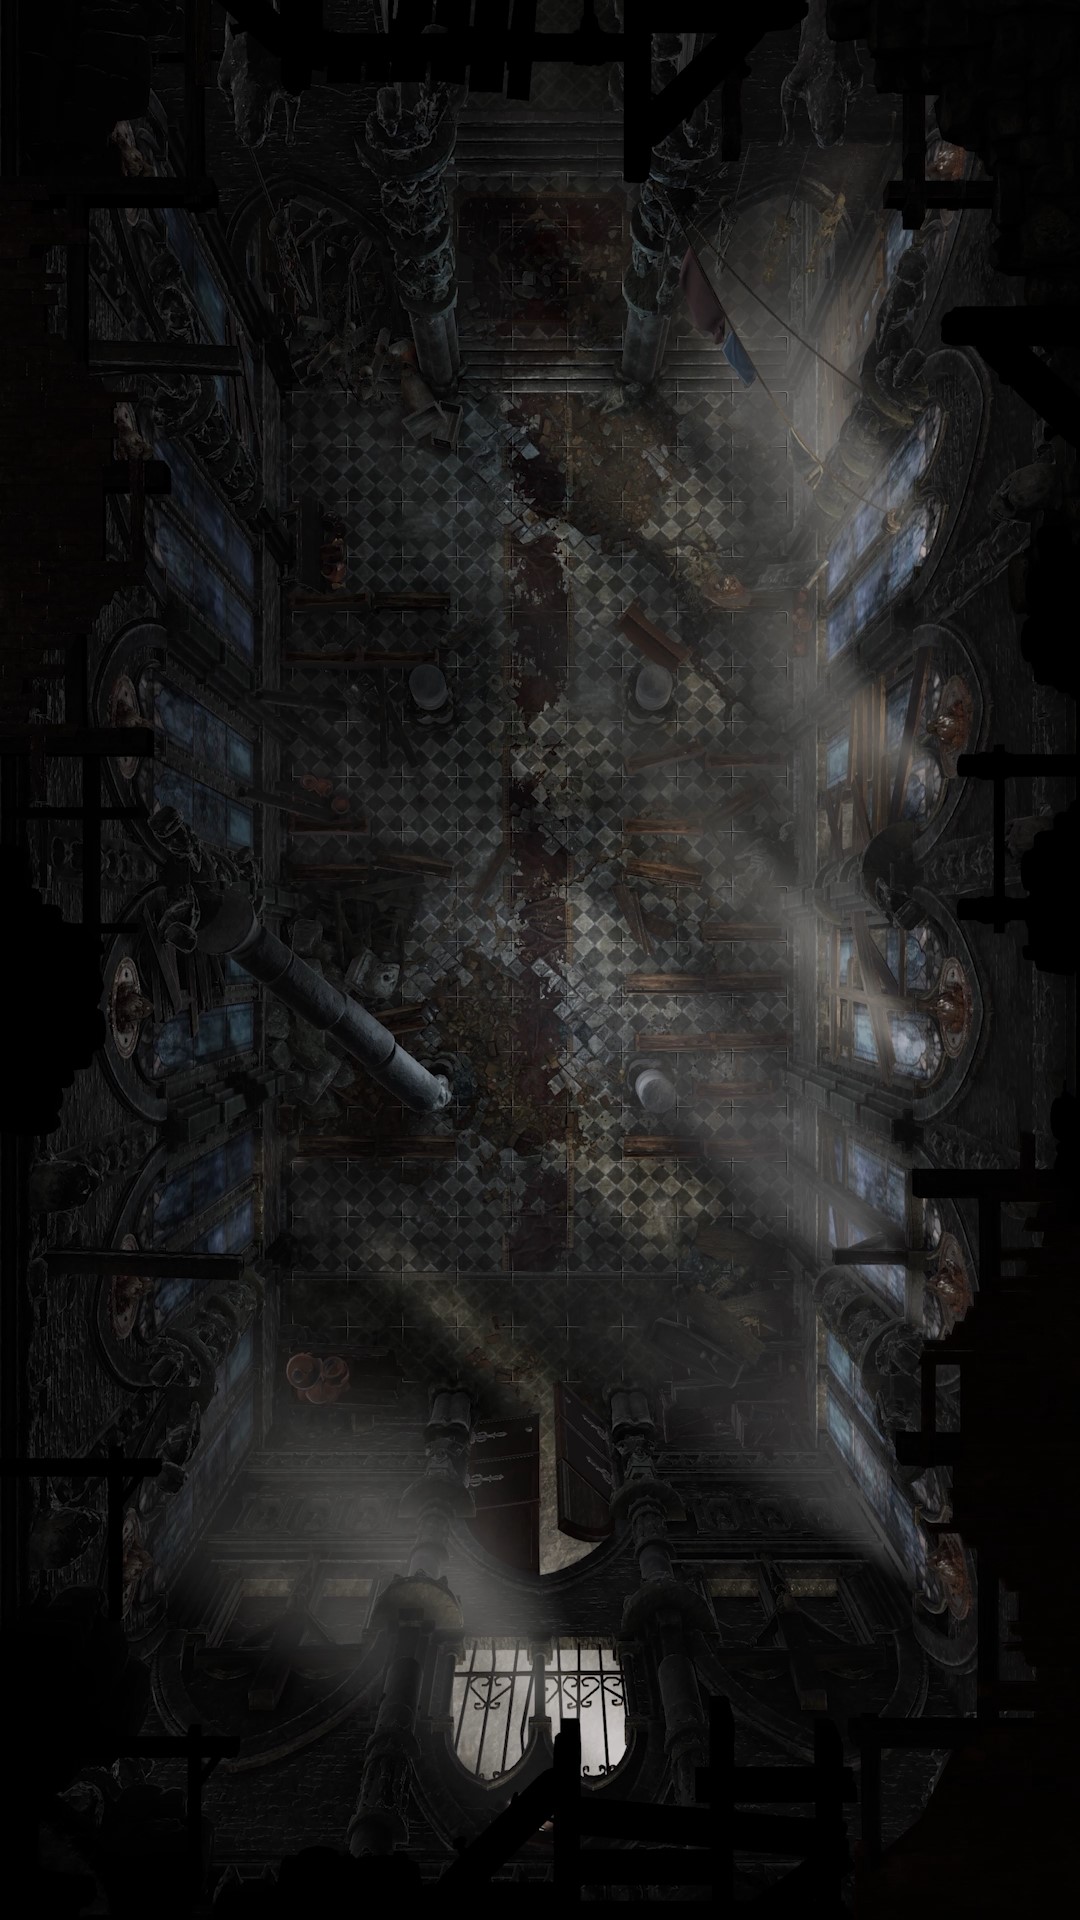
The creatures in the Chapel include: gargoyles, stained glass knights, ripon demons (flying heads)
Around the base of the statue is the following verse:
When the light of life comes
comes to lifeless eyes
And the Bishop's staff
Slays flesh immortal,
Then will the Father rise,
The Demon die,
And Bishopshill be free forever.
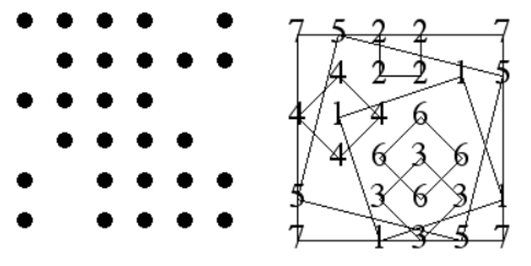
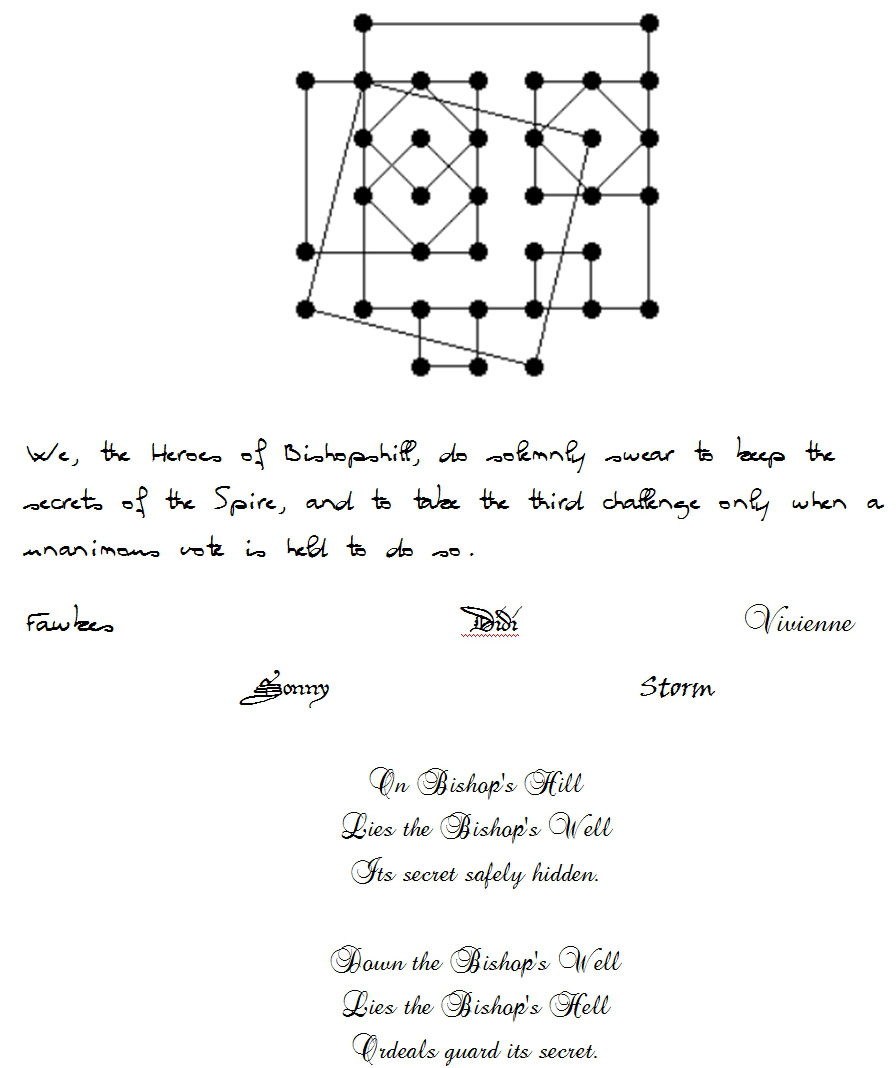
On the book is a grid of small bumps, six by six. Pushing a bump causes it to disappear until daybreak - if an incorrect solution is made.
A solved version of this puzzle type can be found at the Heroes Guild. The dots below are corners of a collection of squares. No two squares share a corner, though sometimes the share part of an edge. Draw the squares with these corners.
If the party needs help either understanding how to solve the puzzle or in the actual solution itself, they can visit the head Librarian Lucy Millby - who is a fiend for puzzles, riddles and the like. Lucy and her husband Francis Millby can be found at the Bell Freehouse most nights. They will need to go to the Library to consult a book of Second Age Puzzles.
Solving the puzzle causes the bishop's statue to rotate slowly from its position at the center of the altar revealing a set of ancient stone stairs leading down.
You must pass through the Bishop to enter.
Descent
After 60 feet, the stairway continues downward, but a hallway leads off in another direction.
A Trial: The Mummy
If the party takes the passageway, they will come across a simple 20x20 room with a mummy in it. The mummy is unadorned and lying on a coffin-sized stone bier. It will follow the party if possible. Defeating the mummy yields no treasure and wounds caused cannot be healed.
Assuming they continue down, the stairway runs for another 20 feet and breaks into a room.
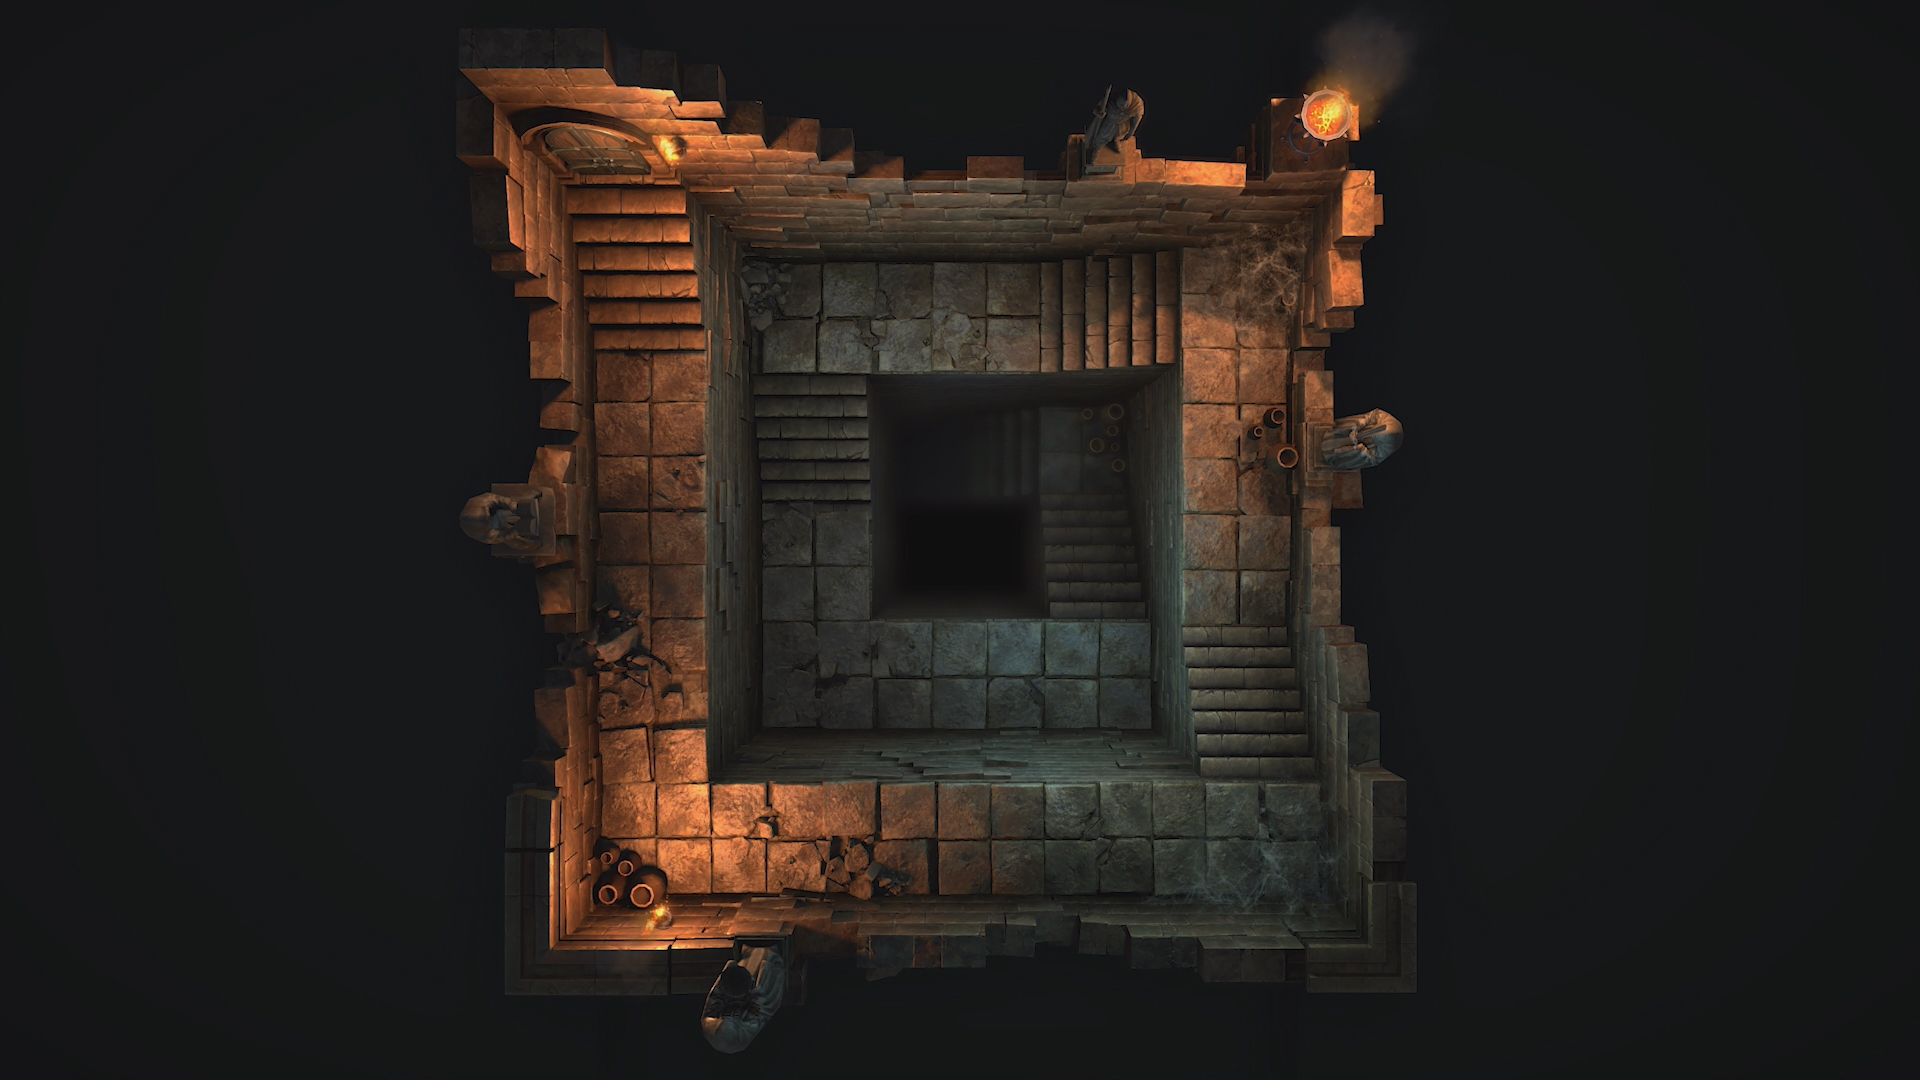
Hall of Heroes
The Hall of Heroes is a battle test that will give the party treasure for defeating foes in combat. Each wave that they defeat, the treasure gets better. When they are killed, they collect the reward at the last level they defeated. This is how the Heroes got their initial magic items.
As the party comes to the bottom of the spiral stairs, there are six niches just outside the entrance to a large room beyond. The niches are empty. Stepping across the threshold, a lights fill a large room beyond.
TN =4. The holes are actually only an inch deep - almost like a setting for a stone. The white hole is glowing slightly brighter than the rest.
As your eyes begin to grow accustomed to the dark, you notice five pin pricks of light shining from the room beyond. You also smell the musky scent of a wild animal, hear a grunting, and notice the mists below you begin to swirl.
WHITE = Far Altar
BLUE = Eastern Table
BLACK = Directly over the end of the landing 20' on the ceiling
RED = Just a dull glow from inside the fog to the West
GREEN = from a room off the Eastern Ramp
Monsters include: dire wolverines, hill giant, phase spiders.
Items for use in the Hall: some of the jars contain meat, book of Time Stop on altar.
Each round a different gem color glows in the door - use MTG cards. Putting the correct gem in the correct hole creates a bright rainbow-like effect.
A new monster will appear every few rounds. The point is that all the characters will die, but how many gems can they use. If all five gems are correctly placed, the room dims and the Heroes are born.
The six niches are now filled with treasure - heroic items for heroes - Get (2) to armor and weapons.
Bishopshell
This will be an adventure four or five encounter.
Dark Cloak is a Pit Fiend. The floor is dragon glass - which might be useful against a dragon.
Each will attempt to get the party to release it. Wisdom is choosing who to release - the bishop or the monster or both or neither. Success will determine if they have an additional ally or foe for the final battle with the dragon.
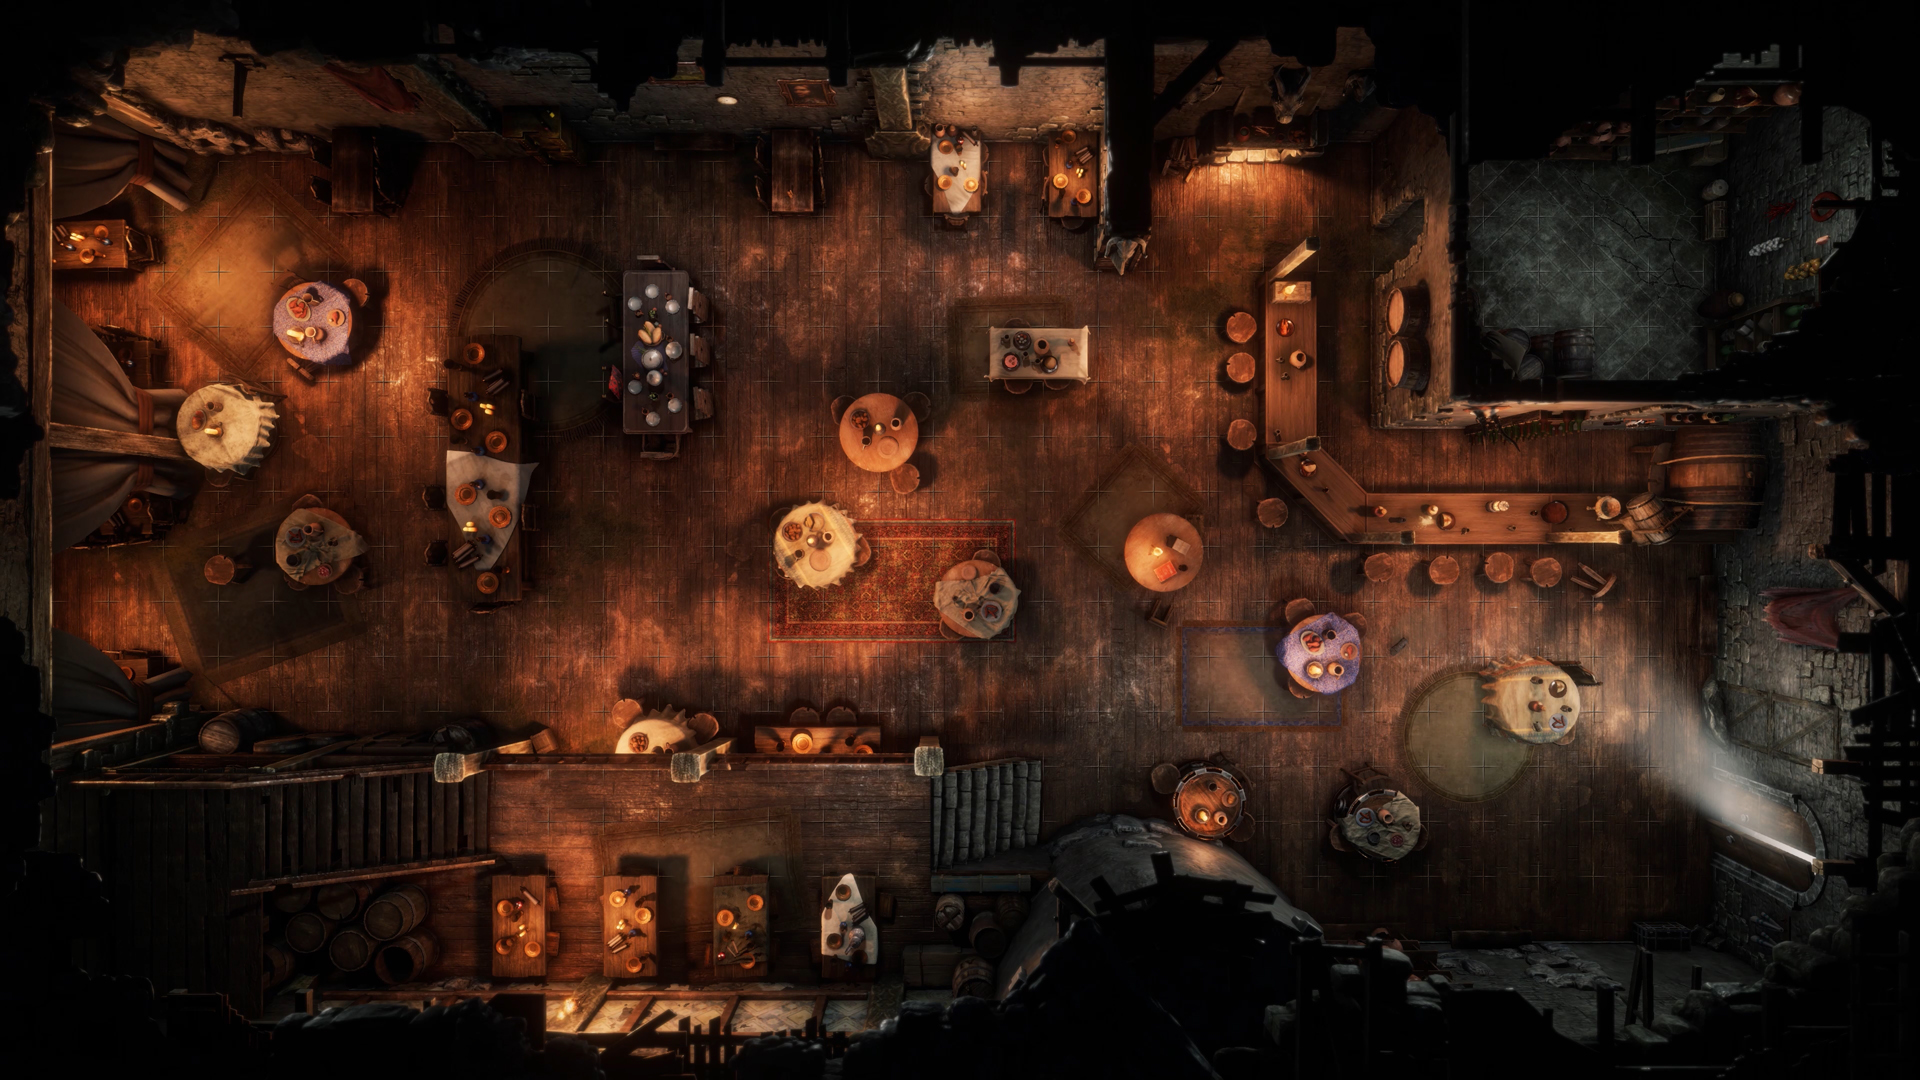
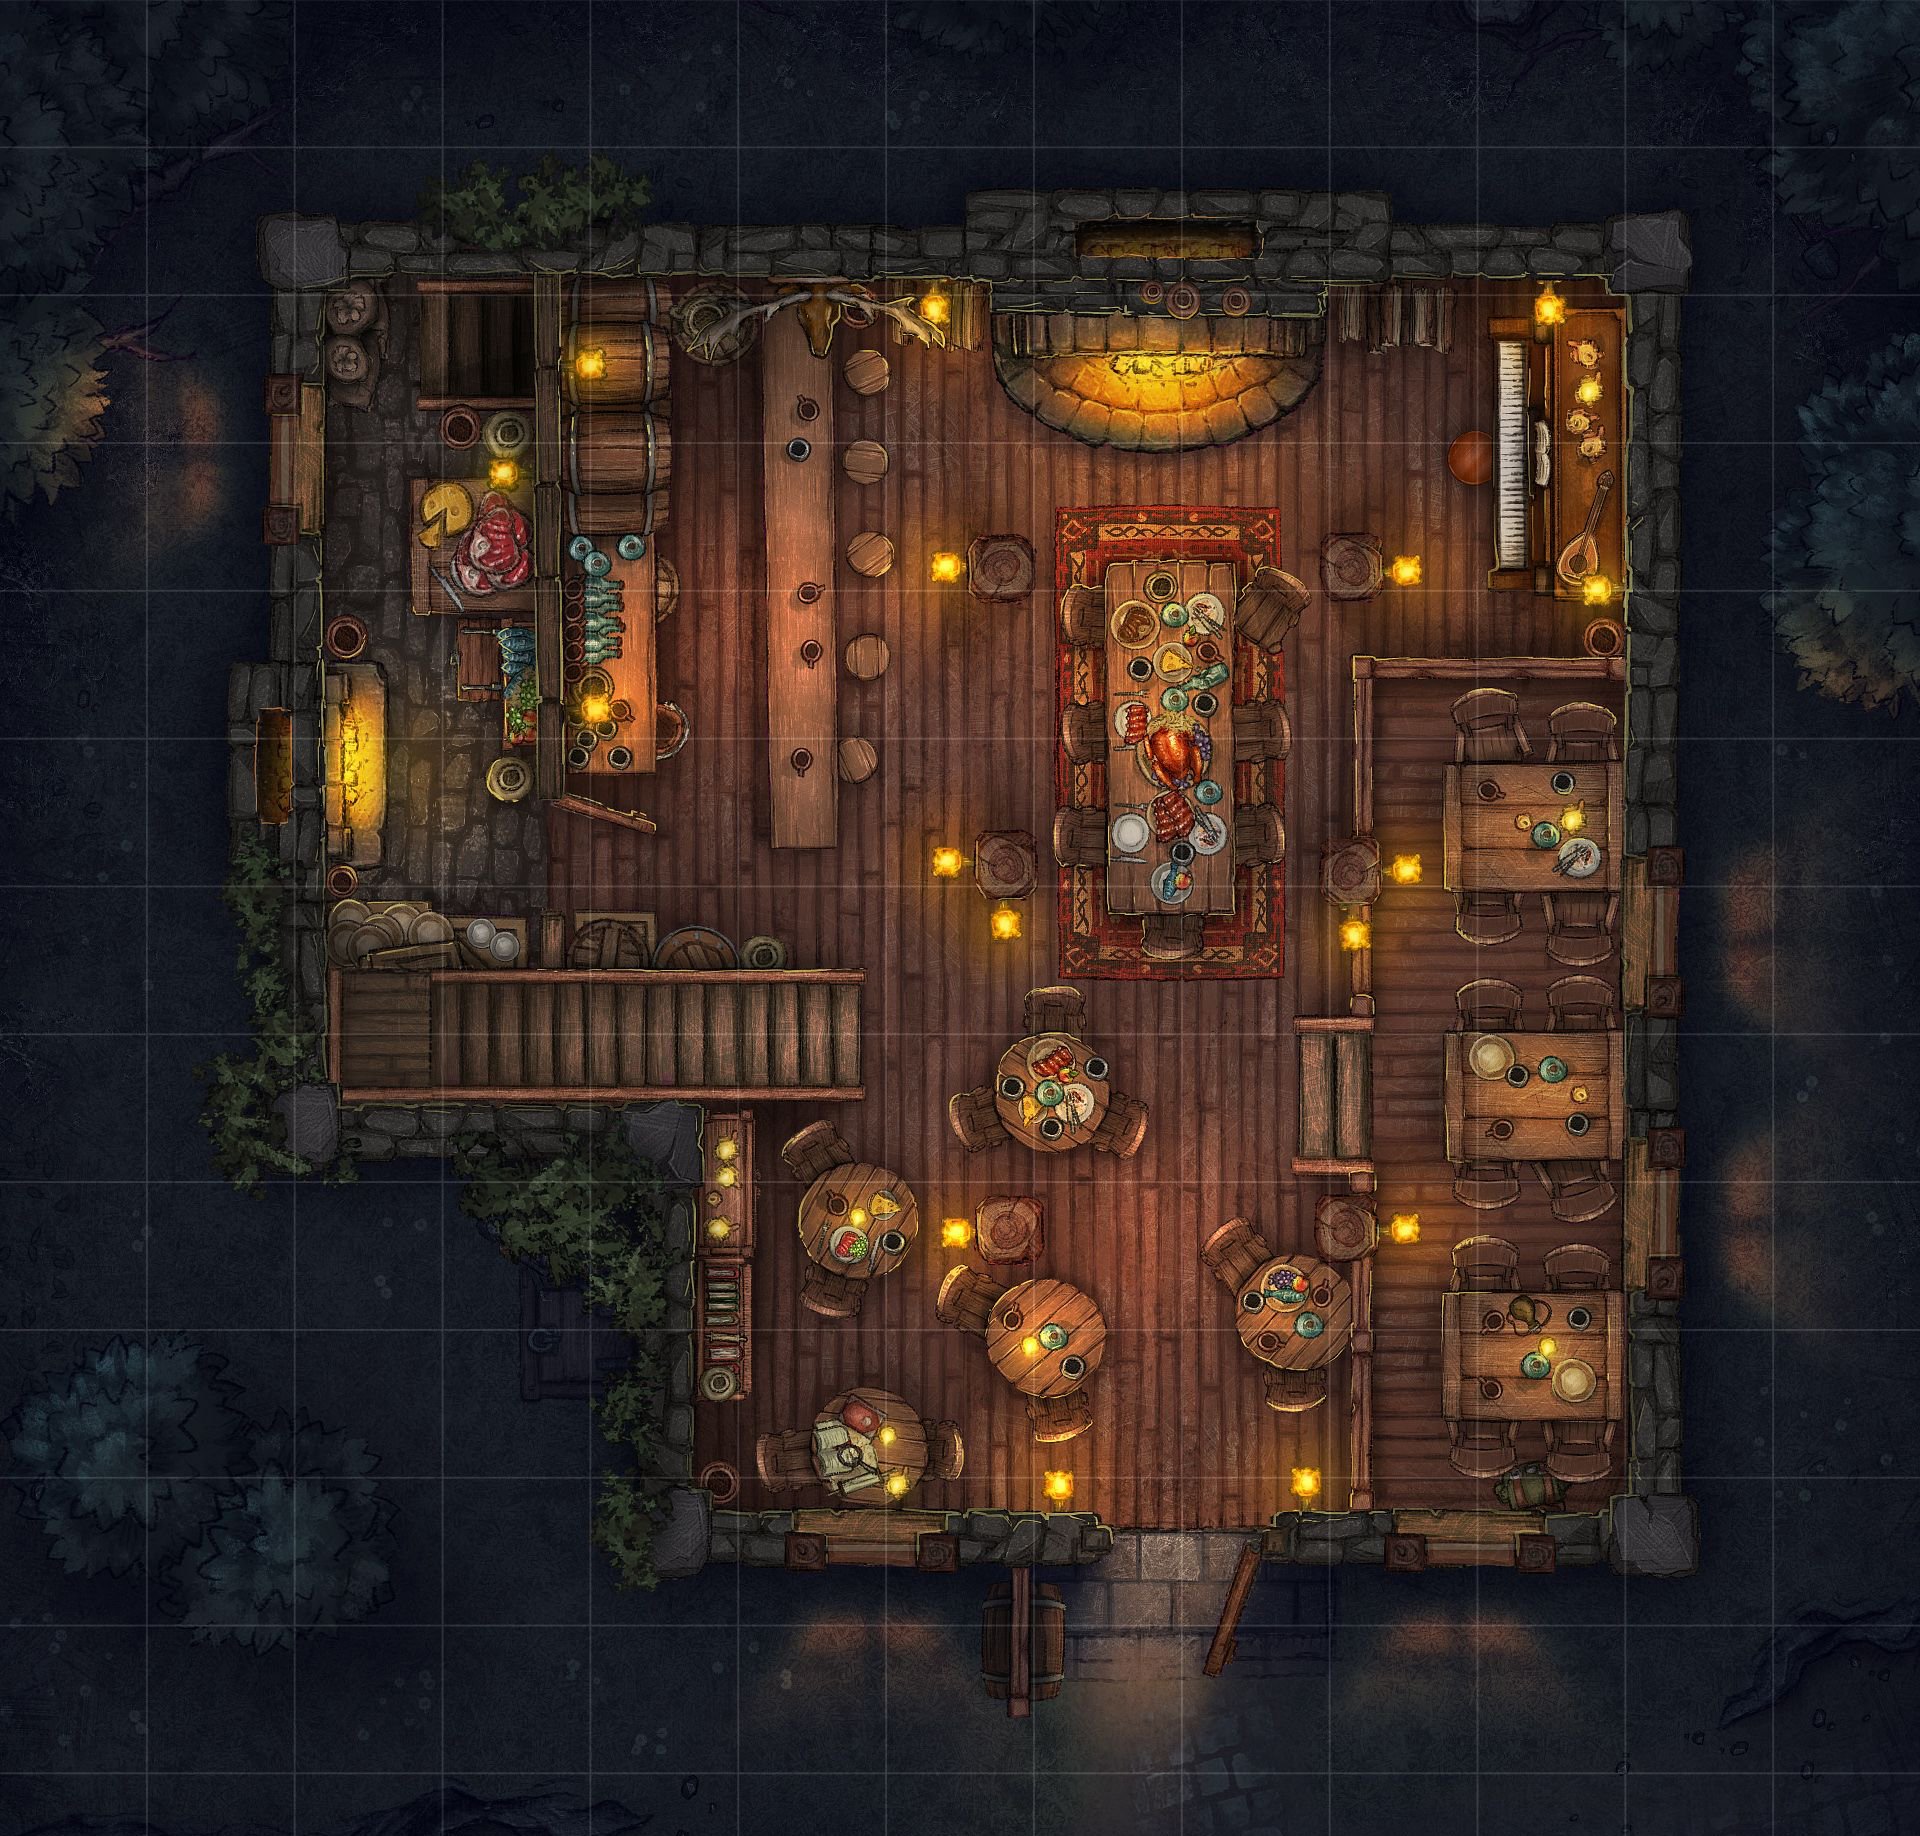
Broken Crown Pub
The action begins at the Broken Crown Pub.
Accommodations
- Rooms are 5 sp and sleep up to four (two bunk beds).
- Wine and Ale are 1 sp for a flagon.
- Meals are 5 sp (very good food).
- Menu tonight is:
- Steamed Duck with Coriander, Wheat Biscuits, and a Glass of Whisky
- Dried Mutton and Wheat Bread, and a Mug of Beer
Encounters
- All four servers are on duty tonight: Ella Rose, Asion (elf, kindly son), Stoutbranch (dwarf), and Morgan Ellis.
- Four human women, dusty and dressed in leather armor are in a heated conversation. A number of empty flagons on the table show that a good evening of drinking is underway. Caravan raiders - Talia Grey - planning another raid undoubtedly.
- Two tables have been pushed together to allow a large group of fighters - dressed in chain mail to talk. Piles of meat, cheese and bread are scattered amongst the mugs of beer. The men and women seem to be taking turns telling stories as there is rapt attention followed by a loud roar of laughter. Brightheart - will eventually lead the effort to fight against the dragon. This group does not like orcs - having done military service in the North.
- Dressed in studded leather armor, a large bald man is clearly the leader of a group of sketchy followers. The man looks about frequently, and the group leans in to hear what he is saying. This is Ardith Callaway.
- Ella Nightingale is preparing to sing.
Chapel of the Hearth
Wicker Man Night - small scraps of paper with evil thoughts (3/30).
Father Dunhurst has done unspeakable things in his past. He is exceedingly closed-lipped about his past. This has carried forward as he does not gossip under any circumstances. He will listen to confessions for those who are so inclined. He will never have an acolyte or assistant. His current secret is that he is an agent for the Crown - against his will. He will meet with Ella Rose to exchange information - certainly if he gets anything that would be useful to the current Crown initiative. He will not, however, actively work against the townsfolk - whom he genuinely loves.
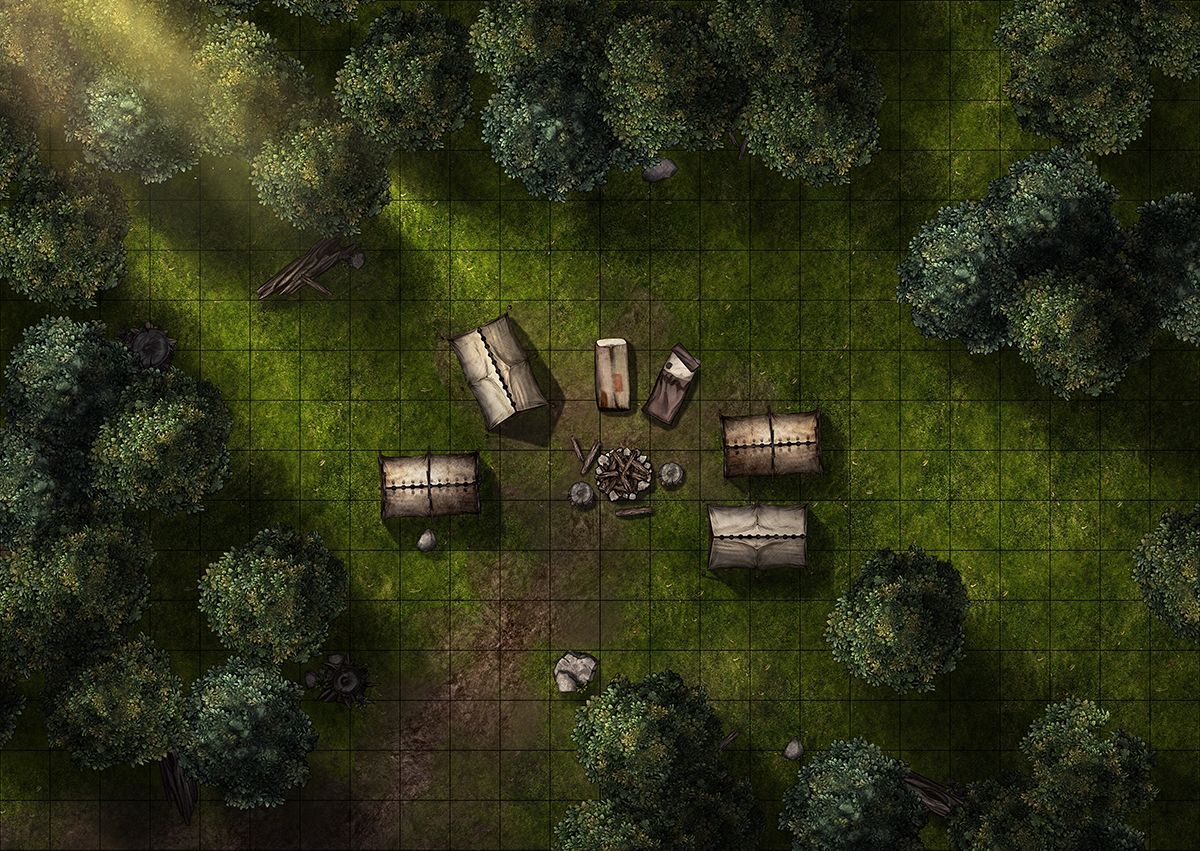
Dragon's Camp
Out in the forests east of Bishopshill, a small path leads from the main road into the mountains.
Notice = smoke smell. Raise = wolf prints
The camp is run by Klagg Twistedsoul who is here on Orlyth Longtail's behalf, although he is secretly doing a resurrection for James Walworth on the side. In order to do the resurrection, he needs the Bishop's Staff - a Staff of Immortality.
Klagg will immediately flee any conflict.
The camp will have wolves (who are also pack animals) roaming the area at night - will howl if intruders are noticed. They can be brought back by a whistle around Klagg's neck.
- Tent 1 - Goblin Shaman (Klagg Twistedsoul) - trapped with a Teleport rune that automatically puts the shaman out of danger.
- Tent 2 - 4 normal "soldiers"
- Tent 3 - 4 normal "soldiers"
- Tent 4 - 1 large "soldier"
Depending on the level, the camp will have: (N=0) 8 orcs, 1 ogre, 4 wolves; (N=3) 7 orc berserkers, 1 orc chieftain, 1 ogre, 4 wolves; (S=7) 7 orc skoll, 1 orc chieftain, 1 hill giant; 4 wolves. Later, the camp will be occupied by hill giants and finally Orlyth Longtail (finale).
Grotto
The wheel is locked.
The room is divided into three large sections by a low wooden fence meant to keep livestock in. The western half of the Grotto is mostly used for livestock - cows, sheep, goats, pigs and horses. A number of stalls have been created with hay bales and wood. The eastern section is filled with the parts of a fourth siege engine - currently in progress. A forge and several smithies sit cold, although the piles of iron show that swords, armor and other implements of war are made or repaired here. The center of the cavern has a well-worn path the 300 Stairs that lead up to the town. A newly dug well is surrounded by stone and drops some 40 feet to the surface of water. The well is 20 feet in diameter and clearly meant for use by the entire town. Several large bucket mechanisms hang over the edge.
This area is used for general storage. It is cool and dry. Meats, vegetables, and fruit are clearly labeled for both content and ownership.
A number of small cave trails lead into the Knoll. These are off limits to exploration. The five known cave trails - large enough for humans to explore - are sealed with sturdy wooden doors and are locked with large iron locks.
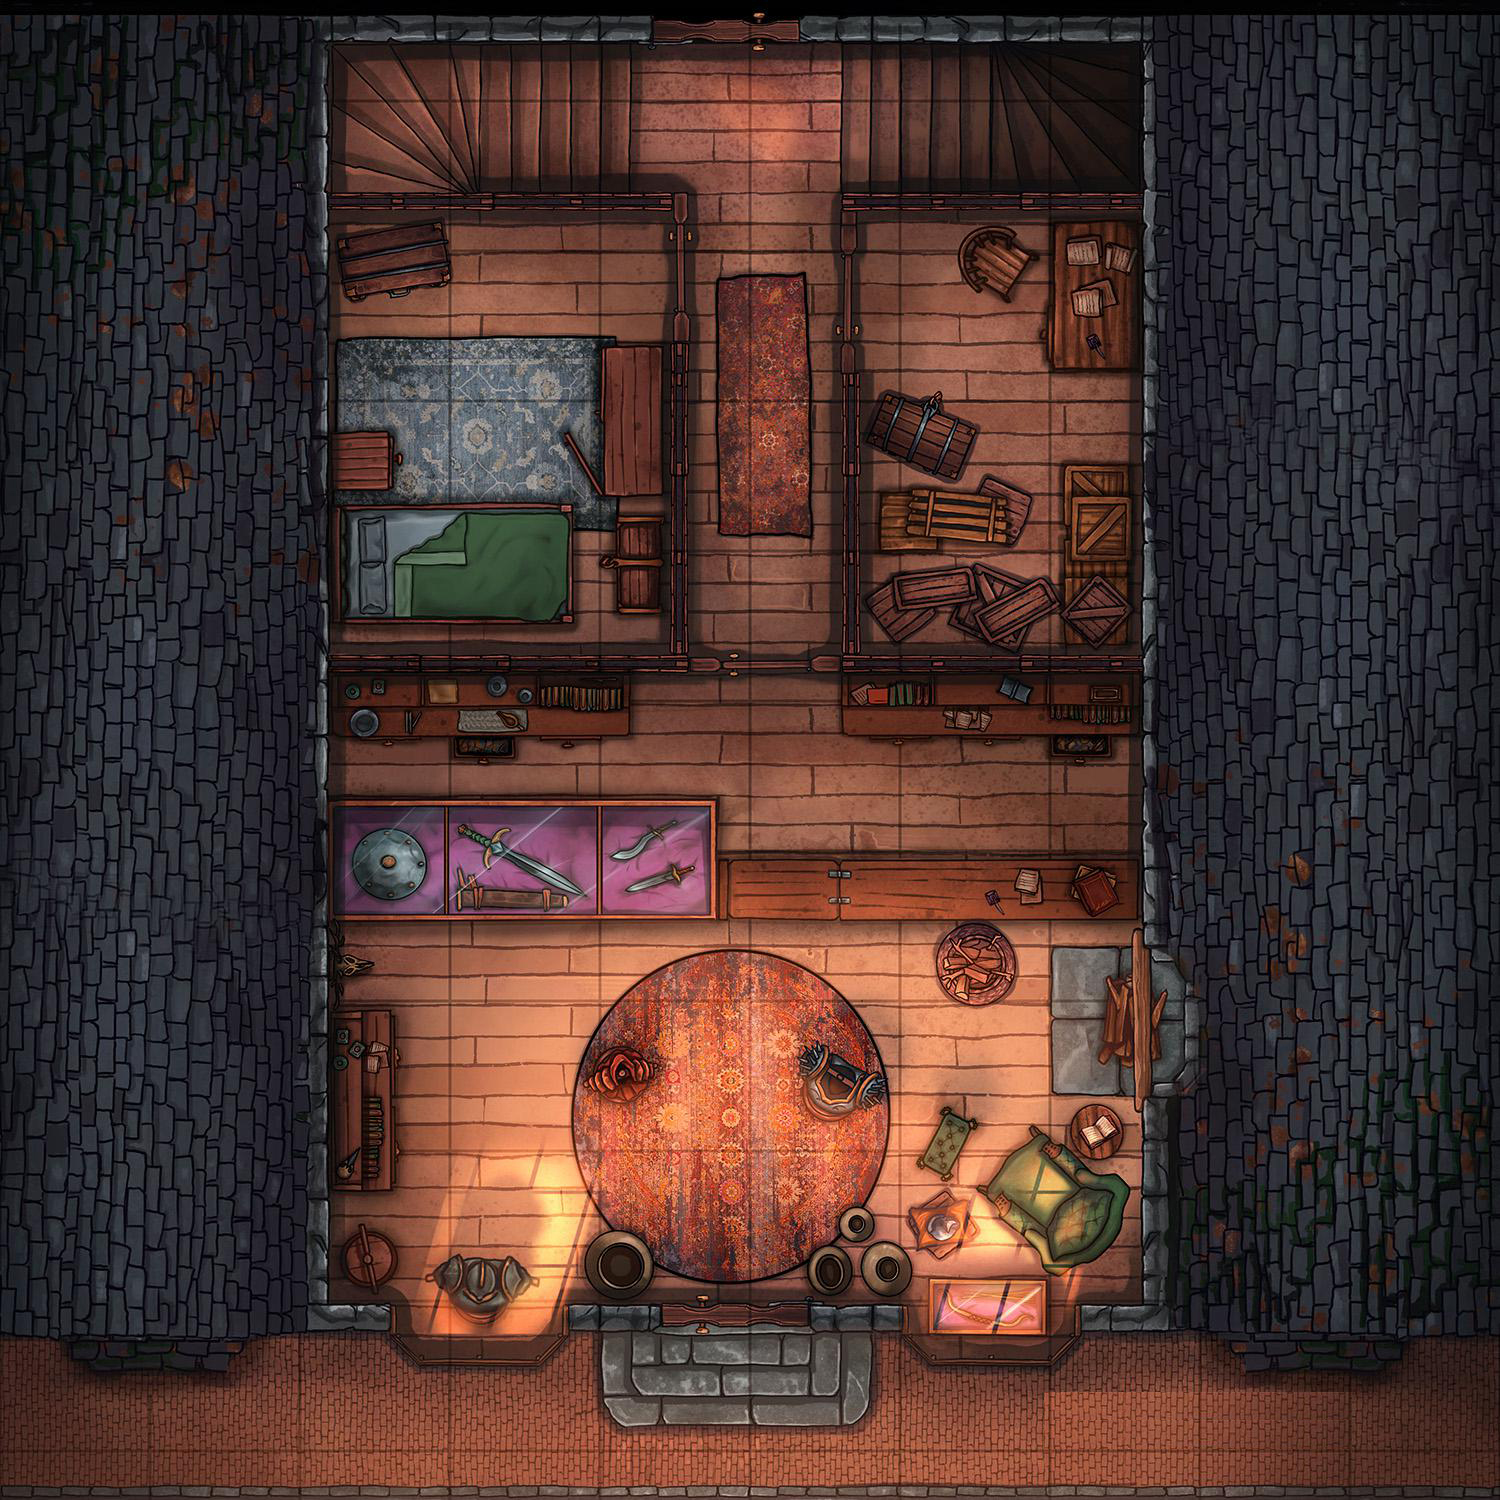
Heroes Guild
The Guild building is usually guarded by a gnome, Nobbin Swampmoor. He is usually found in The Bell Freehouse.
NOTICE: The faint sound of a squeaking hinge can be hear on the wind.
In the back of the building, a service door stands open, swinging back and forth on somewhat rusty hinges. The door opens into a small storage room filled with bolts of cloth, some leatherworking tools and a small iron forge.
NOTICE: Wet demon prints on the floor leading into the building. The prints move to an interior stairway leading to the upper story. RAISE: You can hear a scrabbling - very faint - coming from the room directly above you.
Main Floor
FAIL: Think they are real. They are not - just dummies used to get tourists to buy armor and swords. The stuff is just junk.
Upper Floor
This landing of the stair leads to six rooms. Five are tiny bedrooms for the "adventurers". The sixth is a common room with a small stove. The sound is coming from here.
Stained Glass Knight searching for the Heroes. He doesn't speak but moves to attack.
A careful search of the room reveals a sheet of paper stuck to the bottom of the kitchen table.
The handwriting is that of all the Heroes, although Vivian wrote the poem (she is the smart one). Further clues will lead the party to the Chapel and then to the Heroes Hall.
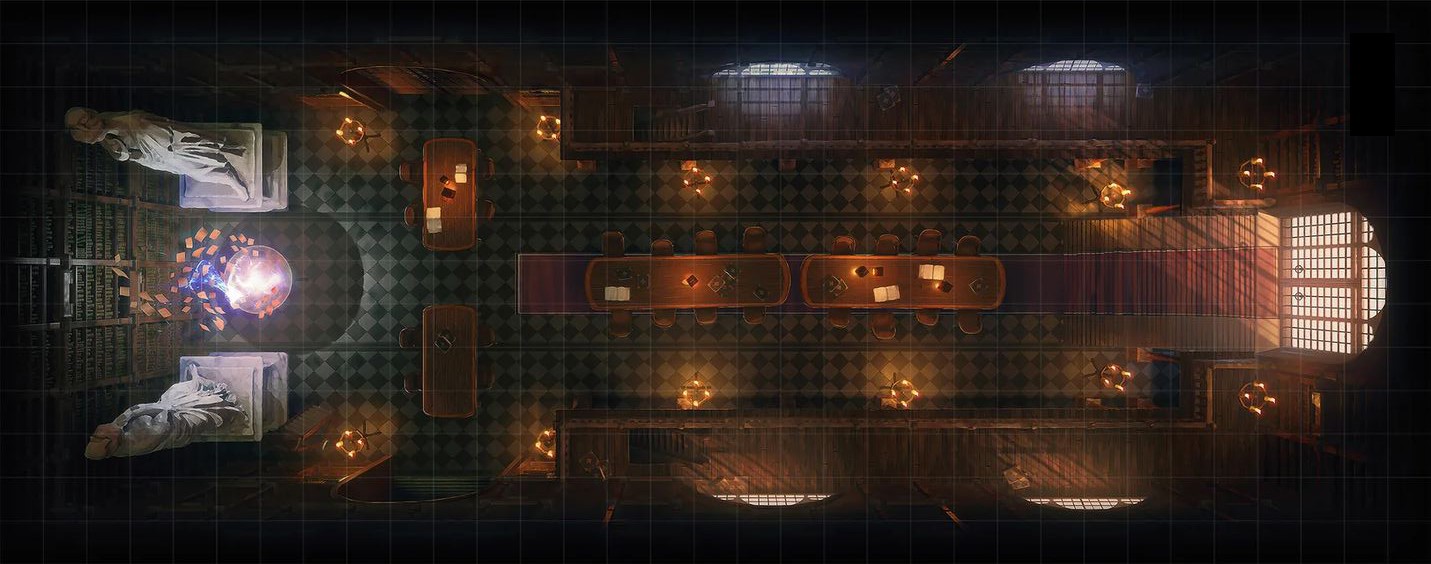
Millby School and Library
The floating cards are a magical card catalog system that Francis built for Lucy (which she thinks is ridiculous). Just describe what book you want, and the card flies into your hand. Shows if the book has been checked out, etc. It makes mistakes just like an Alexa. Sigh. Too broad and cards flutter everywhere.
A careful examination, the figure is slumped on the table. Four darts are in the table pointing from different directions. Four more darts are in the figure. The table has been cleared of any papers, but the figure is still holding a pencil.
Moving the figure, there is a blood-stained note underneath - see below.
The figure is Vivian of the Heroes. She is dressed in a dark green cloaked, pulled up around her shoulders for warmth. The cloak is a Cloak of Displacement.
All four ladders have been trapped.
Collapsing Ladder
- Type: Mechanical
- Notice Check: Yes, at –2 (see sawdust and several bent nails at the bottom of the ladder)
- Thievery Check: Yes, at –2
- Trigger: The upper ladder has been disconnected from the platform and the wood has been cut to give way once a character has climbed most of the way up. Any Size 0 or larger creature climbing the ladder triggers a collapse.
- Effect: Victims fall 20 feet (2d6 + 2 damage) unless they make an Evasion roll to dive clear.
On the platform are four Assassins of the Dark Path. One will have the bottom half of the note.
Vivian Note
Assassin's Note
Polyp's Lair
The Old Bathhouse is adjacent to the Tanks. Years ago, the Bathhouse was connected to the Tanks by a series of pipes which would bring fresh water to the rooms. The water was heated by fires outside the bathhouse - warming the pipes and water before it reached the baths. The old building has been abandoned for almost twenty years after a fire burned part of the bathhouse, tanks and surrounding buildings. With the construction of the Grotto and well, bathing facilities were moved there.
Entrance
The door is always guarded by a Human Sergeant (Ashley Poole) who knows all those in the poisoner's employ personally.
Holding Rooms (North and South)
These are patrons from the Bell Freehouse that Polyp and his ettercaps have brought here to create the poison needed to kill the inhabitants of Bishopshill. They can be saved if taken immediately to Father Dunhurst at the Church of the Hearth.
Patrons: Zain Bradley, Hendrix Gill, Nathan Fletcher, Nick Knight, Tanner Dean, Erin Foster, Ella Green, Maggie Watts
Anterooms (North and South)
A second Human Sergeant (Skye Hart) is almost always here.
The Poisoner's Temple
The occupants of this room are:
- Polyp is a Dark Naga in the employ of King Tobias Doyle. Polyp is charged with poisoning the town. His first attempt will be during the fire at the Garrison. His second attempt will be directly into The Tanks.
- Ettercap. His name is Nesroro. He is a Polyp's gopher who captures new victims using his web.
- Two Poisoned Townsfolk. They will attack under Polyp's command. These cannot be saved by Father Dunhurst.
- Other Possible Minions: Deathweb, Drider, Giant Spider, Phase Spider
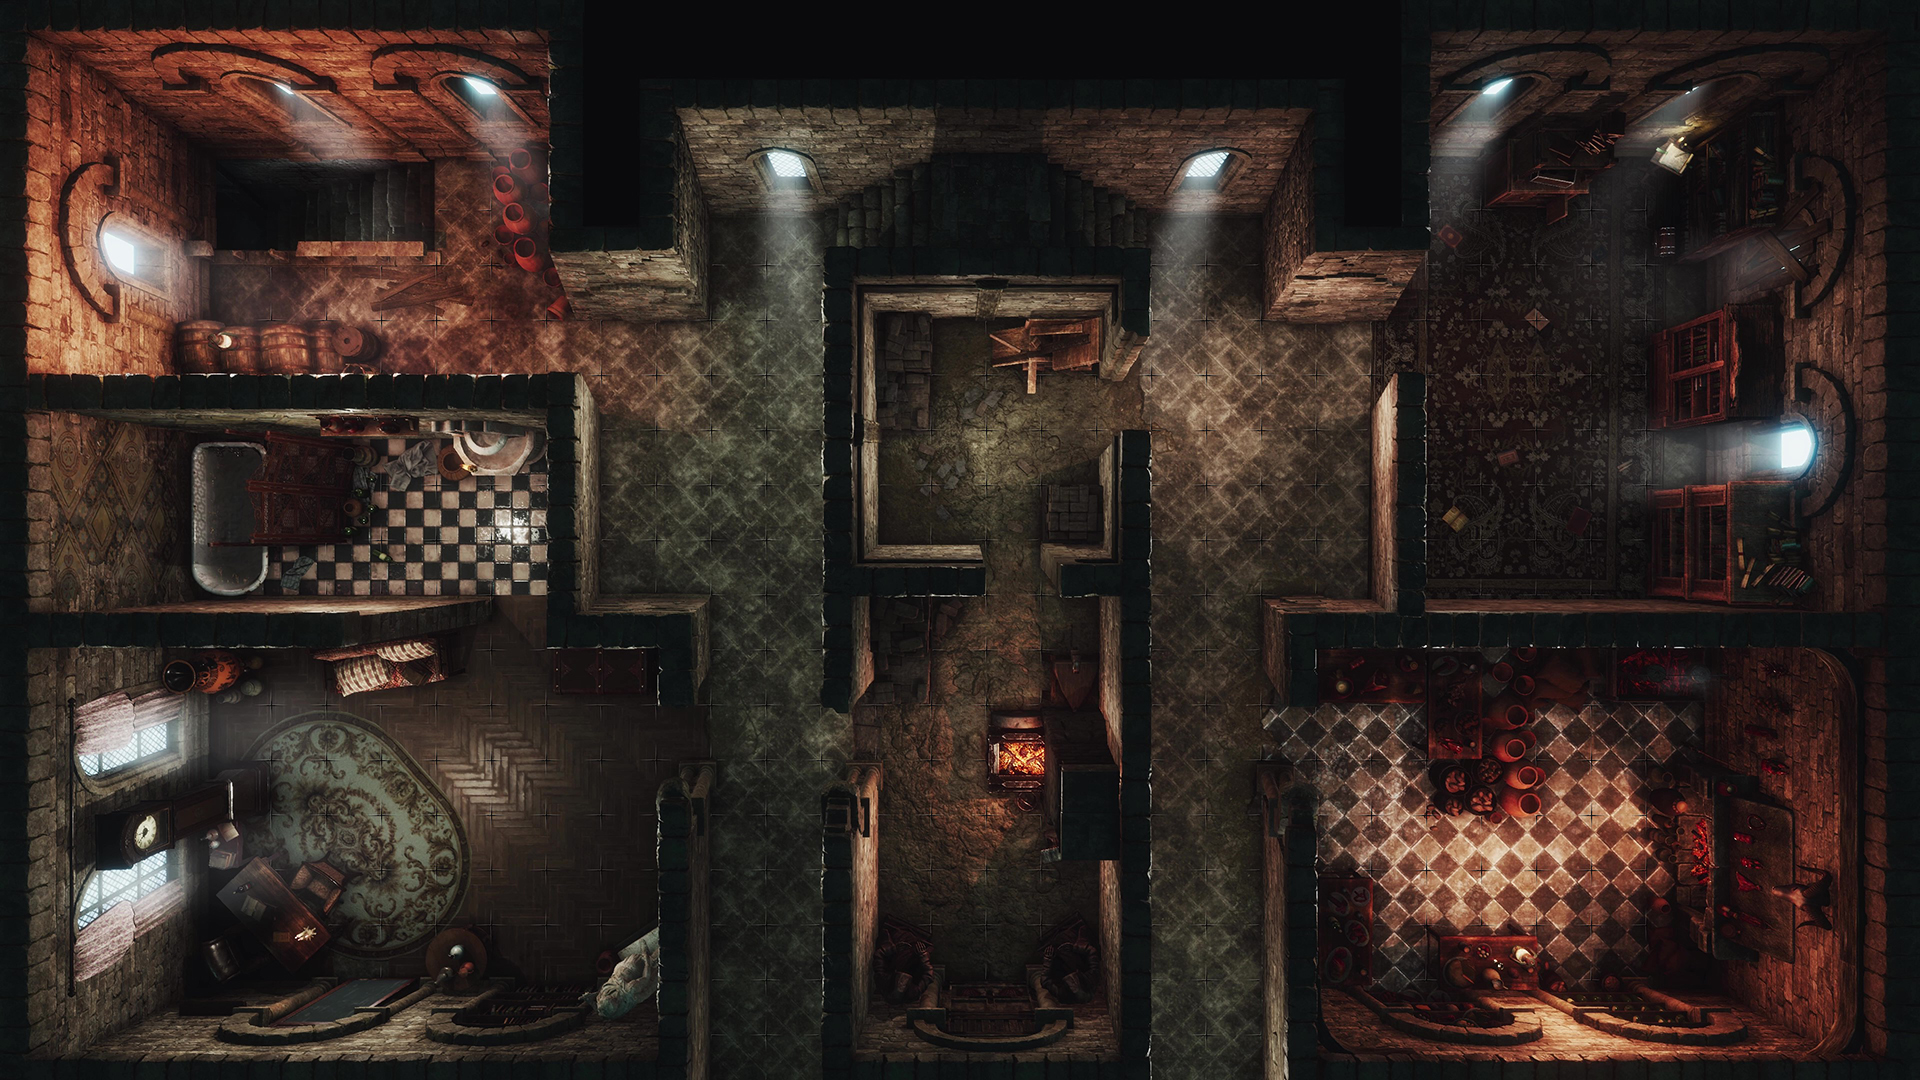
Redley's Hideout
Sir Alex "The Axe" Redley is charged with assassinating Melody Murphy by any means necessary, although it has been stressed that her death should avoid making her a martyr. Ideally, Redley will be able to accomplish his goals and make Baron Walworth appear guilty - thus cementing the hatred between Walworth and Bishopshill. But, a straight death would be okay.
The Axe has a small cell of Assassins of the Dark Path working for him.
The back of the building is solid as it backs up to another house behind it.
The clock area is a secret door which is used by the hobbits.
The downstairs area is booby trapped with a poisonous gas bellows that will fill the area and street with toxic fumes. A single stairway leads up to the second floor. A trap door is usually shut and locked between the floors. The lock is on the top and is mundane.
- Type: Mechanical
- Notice Check: Yes, at –4
- Thievery Check: Yes, at –4
- Trigger: The door is rigged to explode the barrels of chemicals to create the poison gas. Opening the door (which is locked) triggers the trap.
- Effect: Death poison billows into the streets unless an Evasion roll is made to dive clear.
What Has Happened Before
Upon arriving in Bishopshill, a group of meddling kids called The Heroes stumbled on Redley's Hideout after following a rumor that hobbit assassins were in town. Apparently, Sonny the Ranger and Storm the Druid were very good at tracking and using Storm's nose to follow the scent of the hobbits (which could not be seen or heard).
- Redley lured Sonny and Storm to his hideout where they were killed. They clearly did not tell the other Heroes of their plan because no retribution has followed. Redley has the bodies hidden - to keep them from being resurrected or spoken to via Father Dunhurst.
- Redley has sent his assassins out to find Vivian - which they have done at the Library. She has been killed, and the assassins have waited to see if the rest of the gang will show up. Which they won't, but maybe another party will
What Will Happen: If news of Fawkes and Didi's bodies being found at The Trap hits the streets, the assassins will move to investigate and confirm the deaths. Otherwise, Redley will order the assassins to execute Plan A.
Plan A: Two of Walworth's guards, Jakub Hudson and Henry Hayes, have been arrested. Redley has no idea why or any inkling of the xorn plot. But, he wants to use these two as patsies. The plan is simple. Redley knows that Melody is going to go down at sunrise tomorrow to report to the goblin who is demanding the egg. His plan is to have the assassins sneak partway down the lift with the bodies of Hudson and Hayes. They will cut the ropes (or otherwise trap the Lift). When Melody gets on the Life, it crashes to her death. AND the bodies of Hudson and Hayes with the knives that cut the rope will drop with the Lift. Mission accomplished.
This second-story house is run-down by Bishopshill standards. It consists of a warren of rooms where Redley and his gang hide.
NW - Some barrels, pots, and old boxes have been piled here. A stairway is covered by a trap door which has been locked with a mundane-looking iron padlock. The items appear to have been moved recently, but they are old and musty.
SW - The room is clearly an old office with an old desk placed in the corner to get a view through one of the two narrow windows in the space. An old clock is not functioning. In the center of the floor, a mat has been neatly placed with a pillow.
TN = 4: There are several matchbooks from the Broken Crown pub along several cigars (clearly imported, expensive and human). These belong to Redley who picks them up when meeting at the bar.
NE - An old Library still has books on the shelves. Although the room is clearly being used as a dormitory of sorts. Six sleeping bags have been laid out here. Twelve packs containing small clothes, blankets and mundane traveling equipment are strewn about.
Hobbits rooms converted from an old library.
SE - This is a kitchen that has a table with seven chairs, and an abundance of fruits, vegetables and meat in pots and boxes near a stove and oven. The room is filled with foodstuff - clearly enough to feed a dozen men.
TN = 4: The spices here are hobbit spices - blunderberry, forest sage, and the like.
TN = 4: Two small charms - gold frogs - can be found under the table. The function as Luckstones but are a mark of the Assassins of the Dark Path.
S - The upper chamber. This chamber is a small unadorned room, clearly used in the past for storage. Currently, there are two mummy-like forms wrapped in sailing cloth in the center of the room.
These are the bodies of Sonny and Storm. They have been stripped, wrapped in a sailing cloth, and sealed with a waxy substance. They look like mummies.
S - The lower chamber. The lower chamber has a chest containing 600 gold, 16 diamonds, 4 emeralds, a necromantic helmet (which cannot be identified), and a share of level-appropriate treasure.
The southern windows have been stoned over and lead to the adjacent building. The northern steps lead to a small rooftop garden - long-abandoned. This is the primary way that the assassins enter and leave.
The Tanks
The Tanks at the north end of town collect water for use by the pubs, inns and other public buildings.
When it is raining, the trap door on the top of the tanks is opened and a series of broadcloth sails are extended to capture water until the tanks are full. Using this method, thousands of gallons of water can be captured. If full (like they are now), the sails are taken down and stored. A lock on the trapdoor is magically ensorcelled to prevent unwanted access.
Walworth's Camp and Xorn Caves
Walworth's Camp and the xorn caves beyond are protected by a high-level illusion/confusion spell which hides the entrance down a long tunnel. The tunnel has several branches, although the correct one is clearly marked by footsteps in the dust. The general passages are First Age construction that can be found throughout the Grotto (see Grotto). Passage into this area requires a Xorn Stone or some manner of dispelling the illusion/confusion.
Notice TN=8: One of the pots is actually a ceramic bell which can be used to summon the xorn.
Academics TN=4: These streets are actually First Age streets that were buried when the Spire was pushed up through the earth by a cataclysmic event. Knowledge of archaeology is needed to determine the age of the buildings. Nothing else can be determined.
Prior to the Resurrection, the coffin contains the dead body of Jon Walworth, brought here by his father for the meeting with the shaman.
The six guards led by Aliya Byrne will fight the party, retreating into the xorn caves if needed. They will be able to summon the xorn by ringing the bell by the fire. Aliya was, in secret, Jon Walworth's lover and will do ANYTHING to protect his body and make sure that the baron's son is resurrected. If there is a need for the party to find either James or Xavier, Aliya will know how to do it.
There were originally eight guards. Two have been caught and are being held on trespassing charges, although nobody knows their true purpose. Each has been relieved of possessions, but has secretly hidden their Xorn Stone. Xorn Stones are shiny, smooth gemstones, oval in shape. They appear to have flecks of metal and shiny stone swirling about inside and vaguely mesmerizing to gaze upon. They have an aura of illusion.
- The inhabitants are: James Walworth, Jon Walworth (dead), Xavier Stoneform, Aliya Byrne, 6 guards (use Human Constable stats below) + Xorn Stone, 6 xorn.
- Guards: Jakub Hudson, Henry Hayes - are the missing guards now at the Garrison and will be released during the fire.
- Guards on Duty: Robyn Hunt, Maggie Baxter, Natalia Cunningham, Mylo Hall, Tristan the Terrific, Lucas Baxter (Maggie's younger protective brother).
